Disobedient Electronics Critique
created with Ray Wang @ changeable-shock-cef
Moving into the build we had two main challenges: the physical build and implementing the mobile SDK for control provided by DJI.
Ray and I worked in parallel trying to understand the DJI SDK and the OpenCV SDK for object detection to allow the drone to toggle between an aggressive and playful state.
At the same time, I tried to model and produce a shell to ambiguify the drone away from camera equipment and into being an object in its own right. We want the object to exist as a "drone," as this very capable and smart living creature, not a $300 camera carrying machine. The first approach we attempted was around scanning the drone with an iPhone photogrammetry app. At this point, we were developing for the DJI Air 2, a smaller newer drone with a really cool gimbal on the front for keeping the frame level, and, hopefully, staring down a viewer.
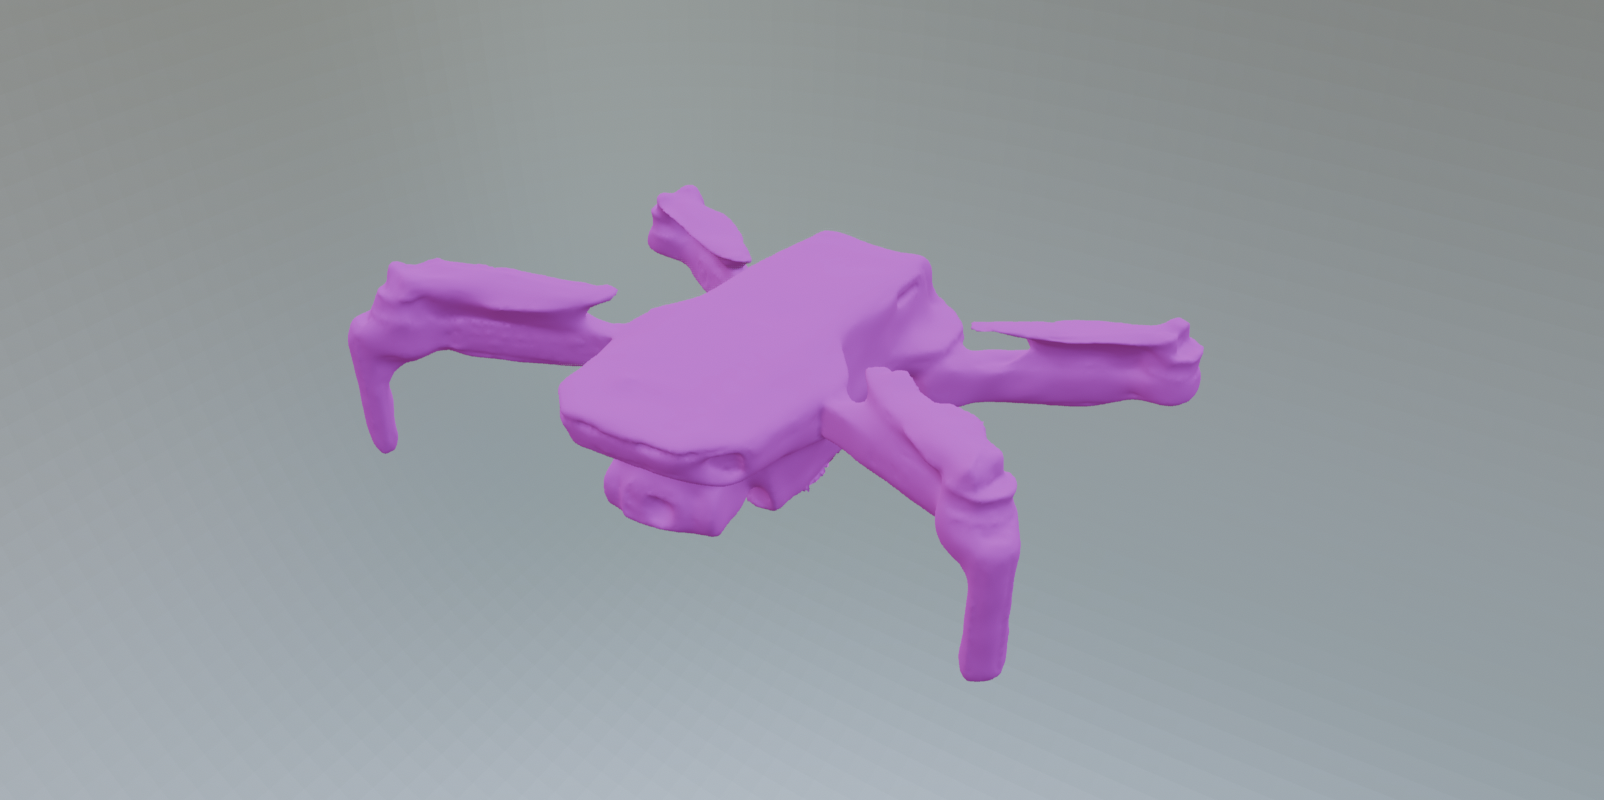
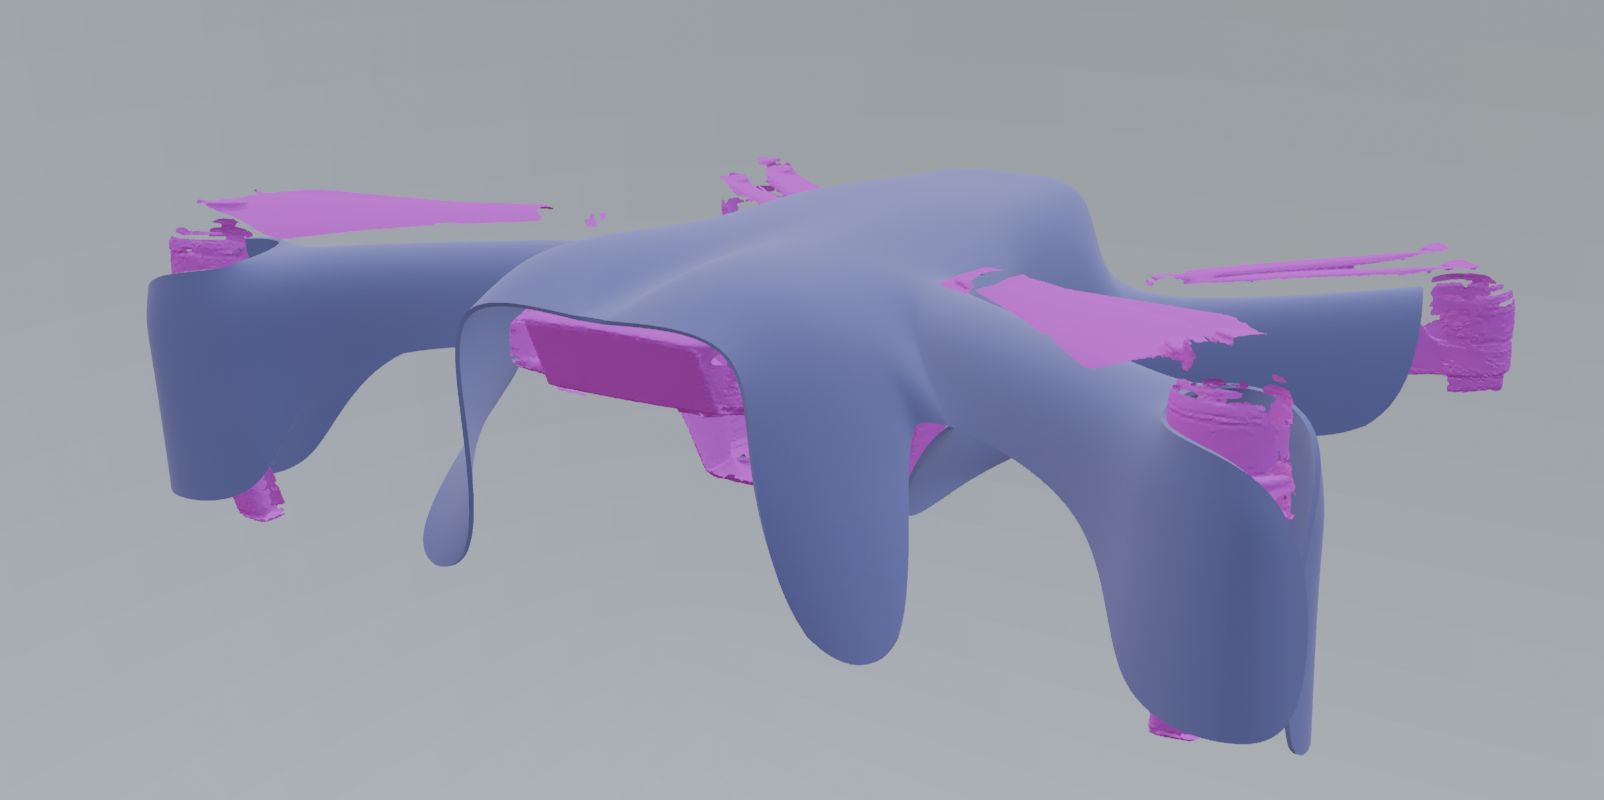
Working in Blender with the subdivision surface modifier, I pressed and pulled out a shape to cover its body and maintain some distance from its wings. At this point, we were considering drones to be a technology, like animal breeding is, which will be a dual-edged sword we carry into the future. We considered how this living machine of a drone would look inside our urban landscape where most people live and will probably encounter them in the future. From this, we explored the body as a silver blob object and tried to wrestle it away from semantic orientations which were mechanistic. I like here how the little head peeks out like a crab.
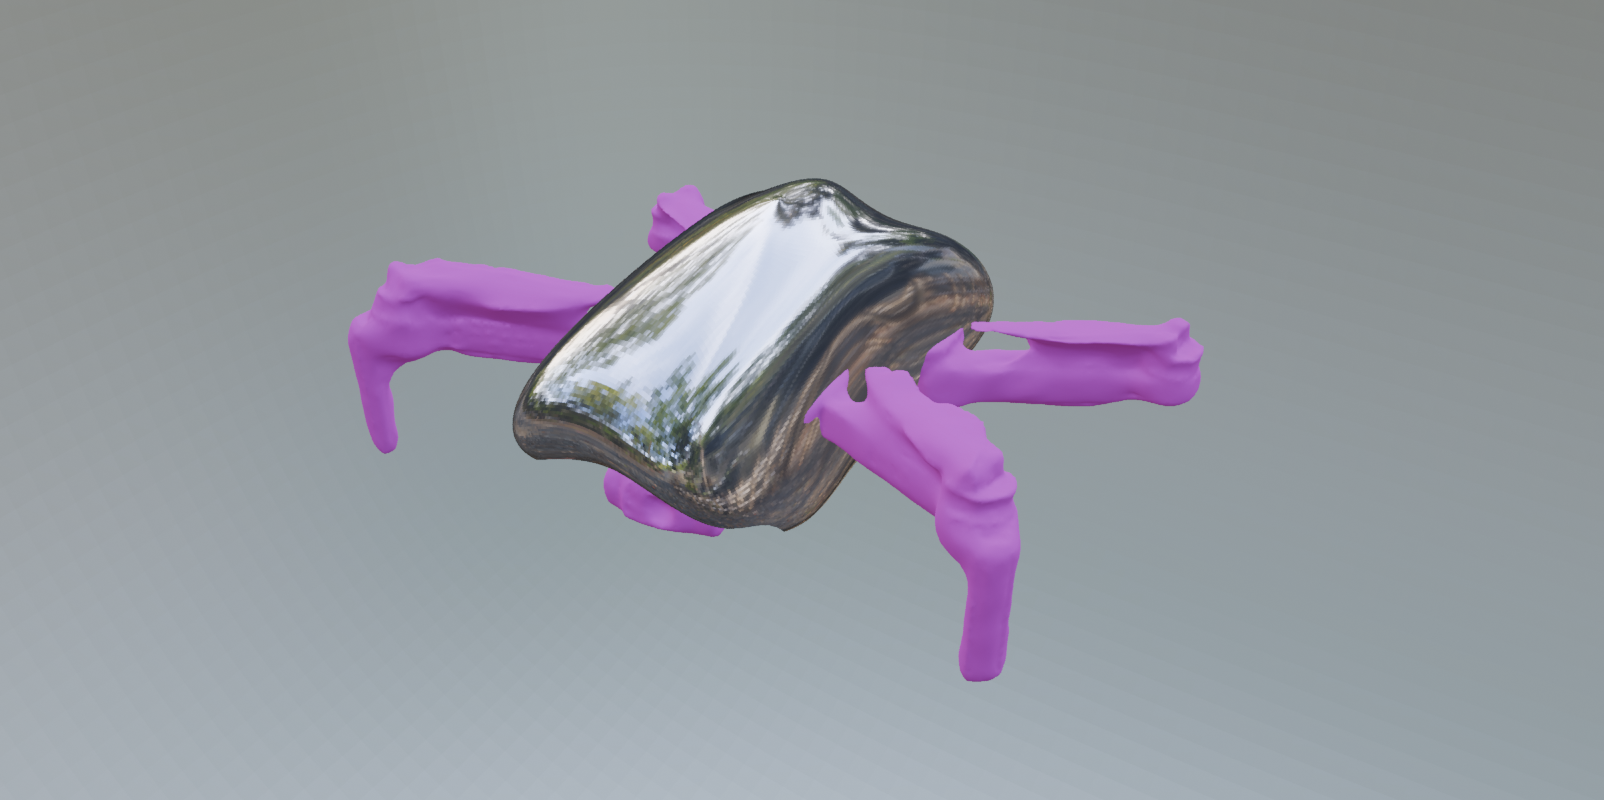
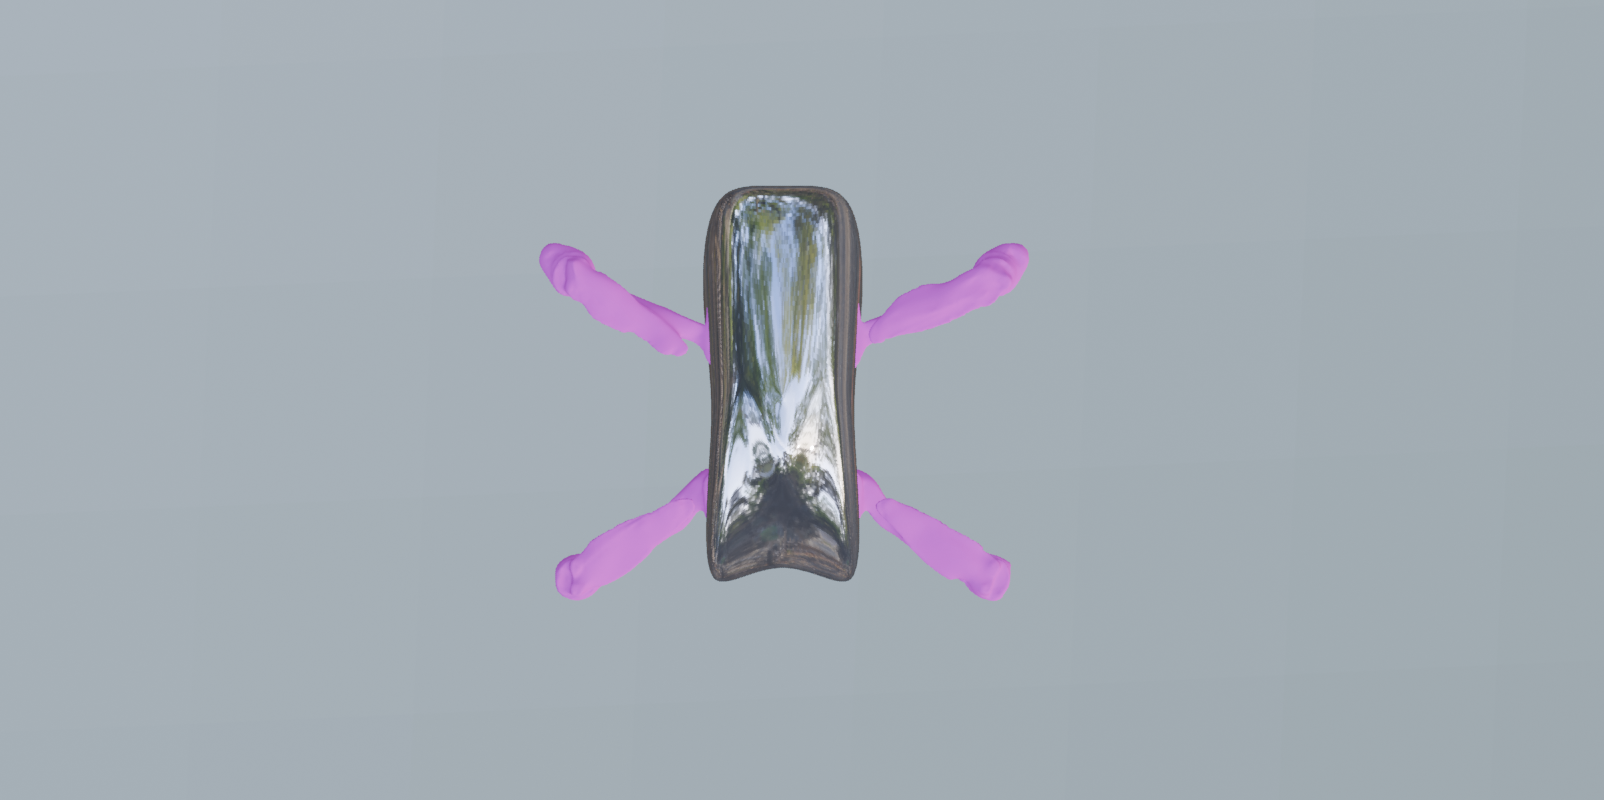
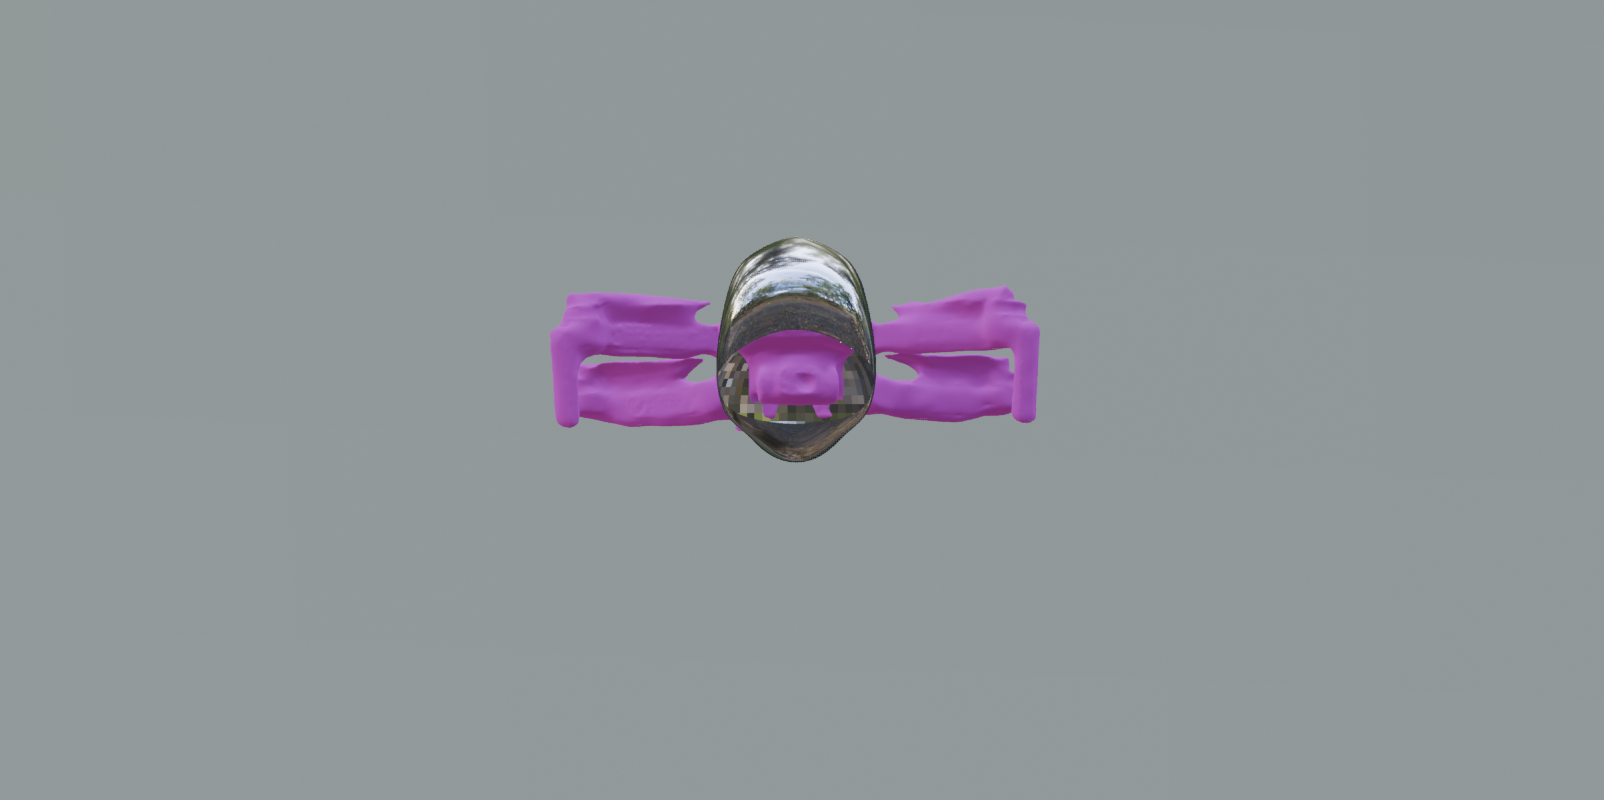
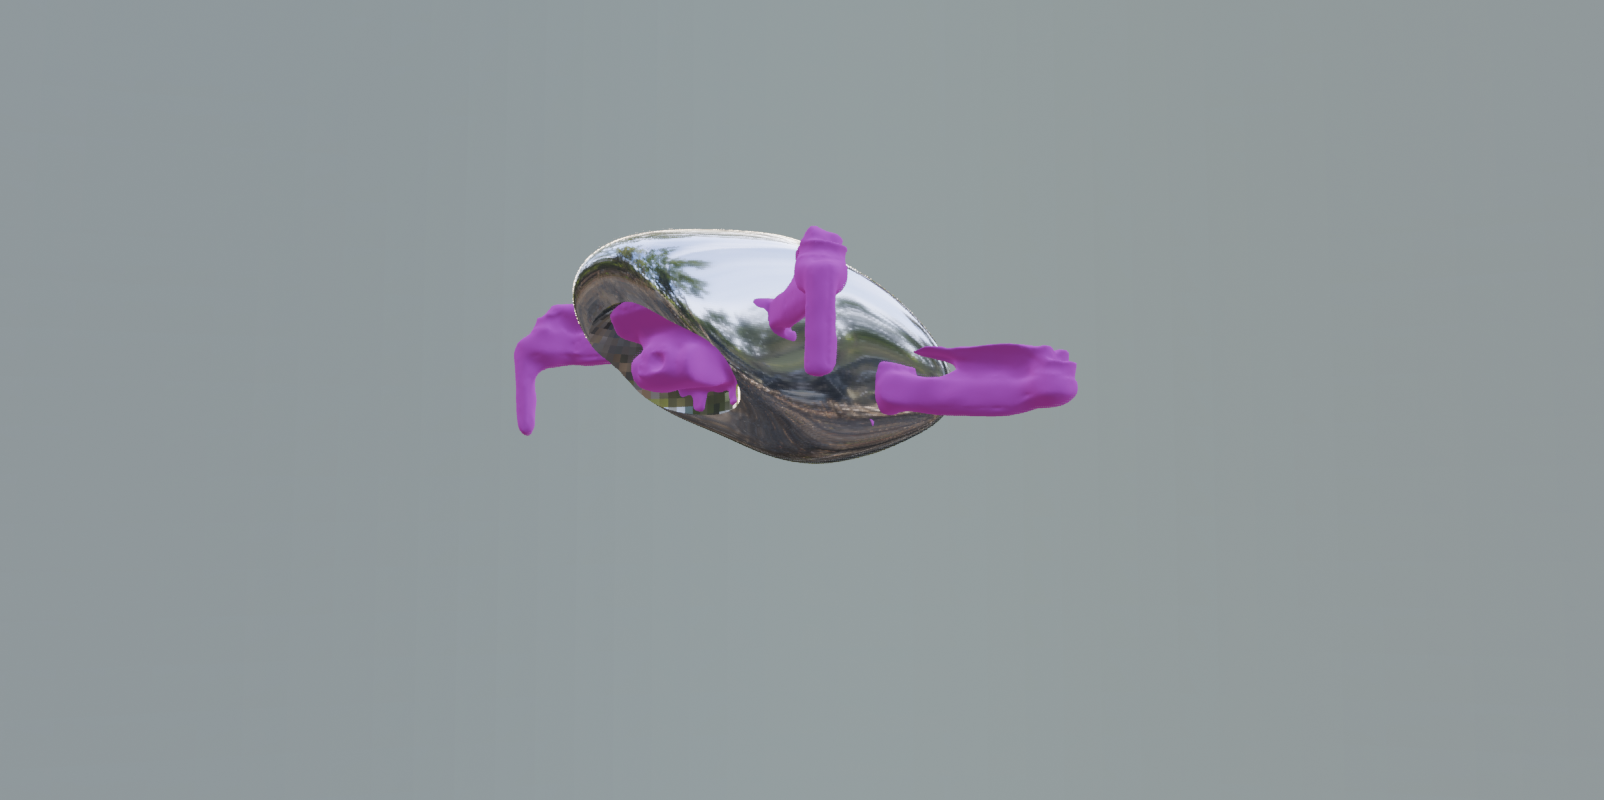
When I looked at the drone again IRL, I realized the blob I had crafted leaves a huge "DJI Air 2" tattoo on the arm of the drone obvious. I started to consider how I could skin the legs by boolean operations to cover, but as the booleans processed it got glitchy. The design began to present problems when considering manufacturability and registration. Time to remodel.
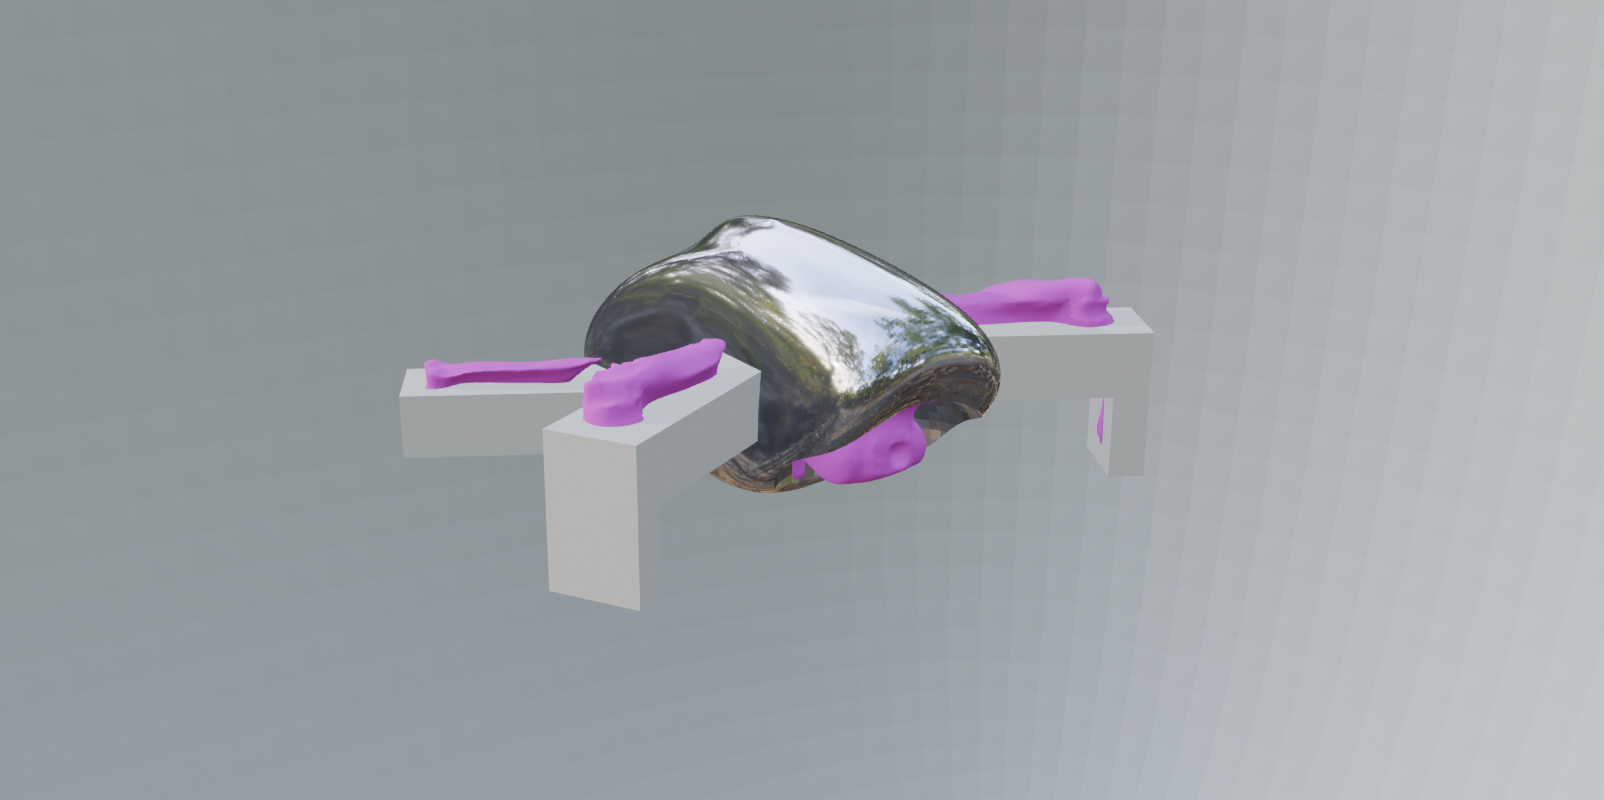
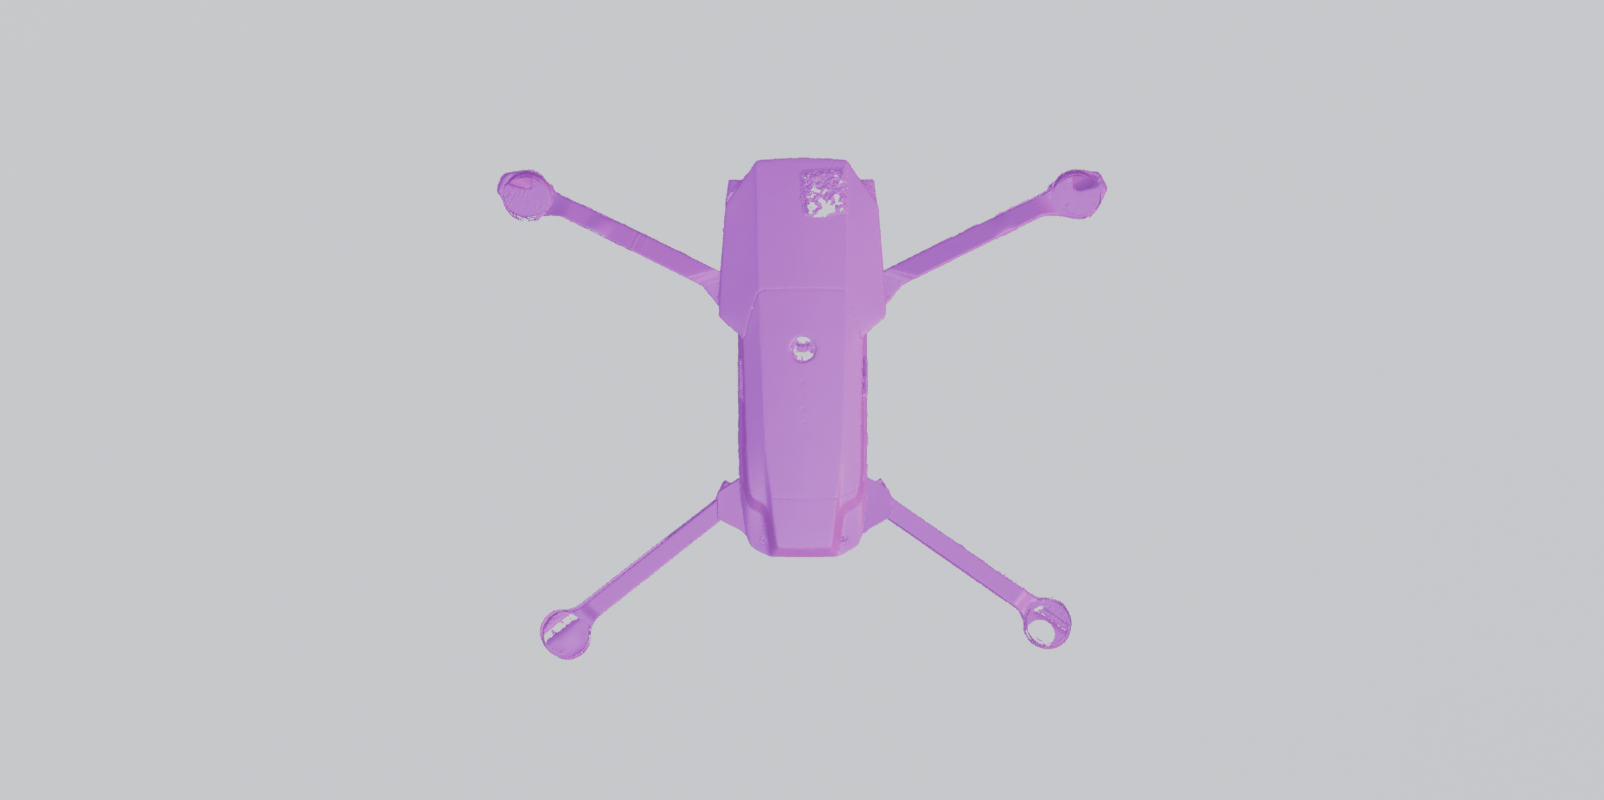
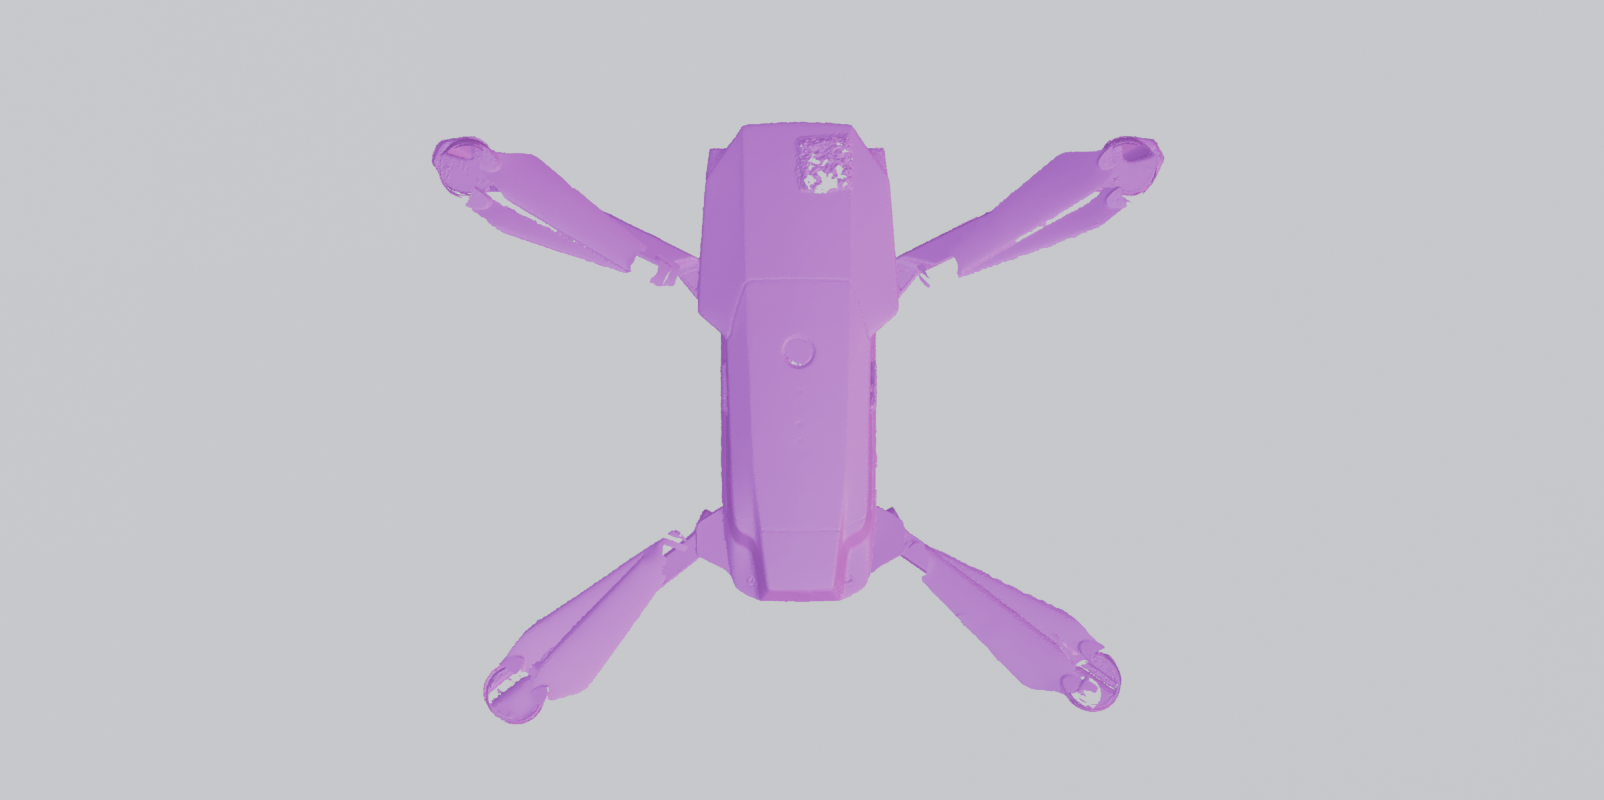
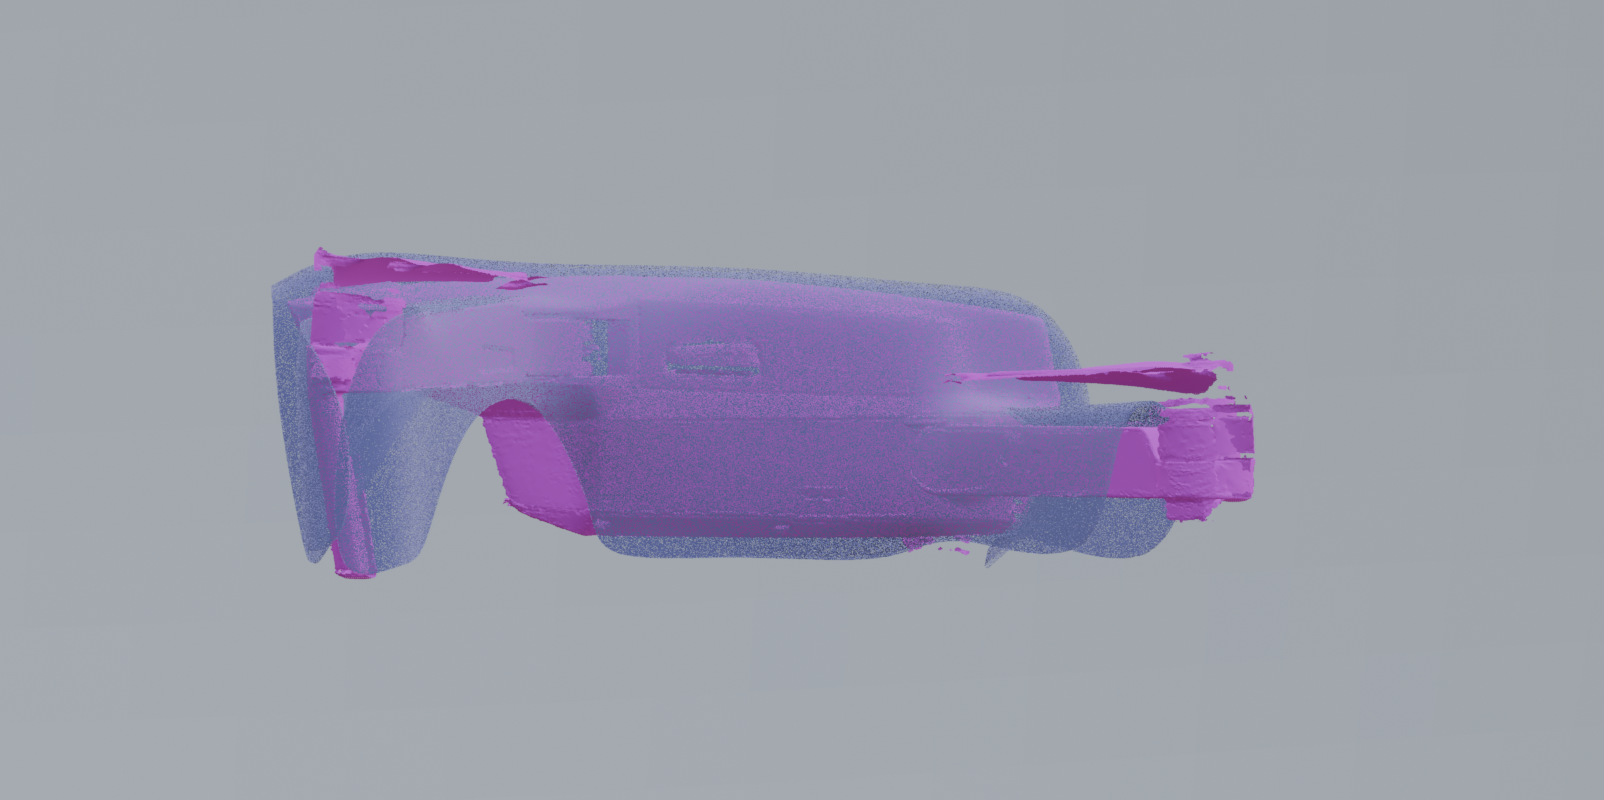
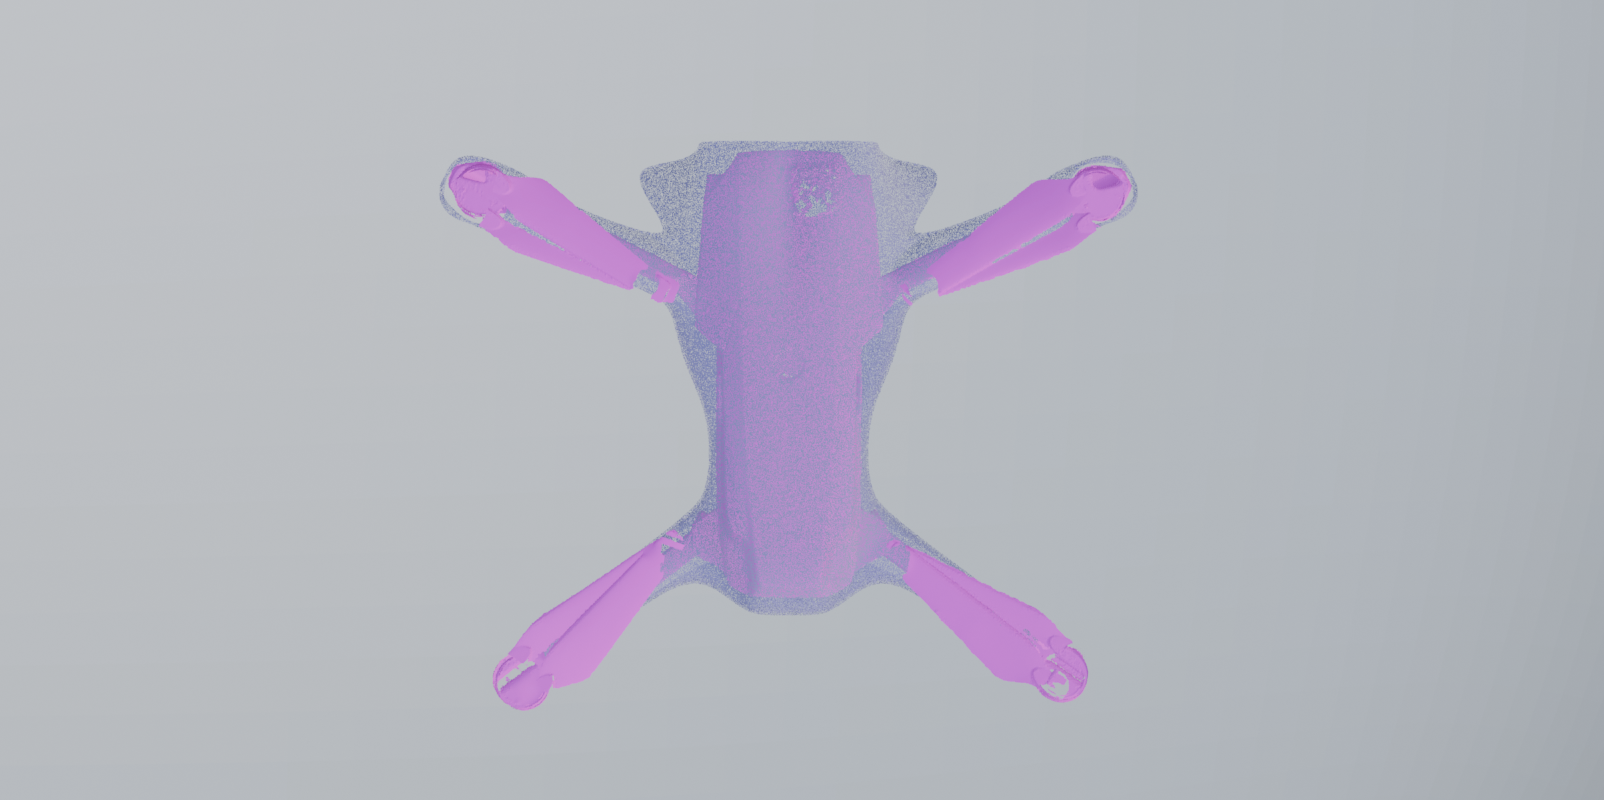
At this point, we also pivoted to the Mavic Pro, the biggest drone in the ITP Fleet. I started by getting it rescanned by Ian in the shop. He knows what he's doing with a scanner. We captured two poses, one with the wings folded in and one out.
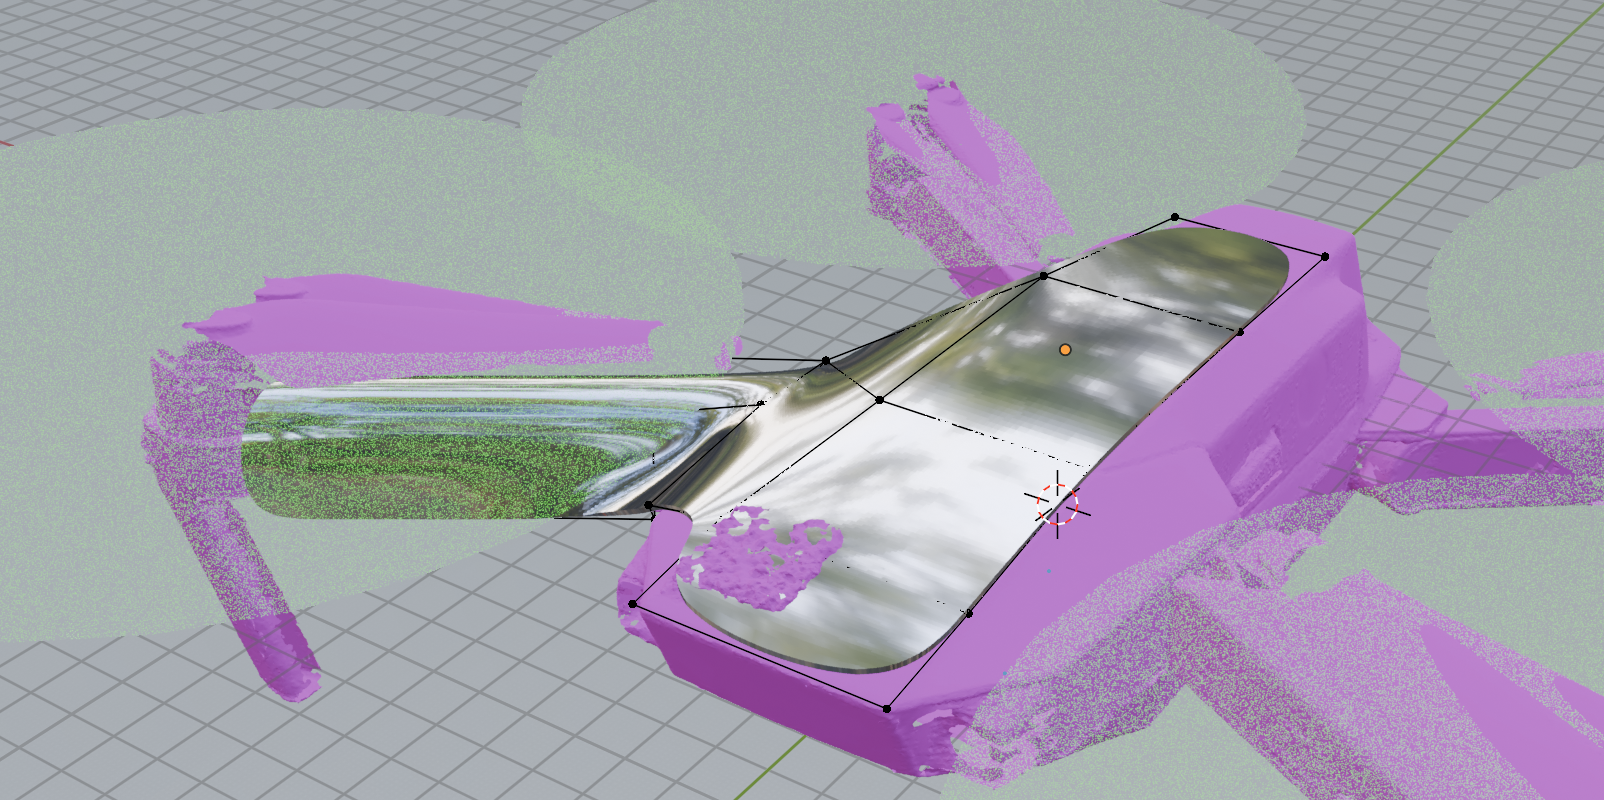
I lined them up in Blender, so here they are composited together. We did not bother to clean up the scan because I was only using it referentially. I could have used a point cloud.
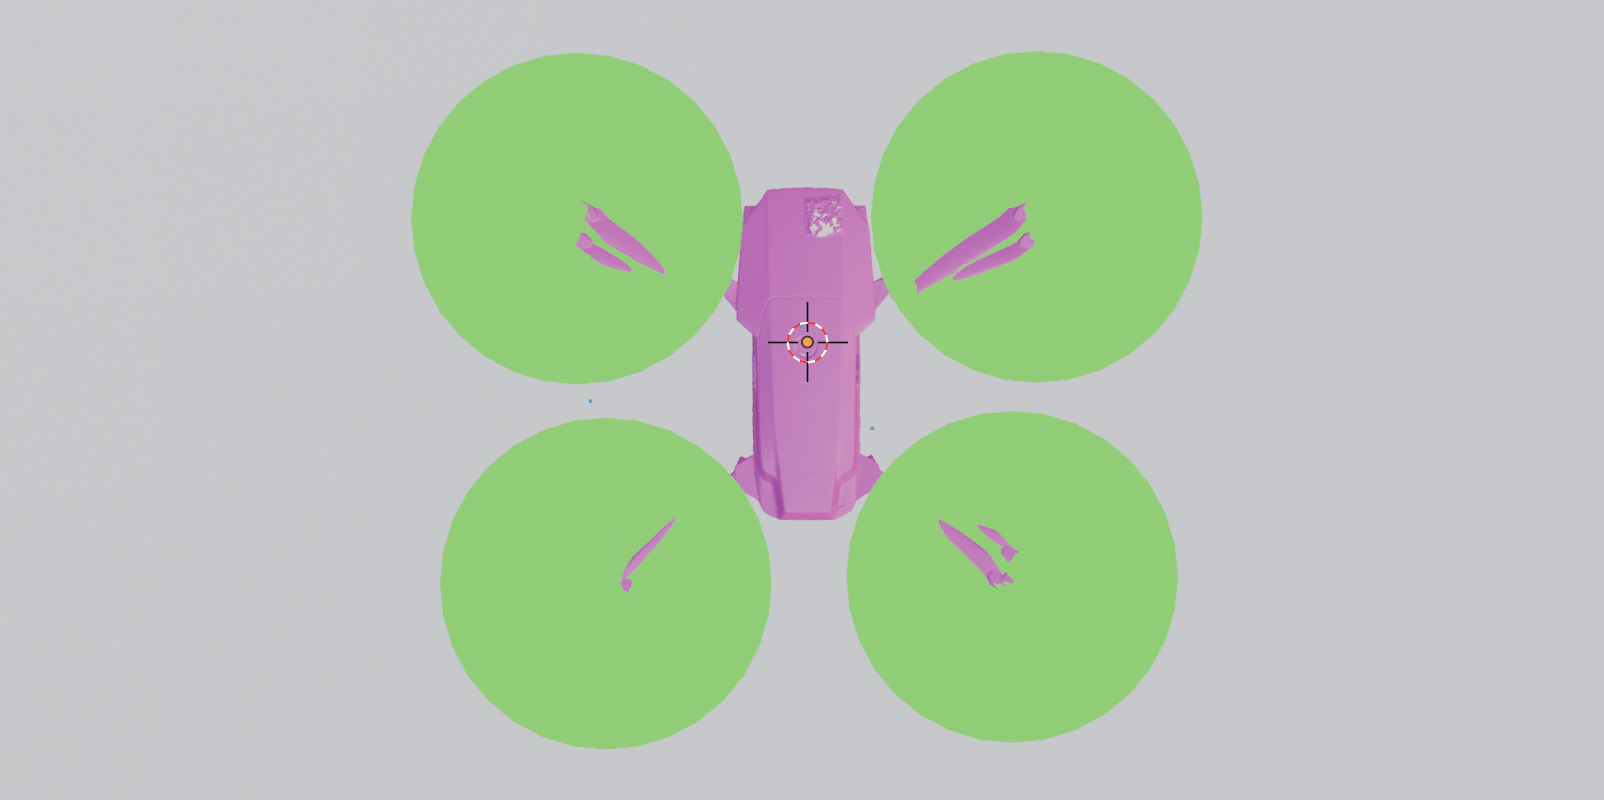
Do you spot here the fatal flaw in how I scanned this which comes back into play later? I love building things. I placed circles on the blade travels to get an idea of the geometry I needed to model around.
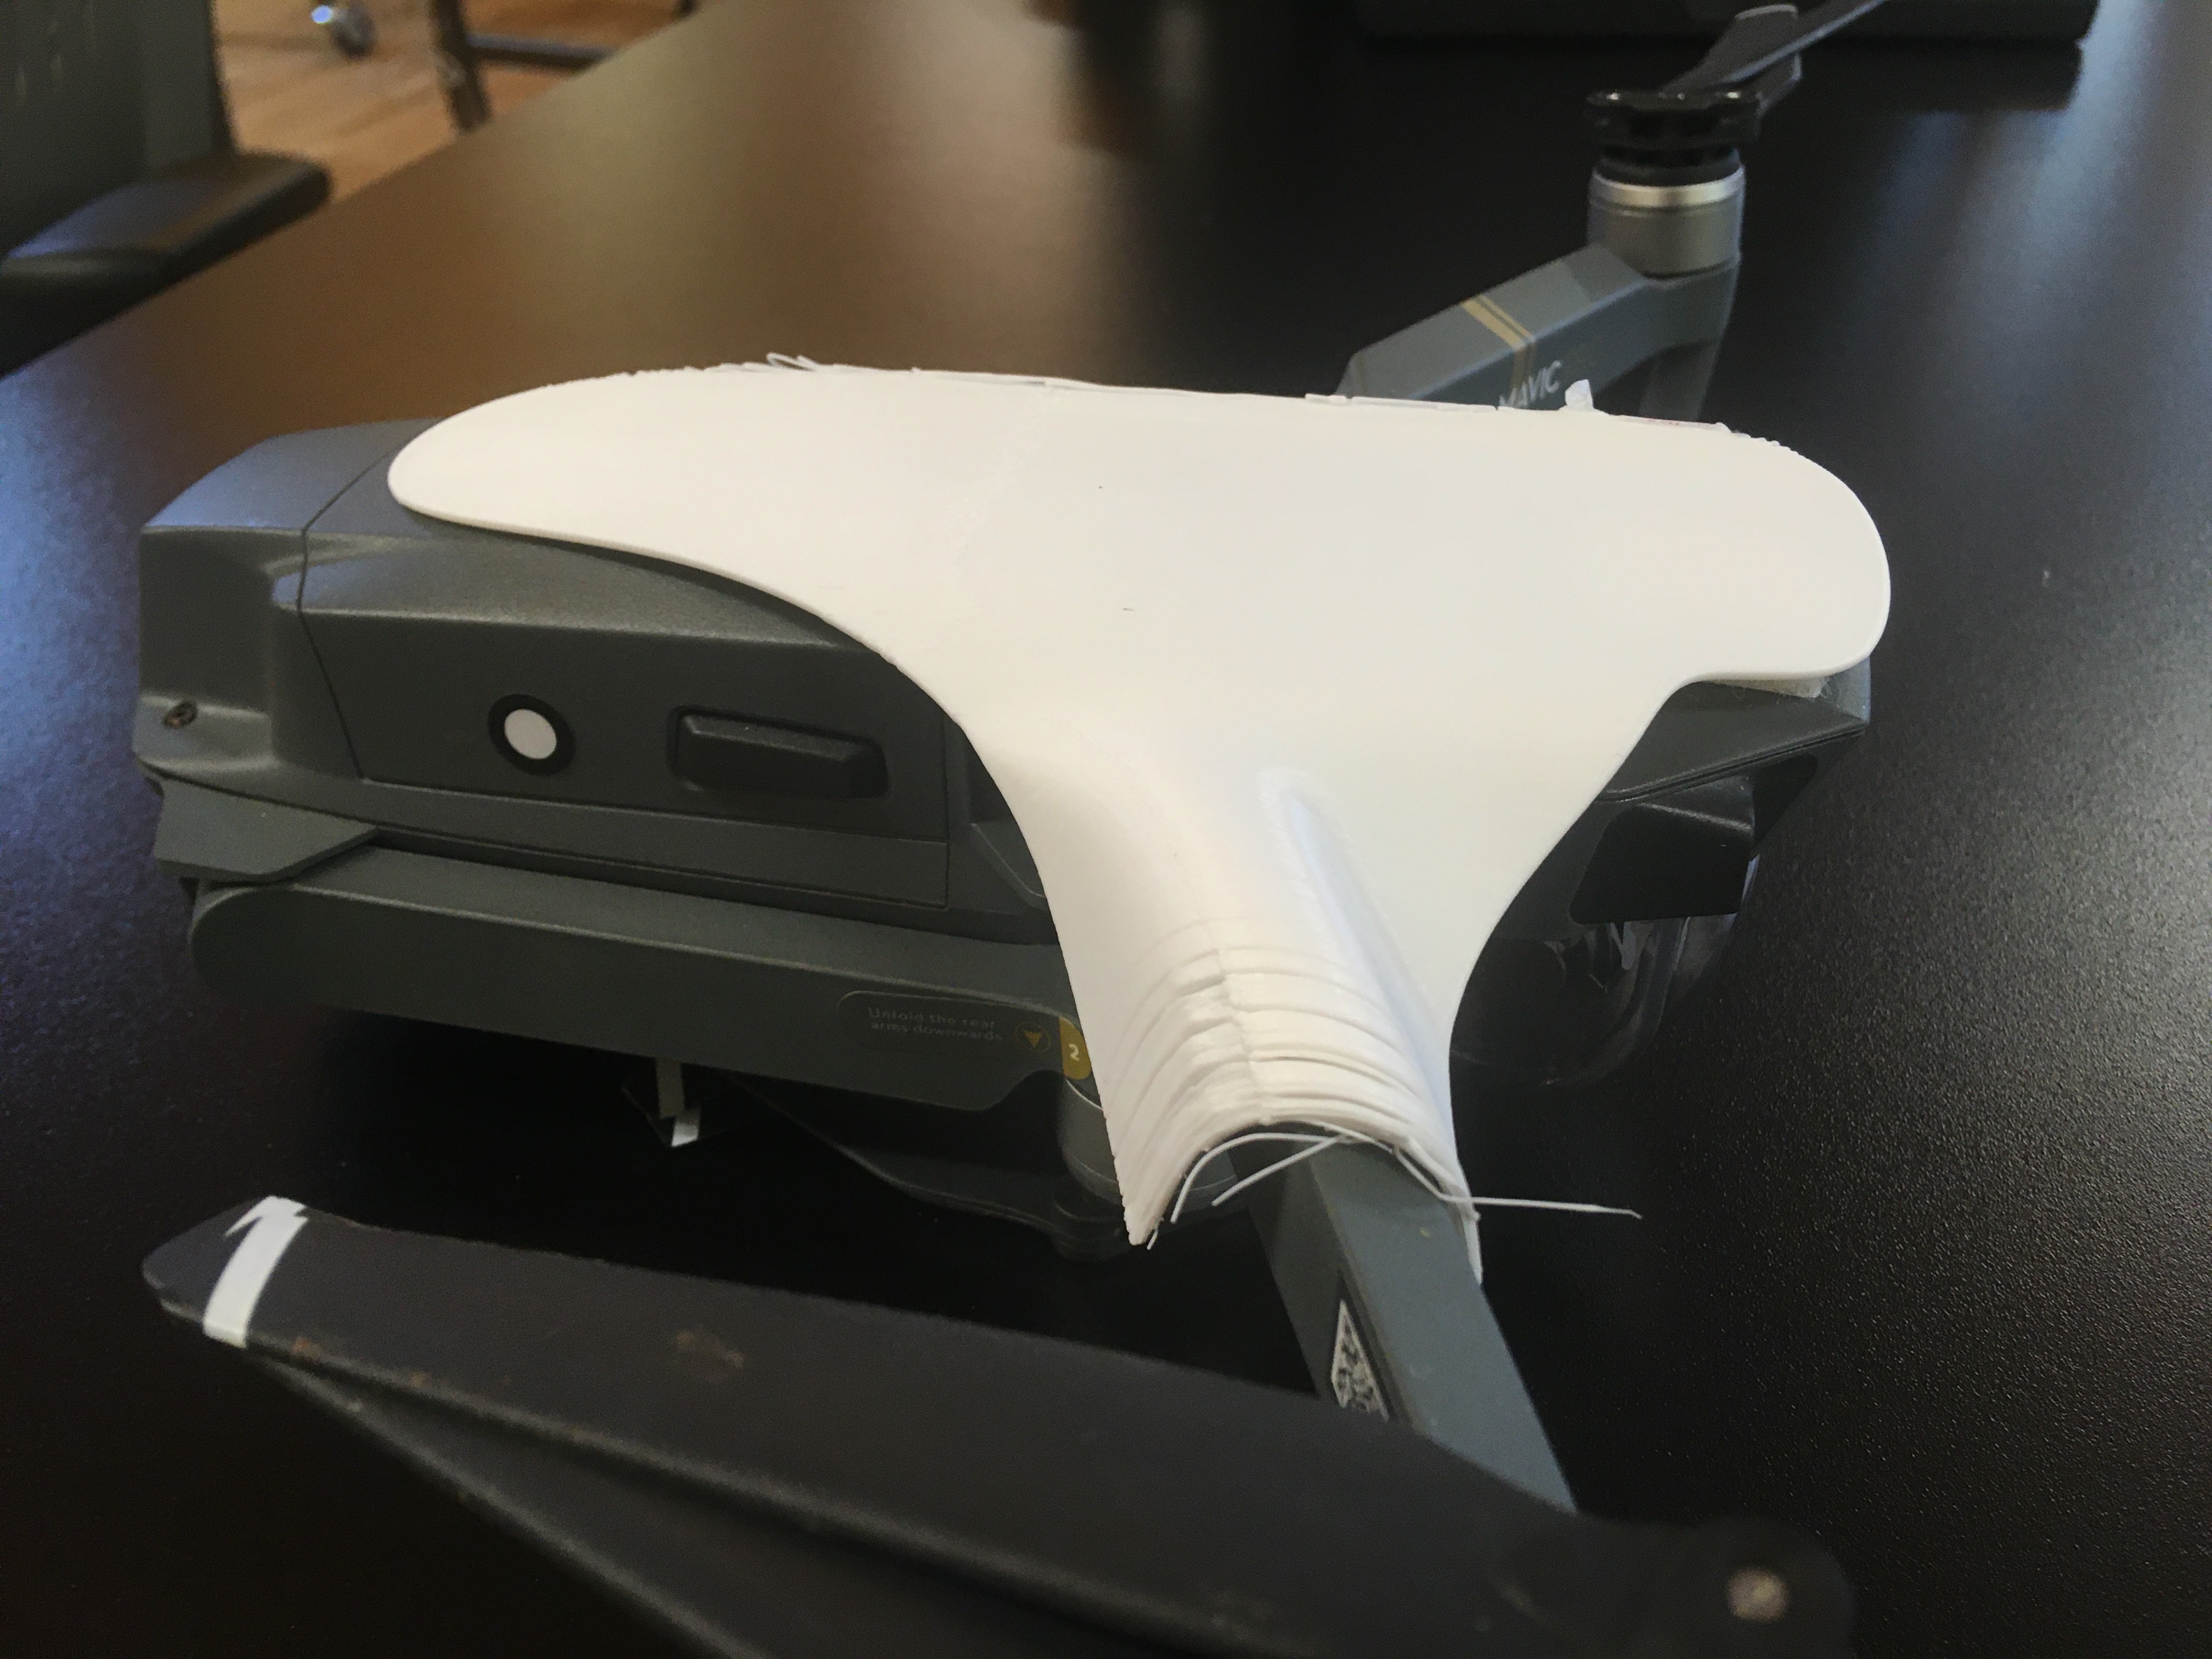
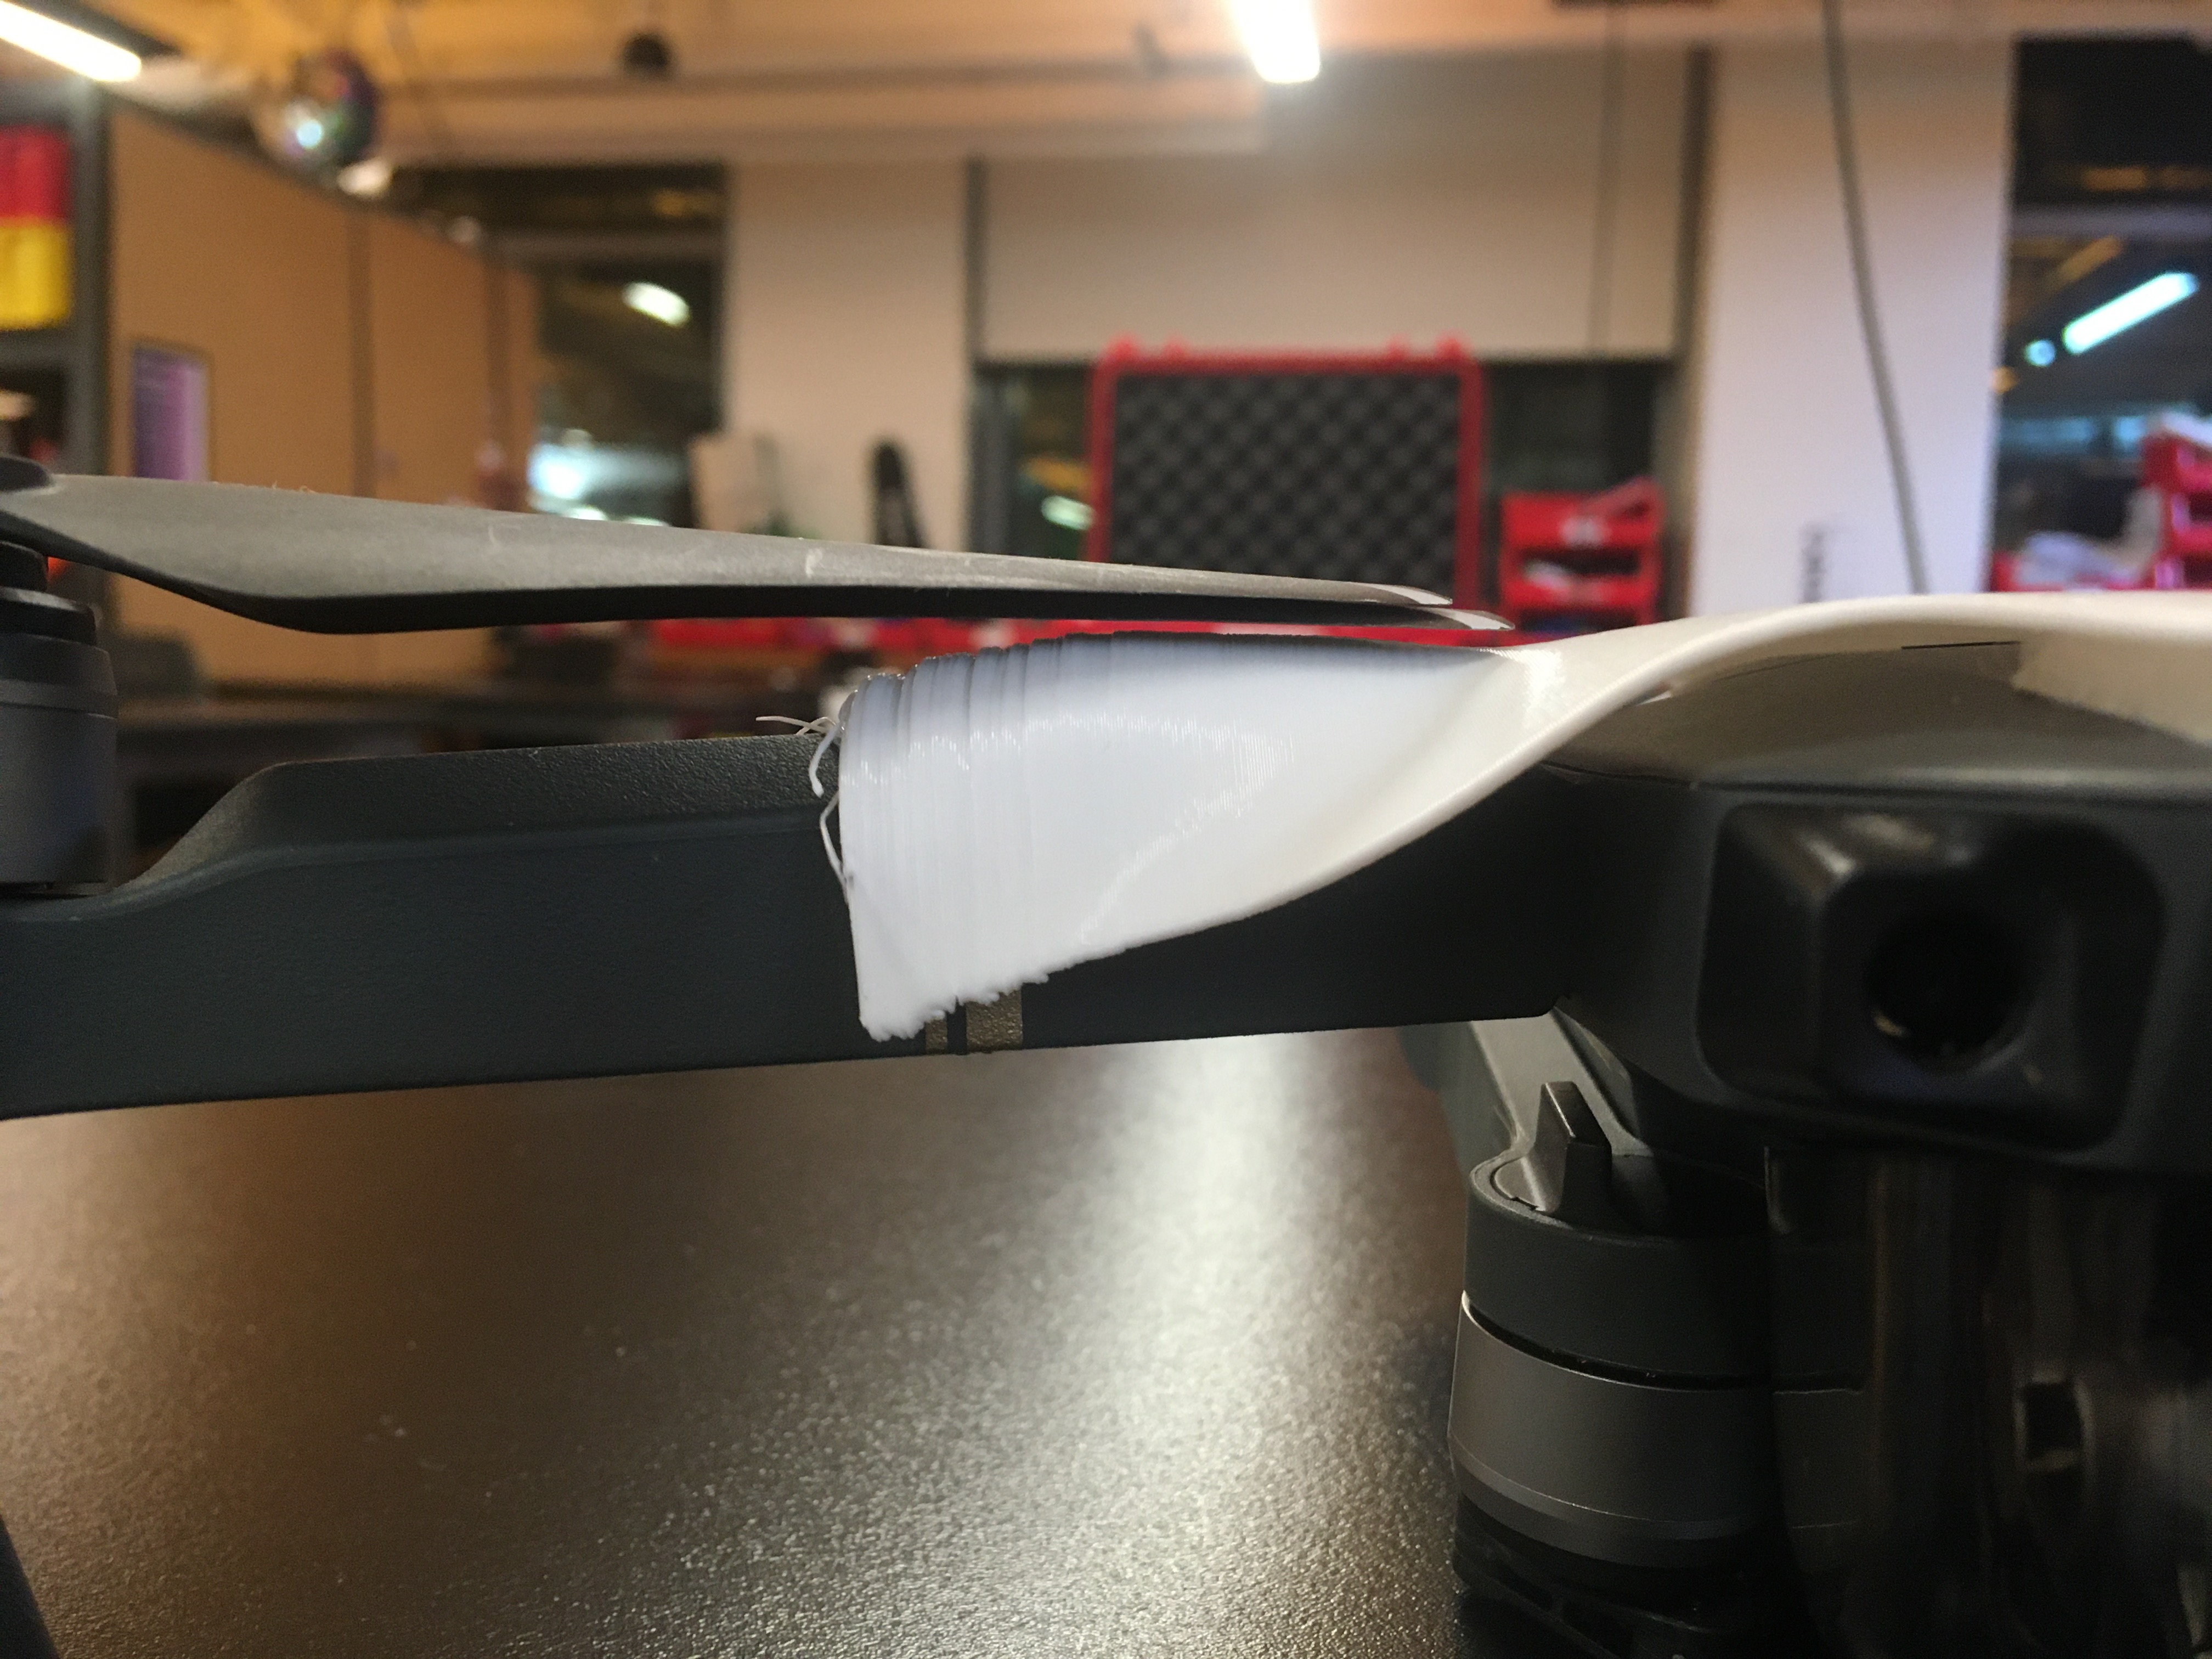
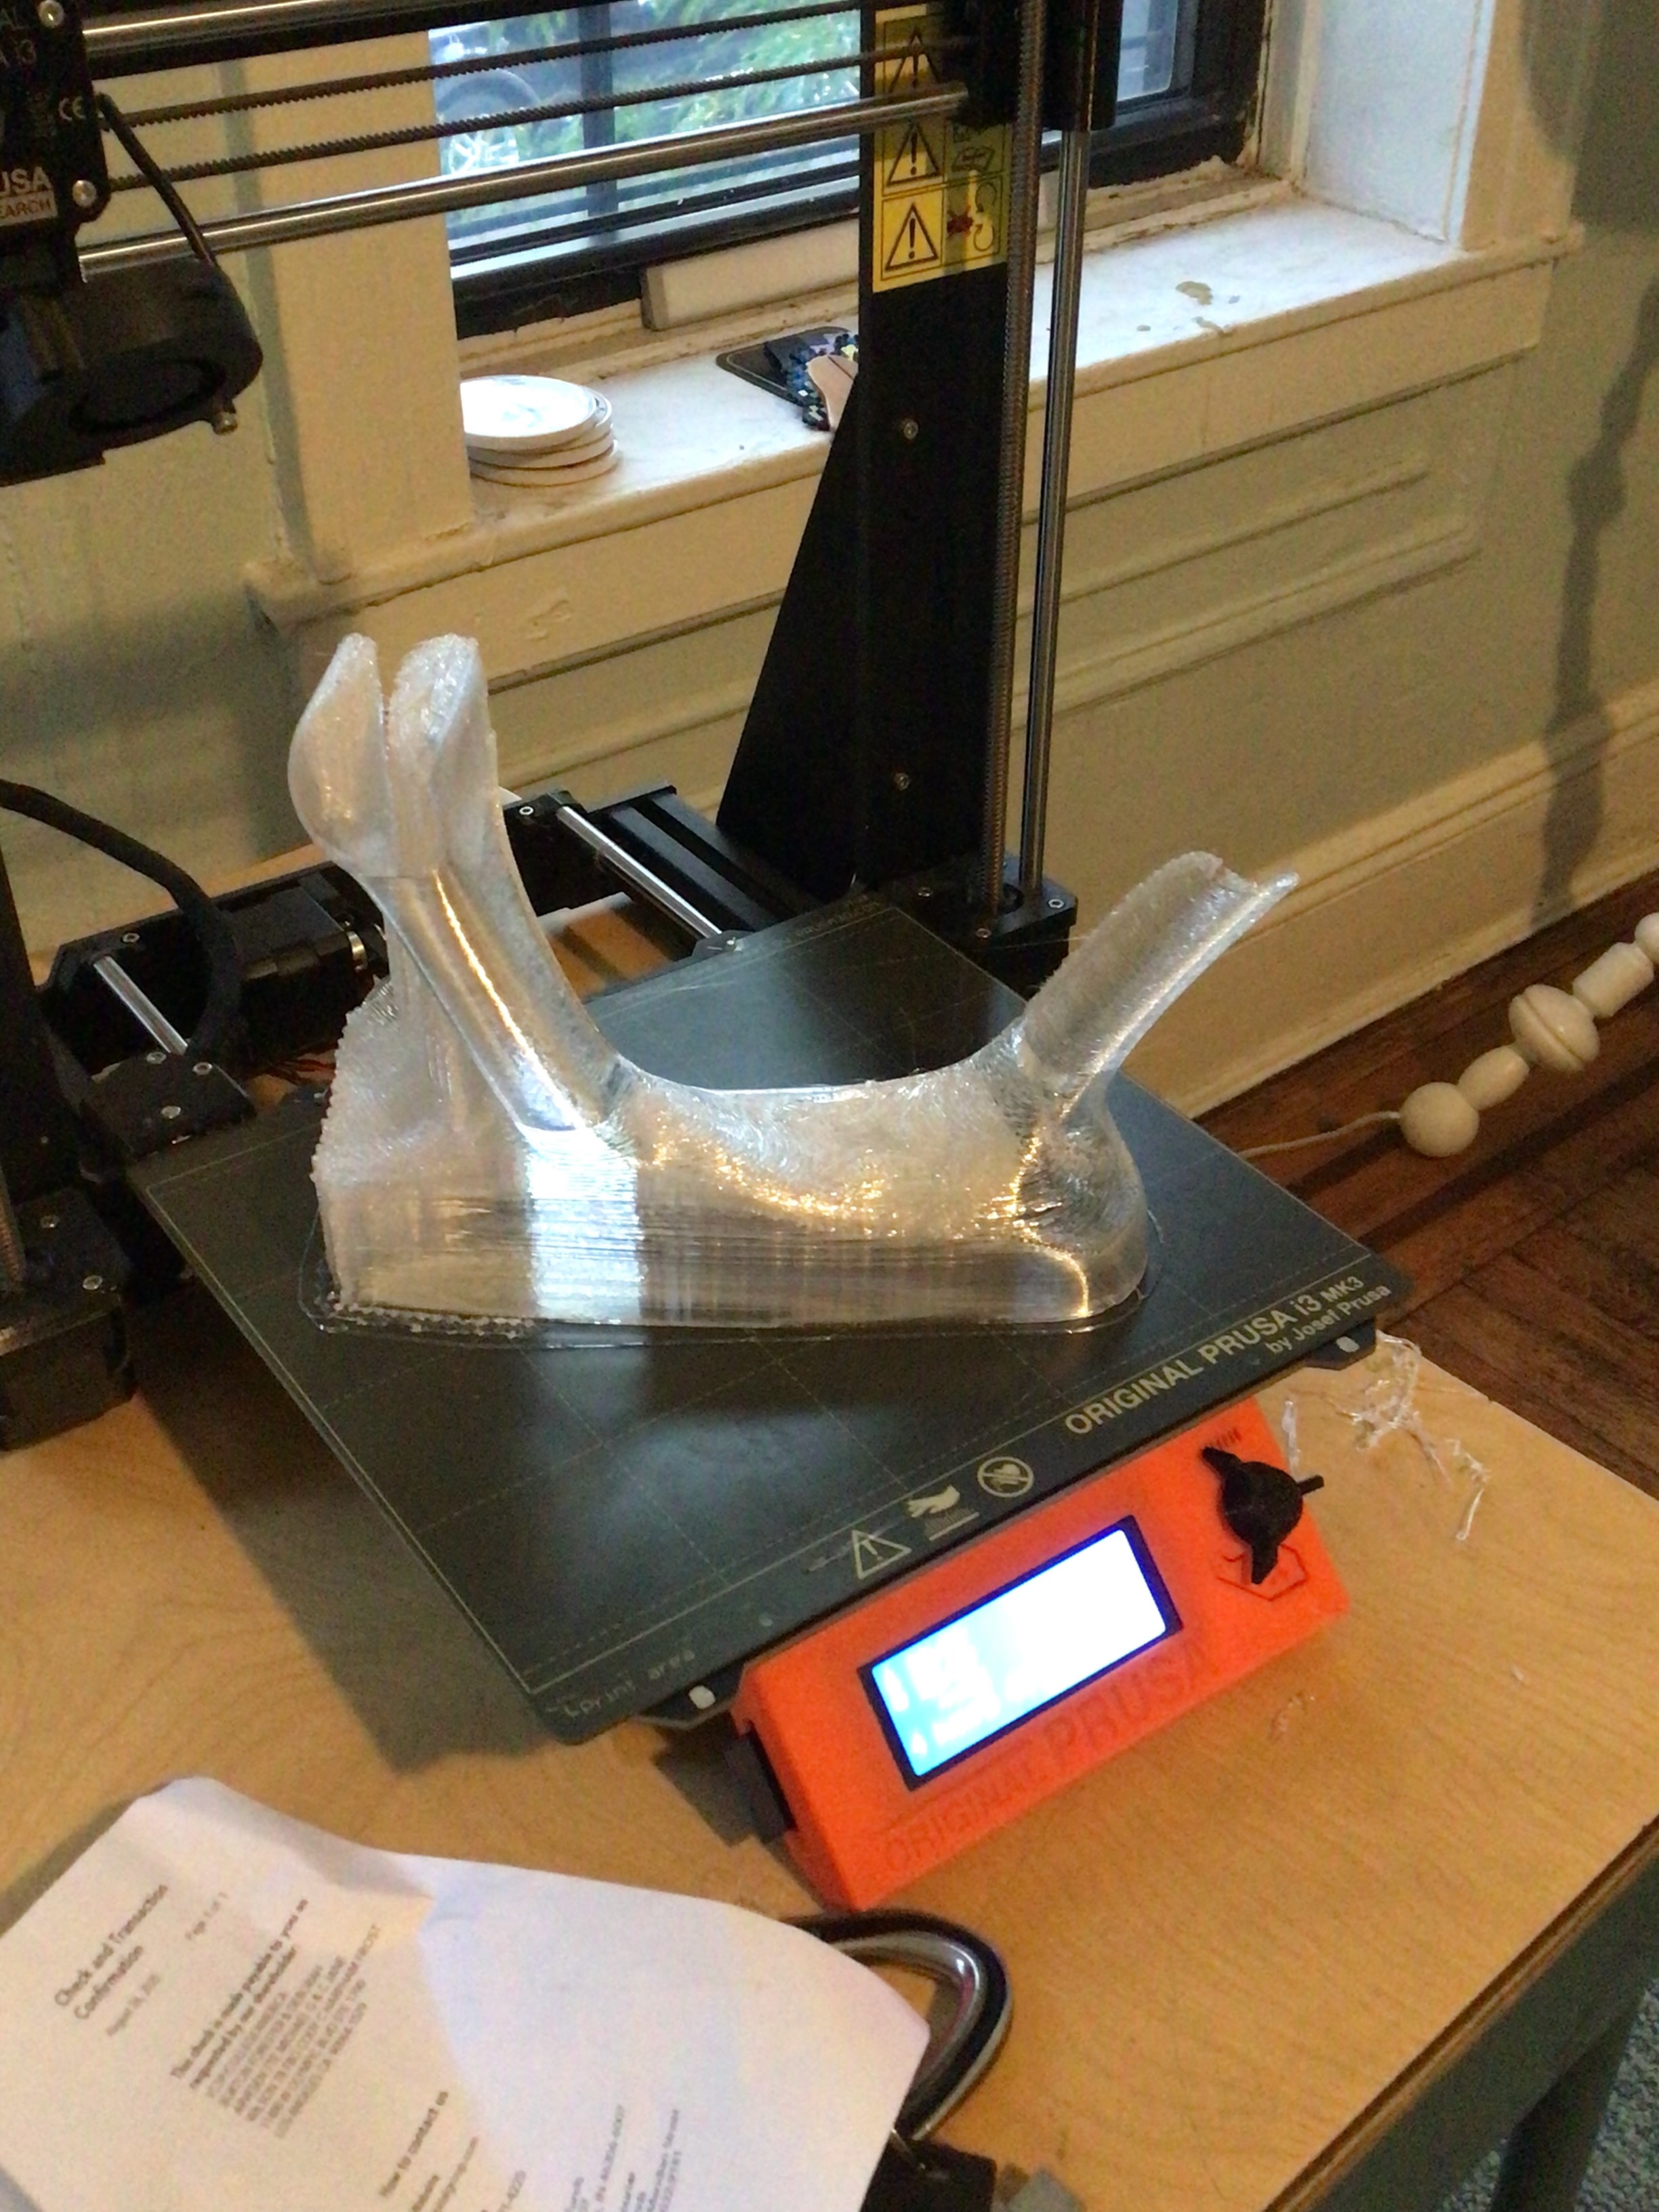
Here is a photo documenting the beginning of my process. I began using a re-topology method to extrude a surface over the body of the drone. I wanted to explore if I could get a piece of plastic under the blade.
I sent the file to the printer and got some support for my style back in an hour. The depth of my model printed well and I was able to fit it nicely to critical parts on the drone. I liked how the drone body began to melt away.
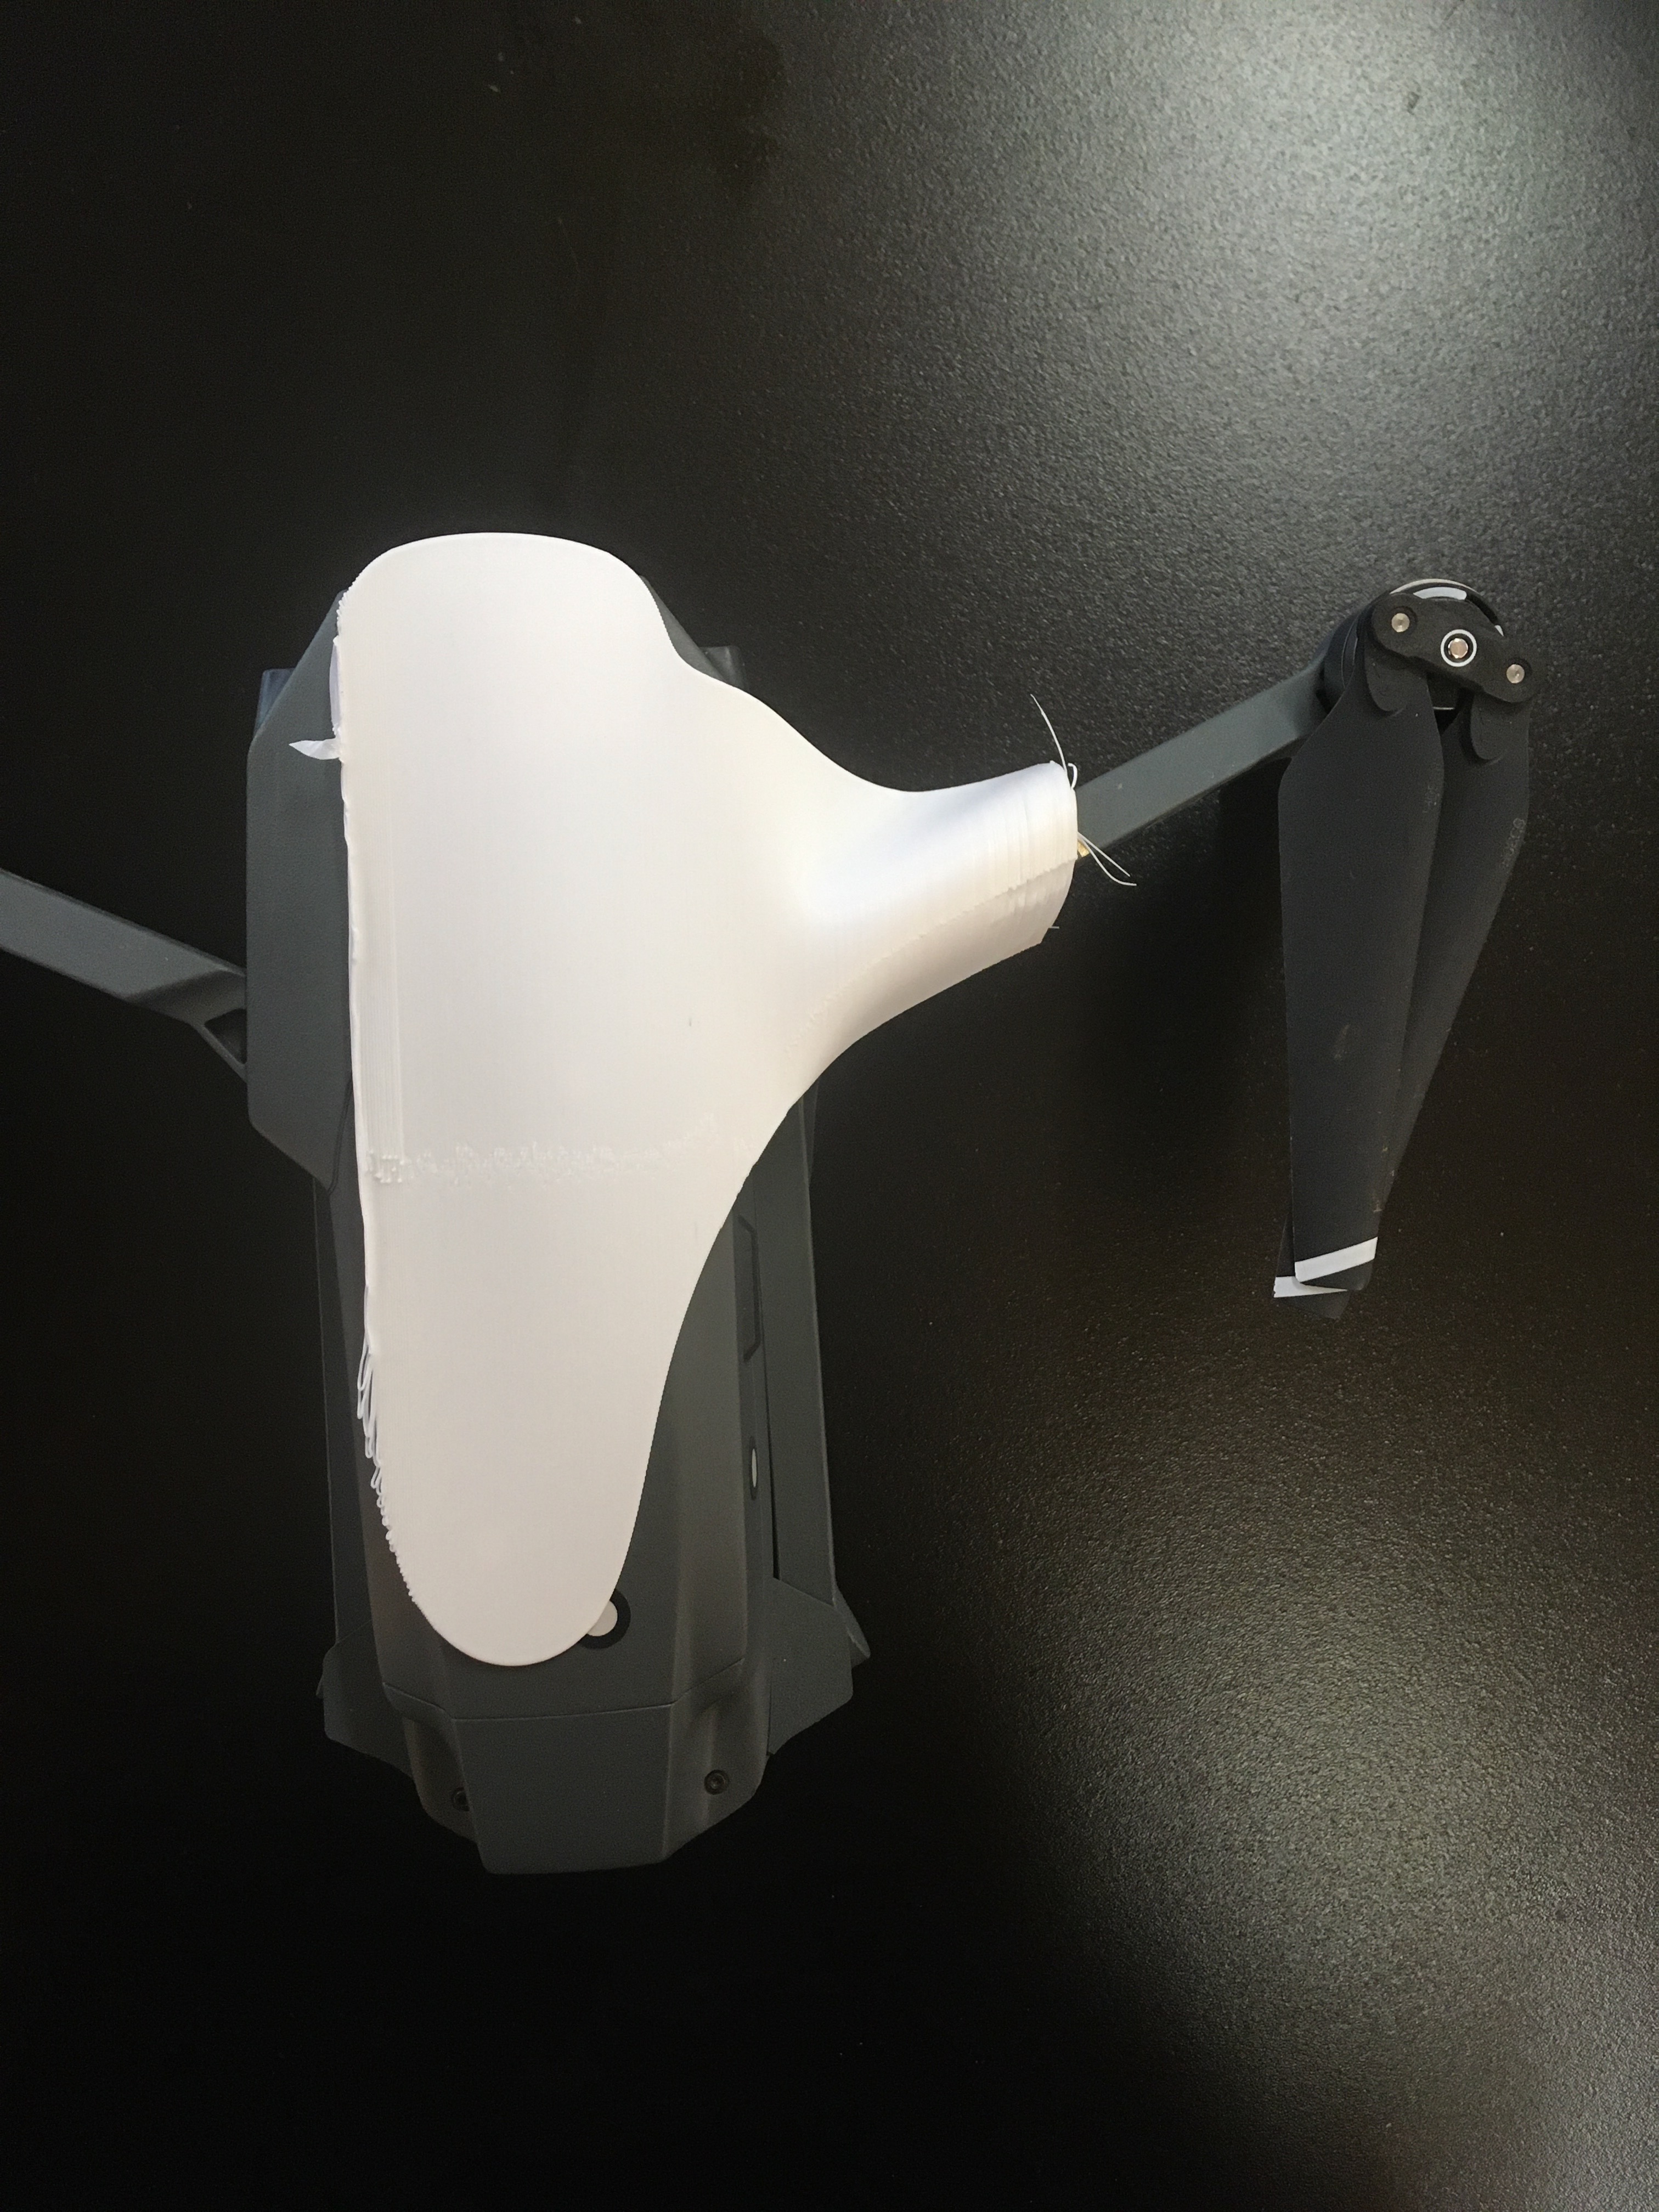
As I continued to model I got closer and closer to the shape of the drone I was squeezing the form of the plastic onto.
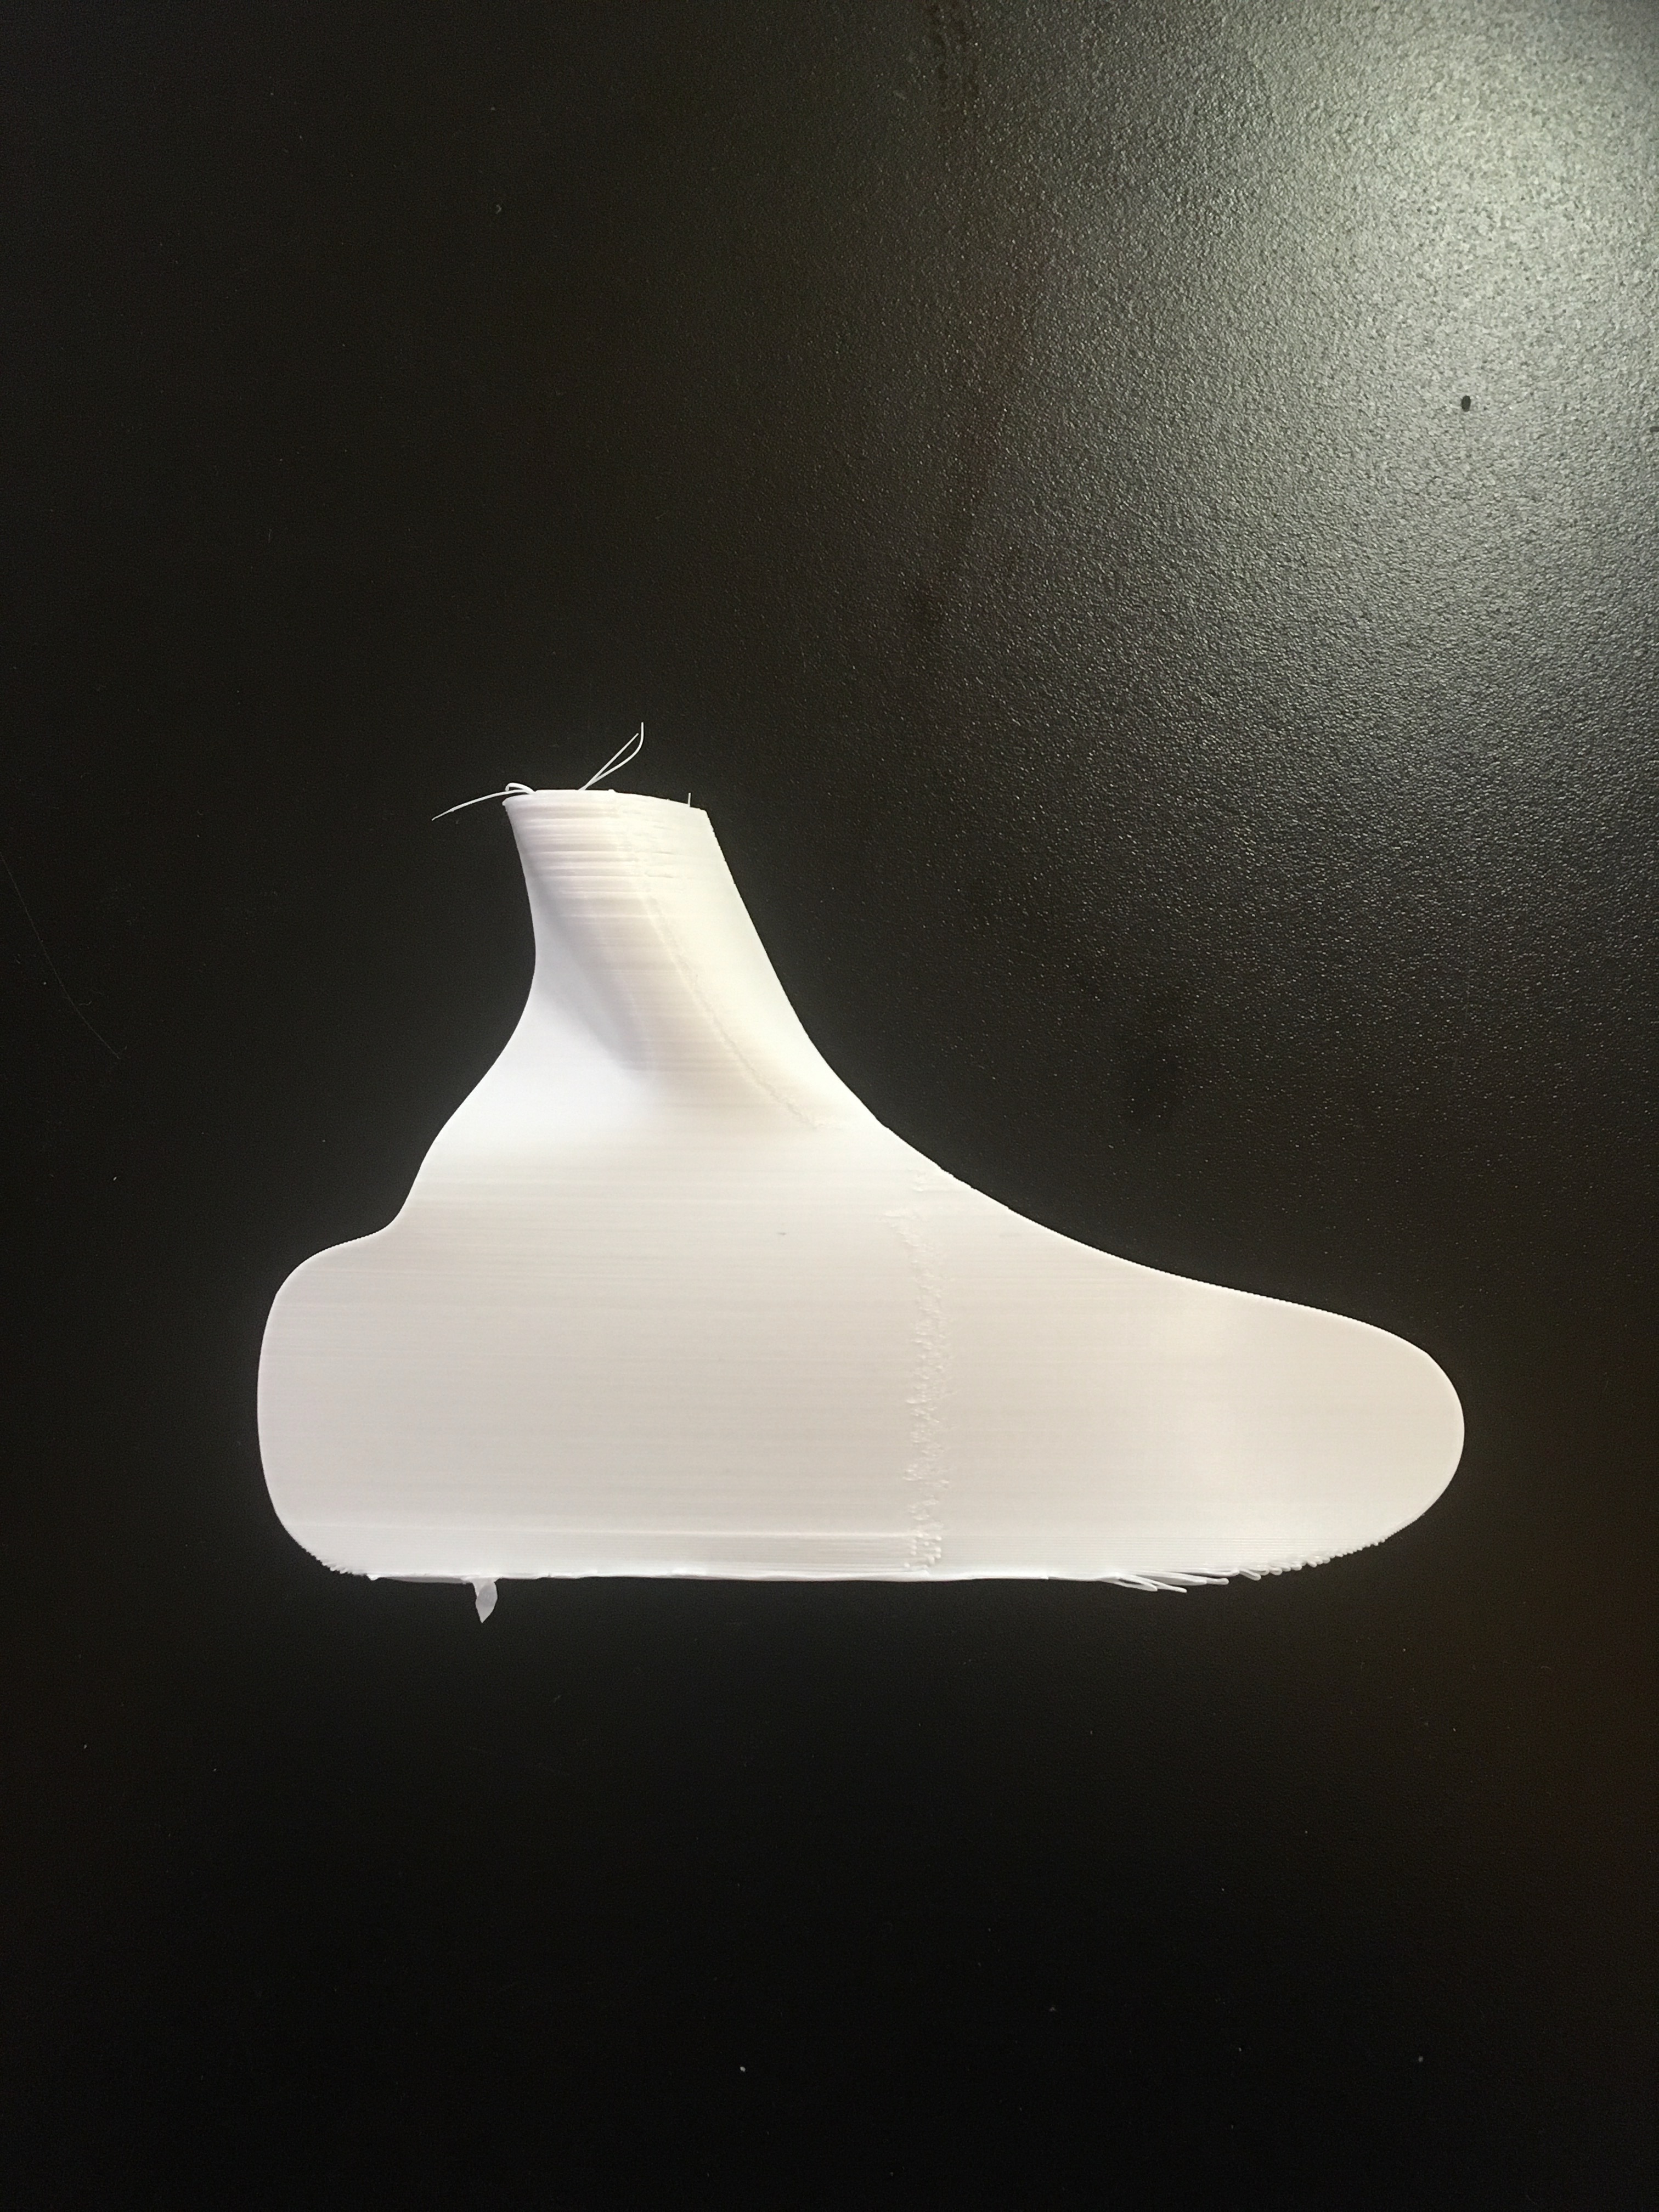
This one also has these cute little ears on the front to try to dogify it a little.
My first 3D print came off the bed pretty messed up after I got all the support off, but it was a good test to put my model into IRL and fit test it.

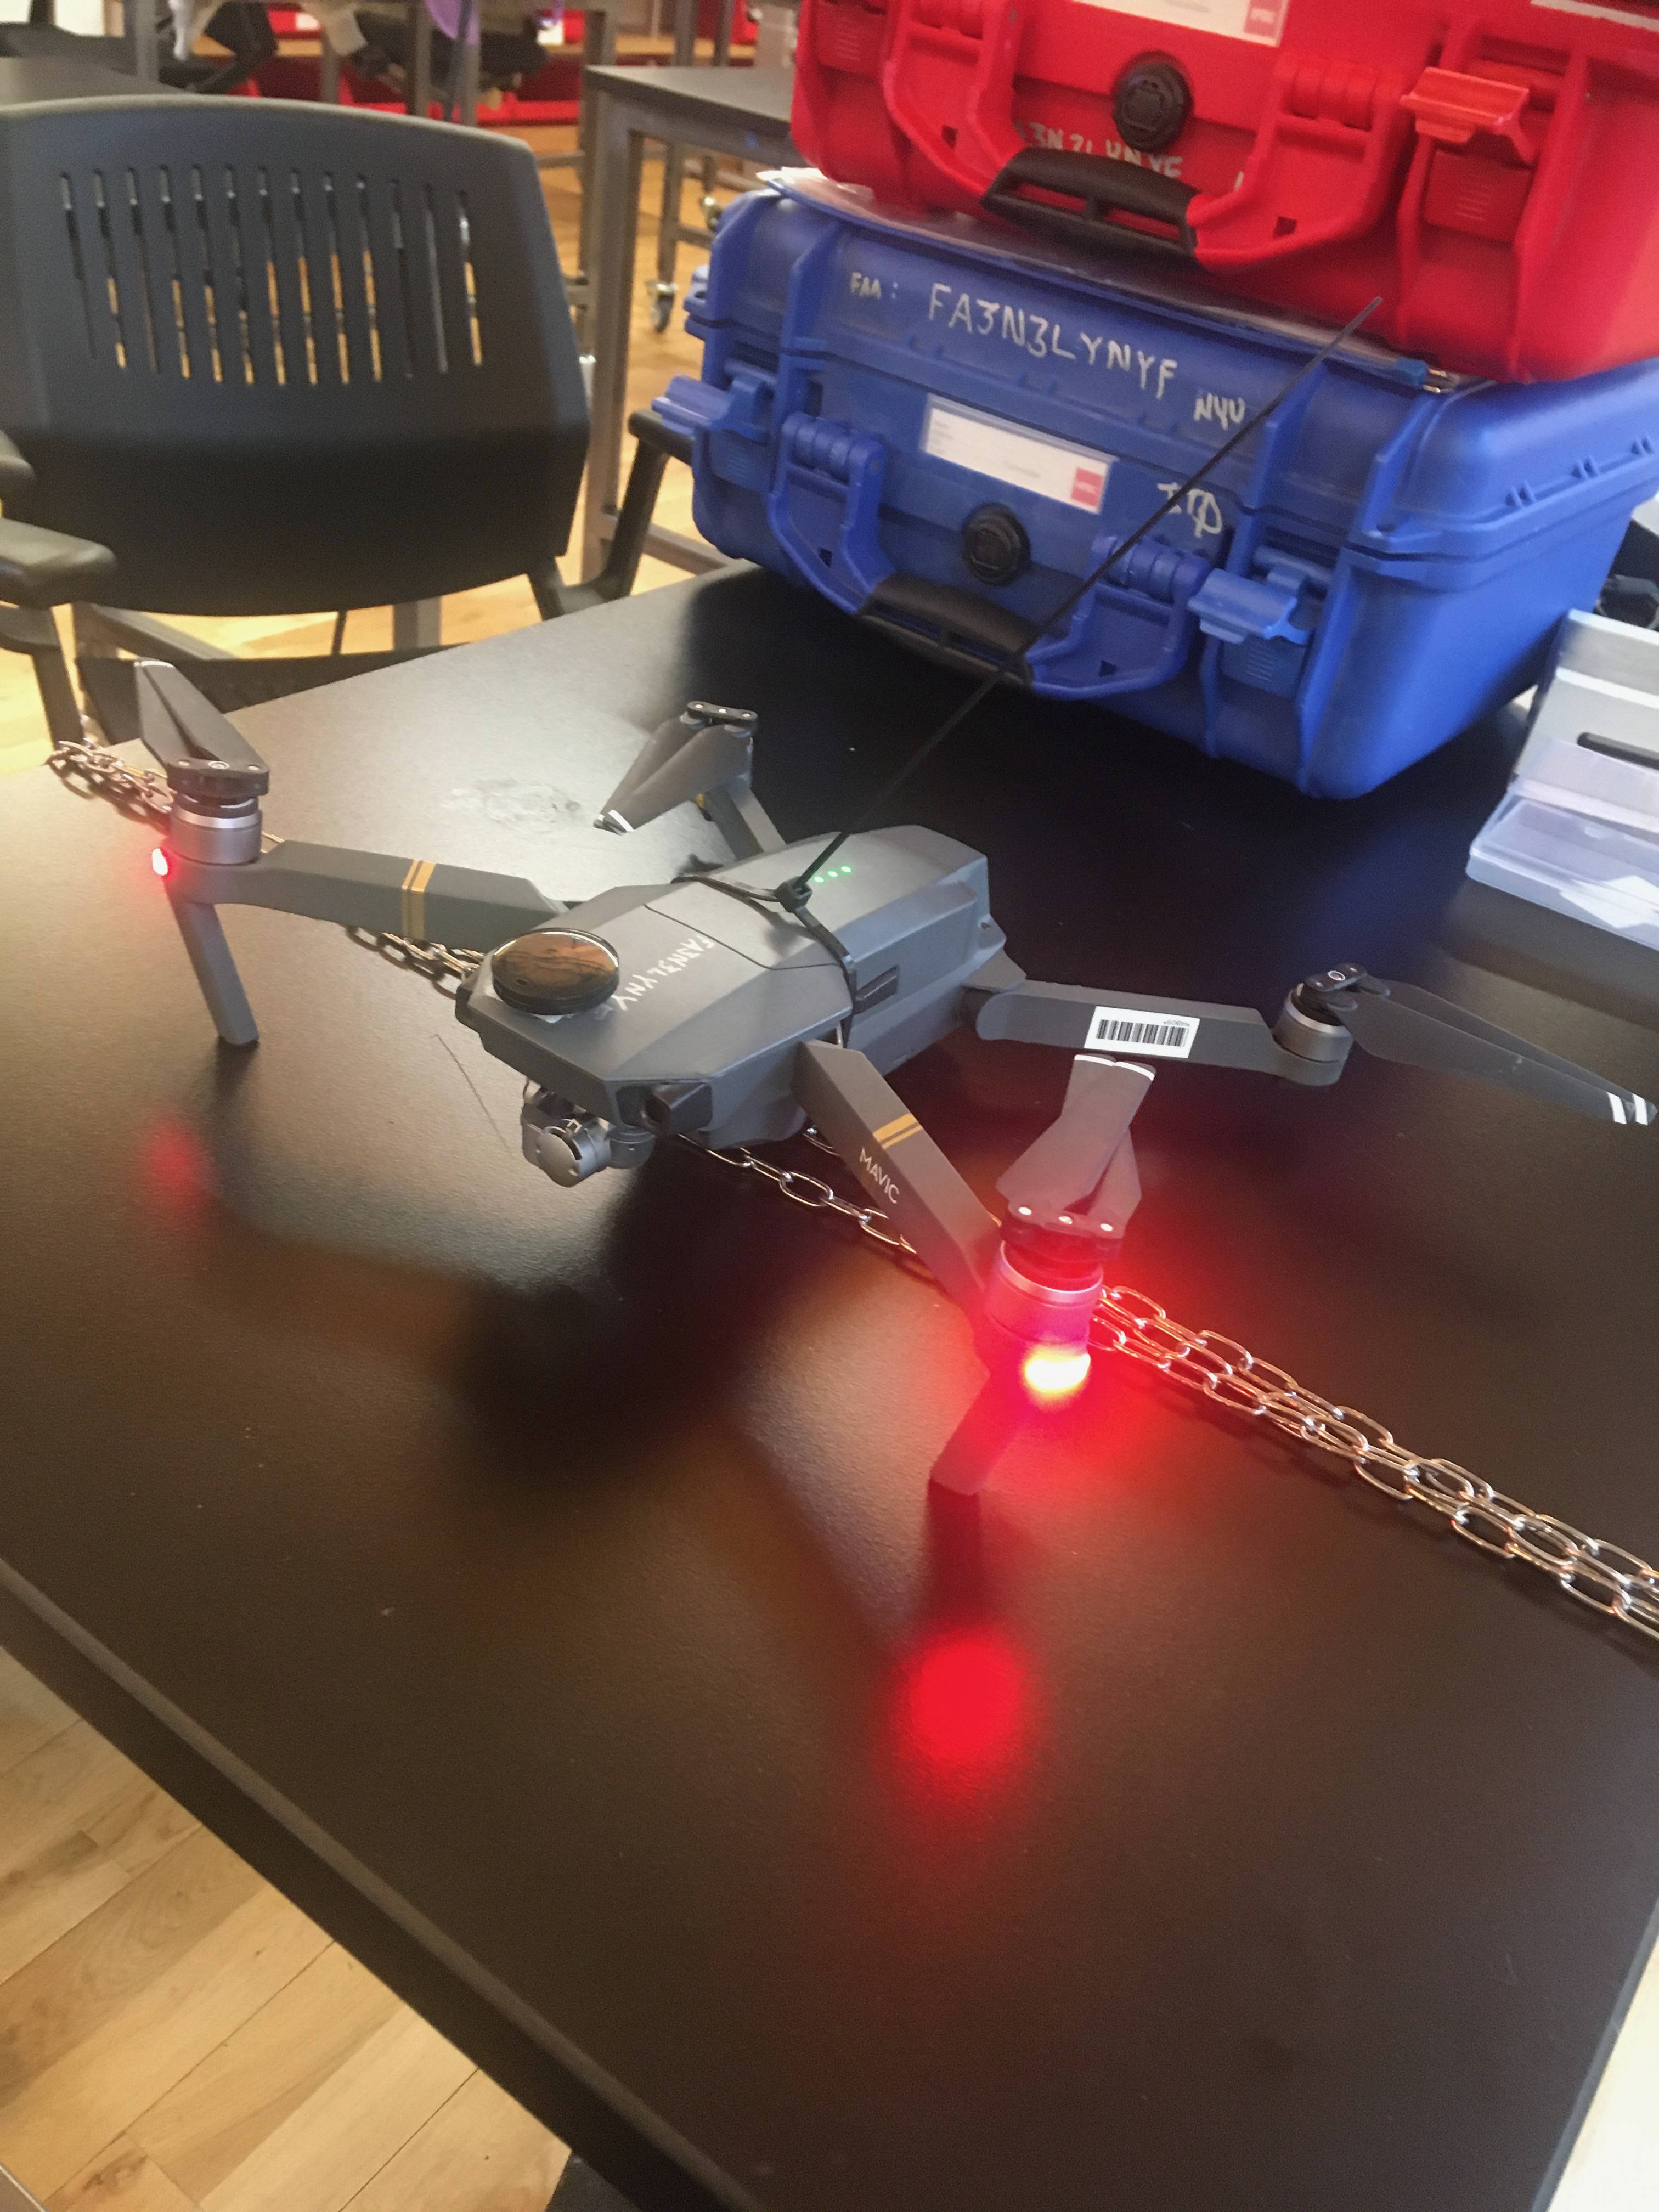
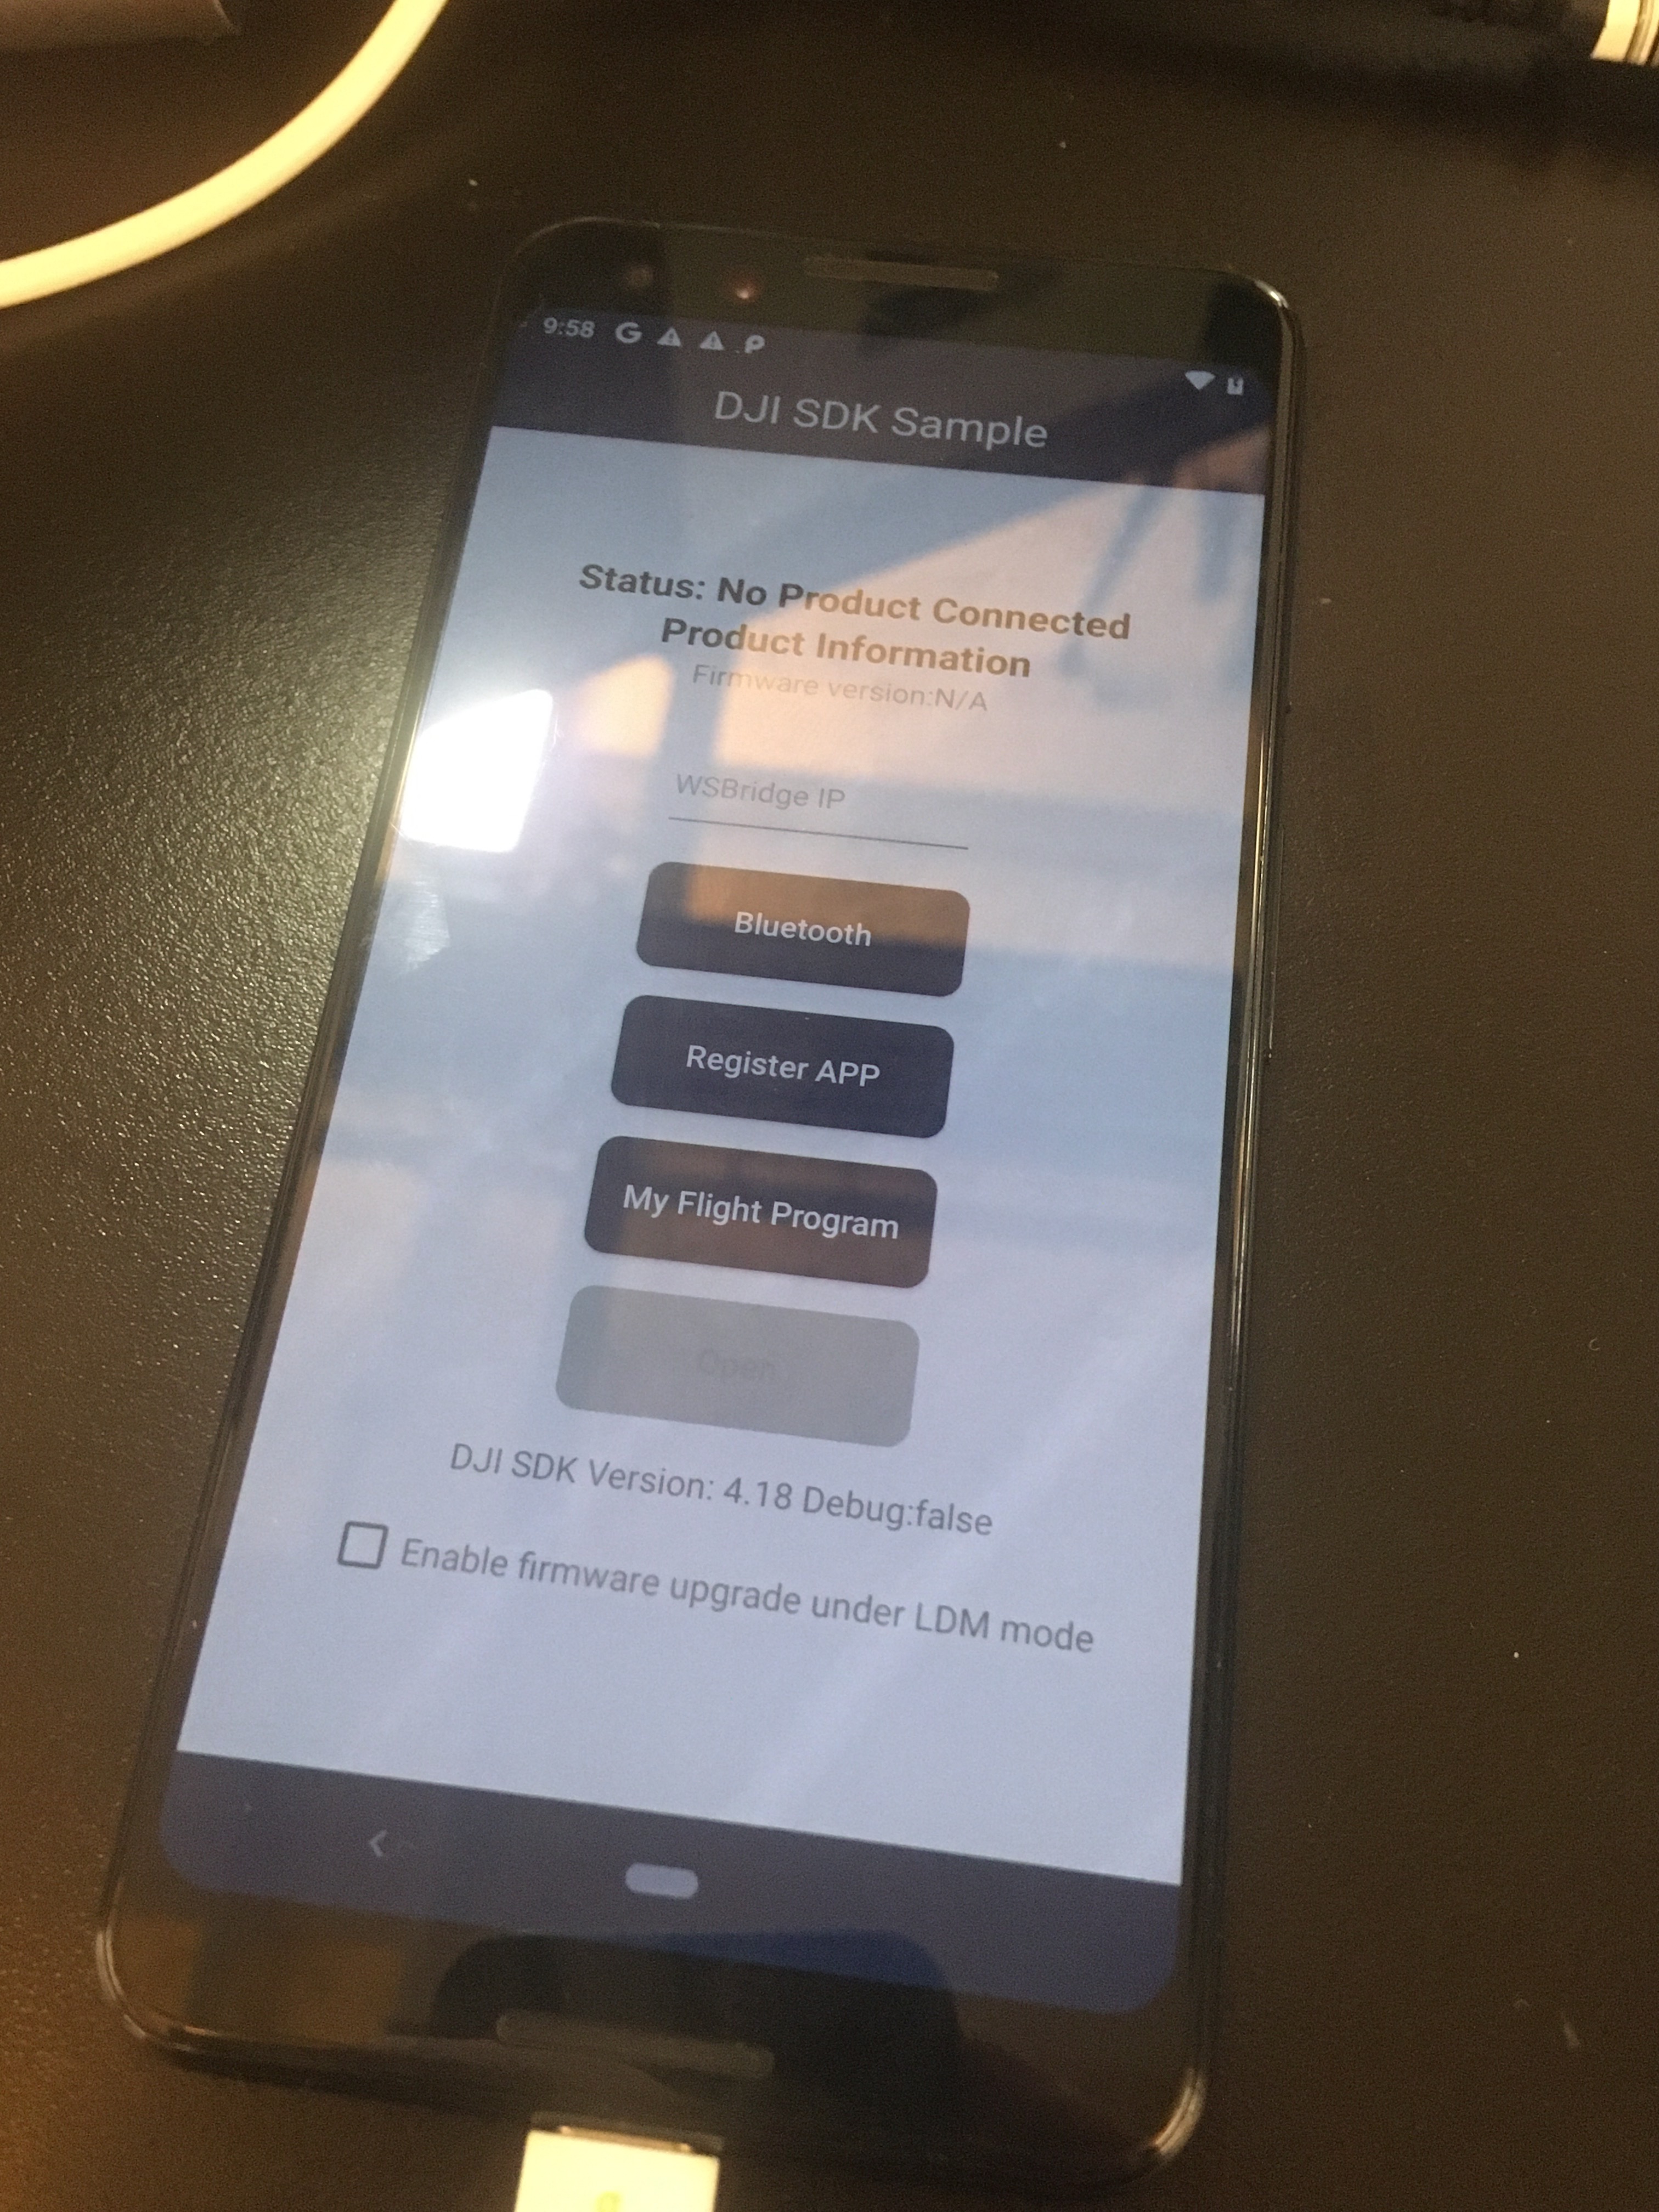
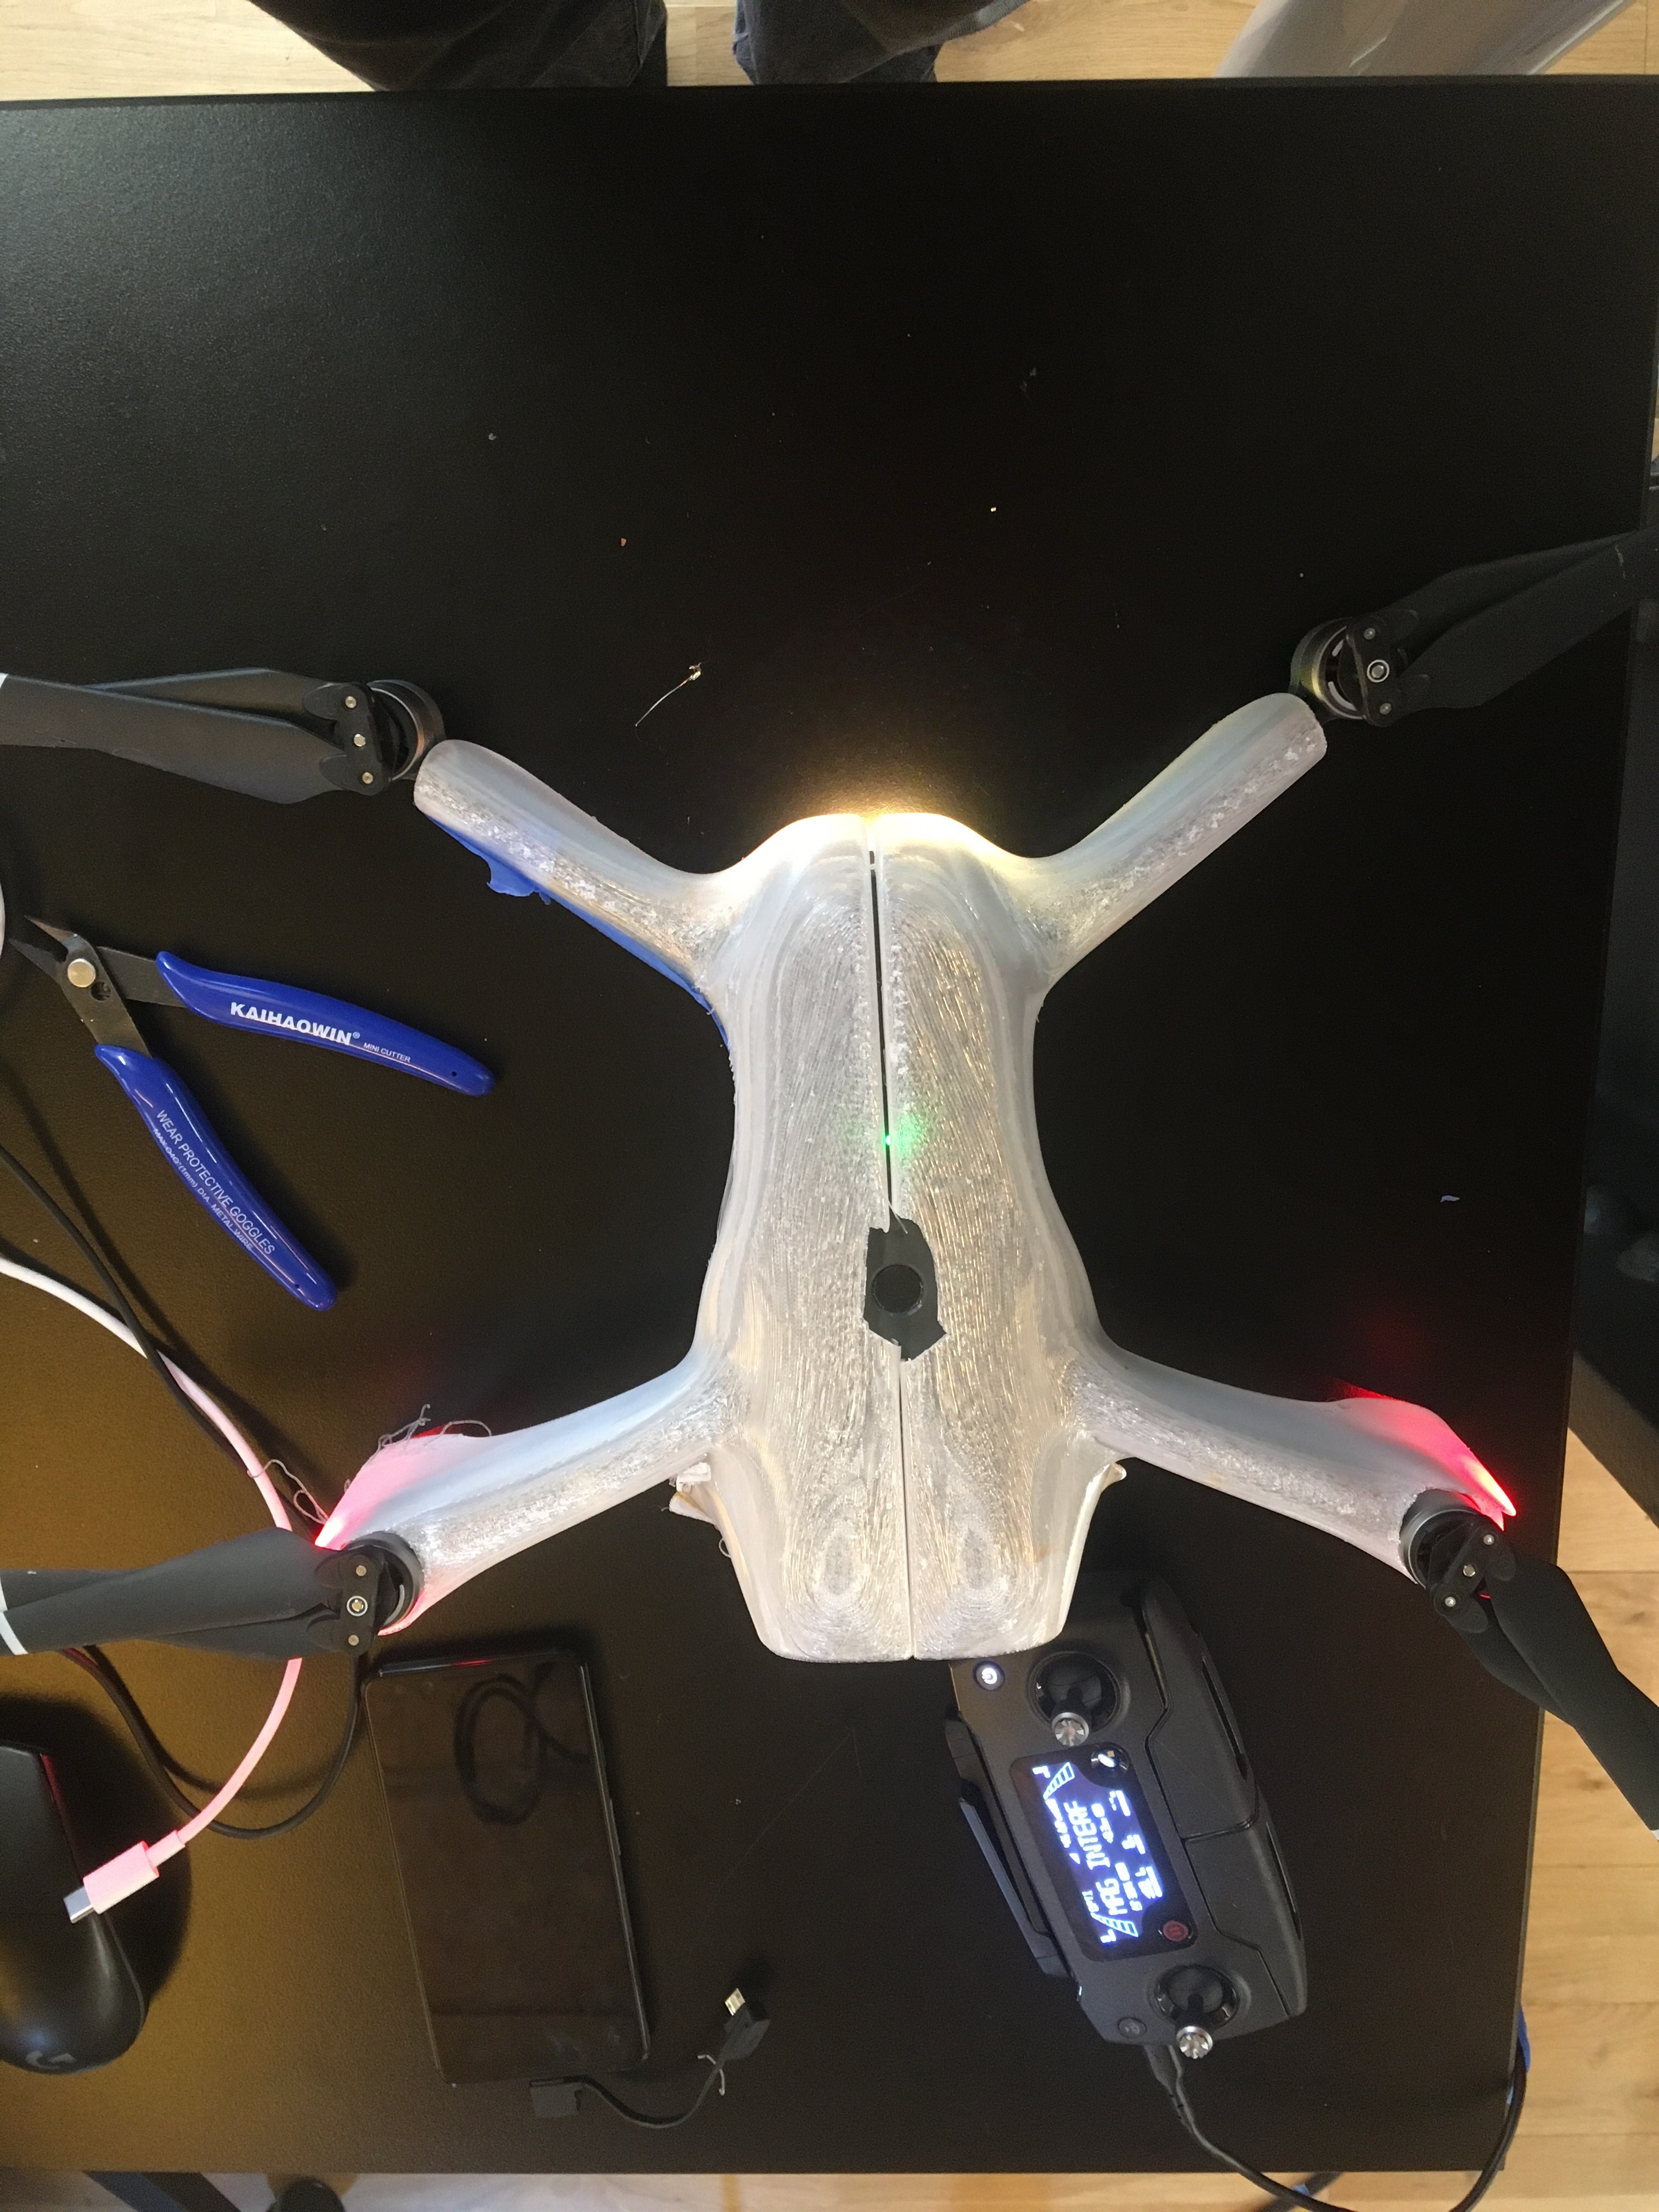
This was September 21st at the start of Week 4 of the semester. At this same time, I finally got the sample app for the DJI SDK to load onto a Google Pixel 3. The key to ending the struggle was to fully downgrade the phone to the Android version which was current to the time the SDK was written. I also downgraded the SDK from the 5th version to the 4th version, along with the Java version and the "Gradle." The whole process before I bossed up and started driving with a plan in mind was a disaster. I spent a long time working with an AI to update the 5th version of the SDK to modern Android. When I started to control the versions I was working with, everything fell into place and I was able to get a drone to launch via the app. I was so surprised when this happened that I had not even thought to secure the drone and it flew up into the air. I panicked and plucked it from where it hovered in the shop and pulled the battery out. It cut me on the hands in a way which on October 5th is now healing. I printed another skin overnight and the chain came. I wouldn't be caught unprepared again.
Second print of shells and chain
That night, I stayed late to develop the app and try to get it to launch the drone again off of a button press of my own creation. I chained the drone down to the table and secured it with a harness of zip ties. I rearranged some functions of the sample app to replace the UI element which previously launched a registration process which could occur without an internet connection. I tried to move the buttons around, but struggled. This new button I made "My Flight Program" initiated an automated takeoff to a height of 4 feet, and then settled back down.
App Development Testing
When I launched the program, the drone revved up and didn't stop. I saw it rocking back and forth against its chains and I got scared. It began to tilt towards the table, an unrestrained limb drew its wings closer and closer to the edge of the table and an explosion of plastic shards. I got up and held it down with my hand and tried to hold down the power button, the drone refused my command, still preoccupied with putting 4 feet of distance between its distance sensor and the table beneath. The battery was held inside its body by the zip ties I had "secured" it with. There were still a few students left on the floor at the time, around 10pm, and I didn't want to make any more of a scene. I cried out asking Fabrizio to get a pair of flush cut clippers out of my tool box, which he did quickly, I clipped the zip tie and pulled the battery out. I realized it bit me again.
Ray had OpenCV working to detect people using all the same versions I had gotten the DJI SDK running with and we were ready to implement the intelligence. We made a plan to fabricate a couple more shells to try and get as many options to play with as possible. Initially we had wanted to match the mirror silver color of the first Blender version, but time was running out to sand and spray. I was struck by a series of failures in the prints I was getting which I had not anticipated based on my earlier successes on my 3D printer at home.
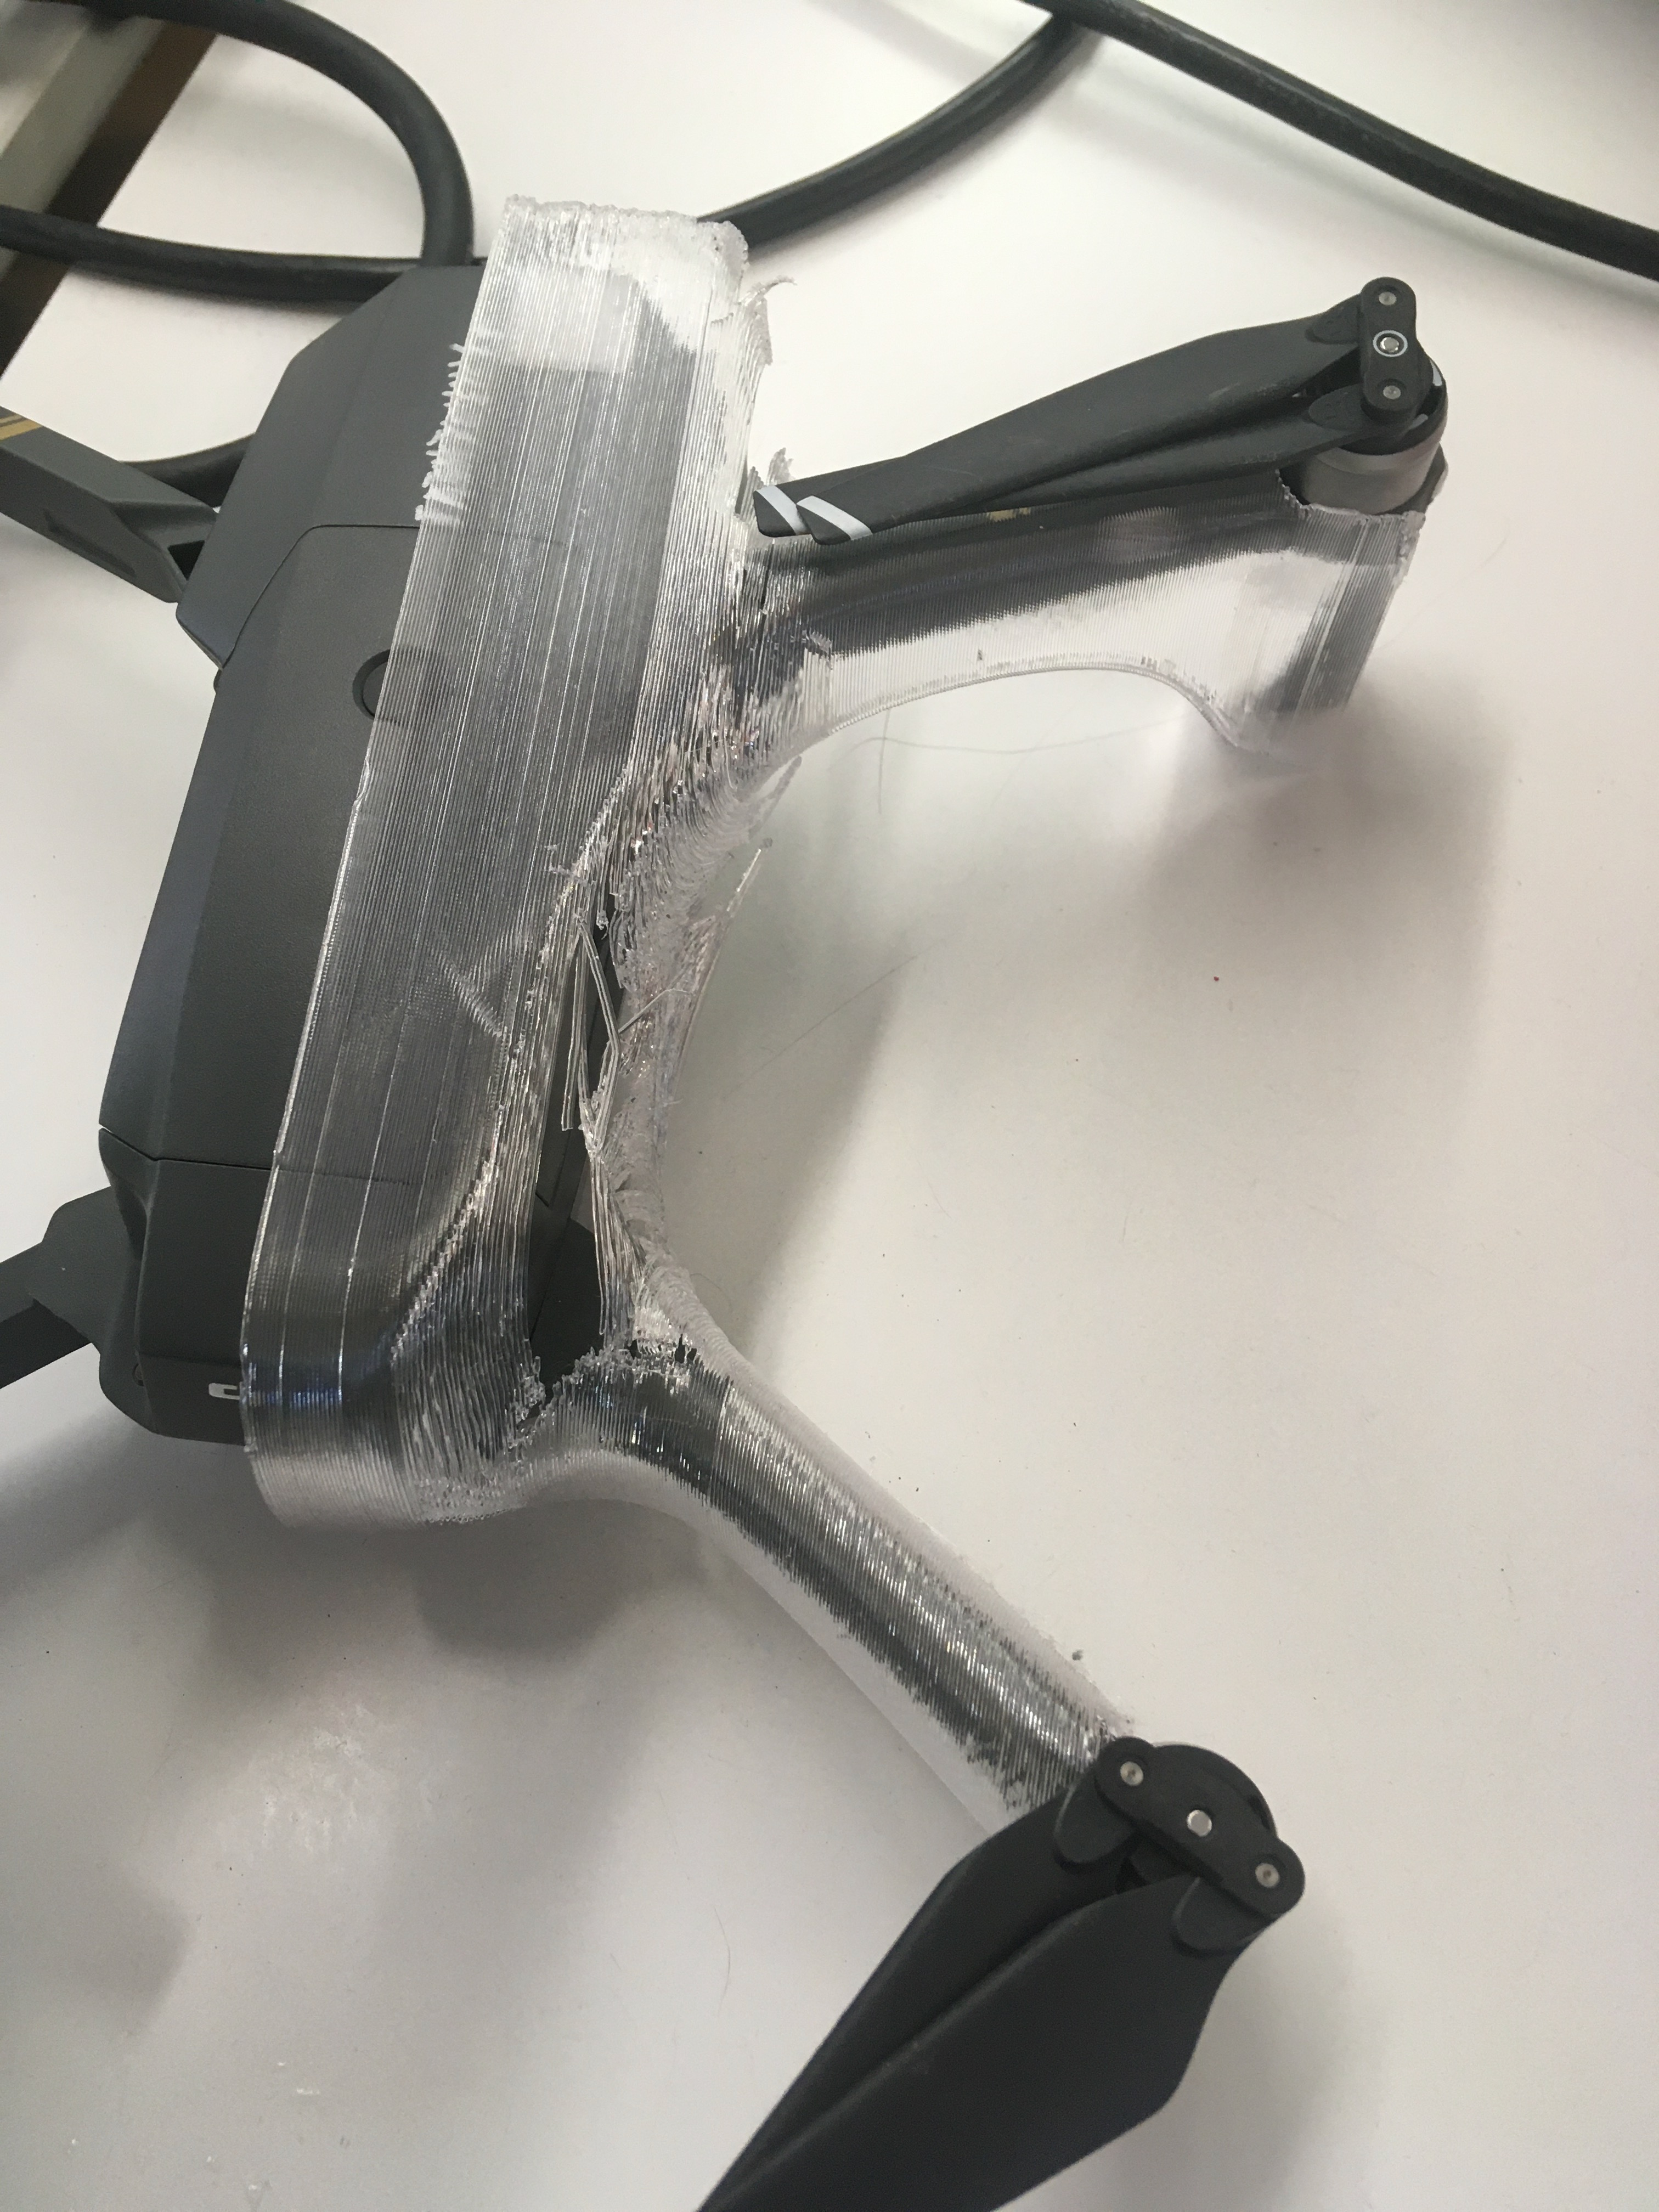
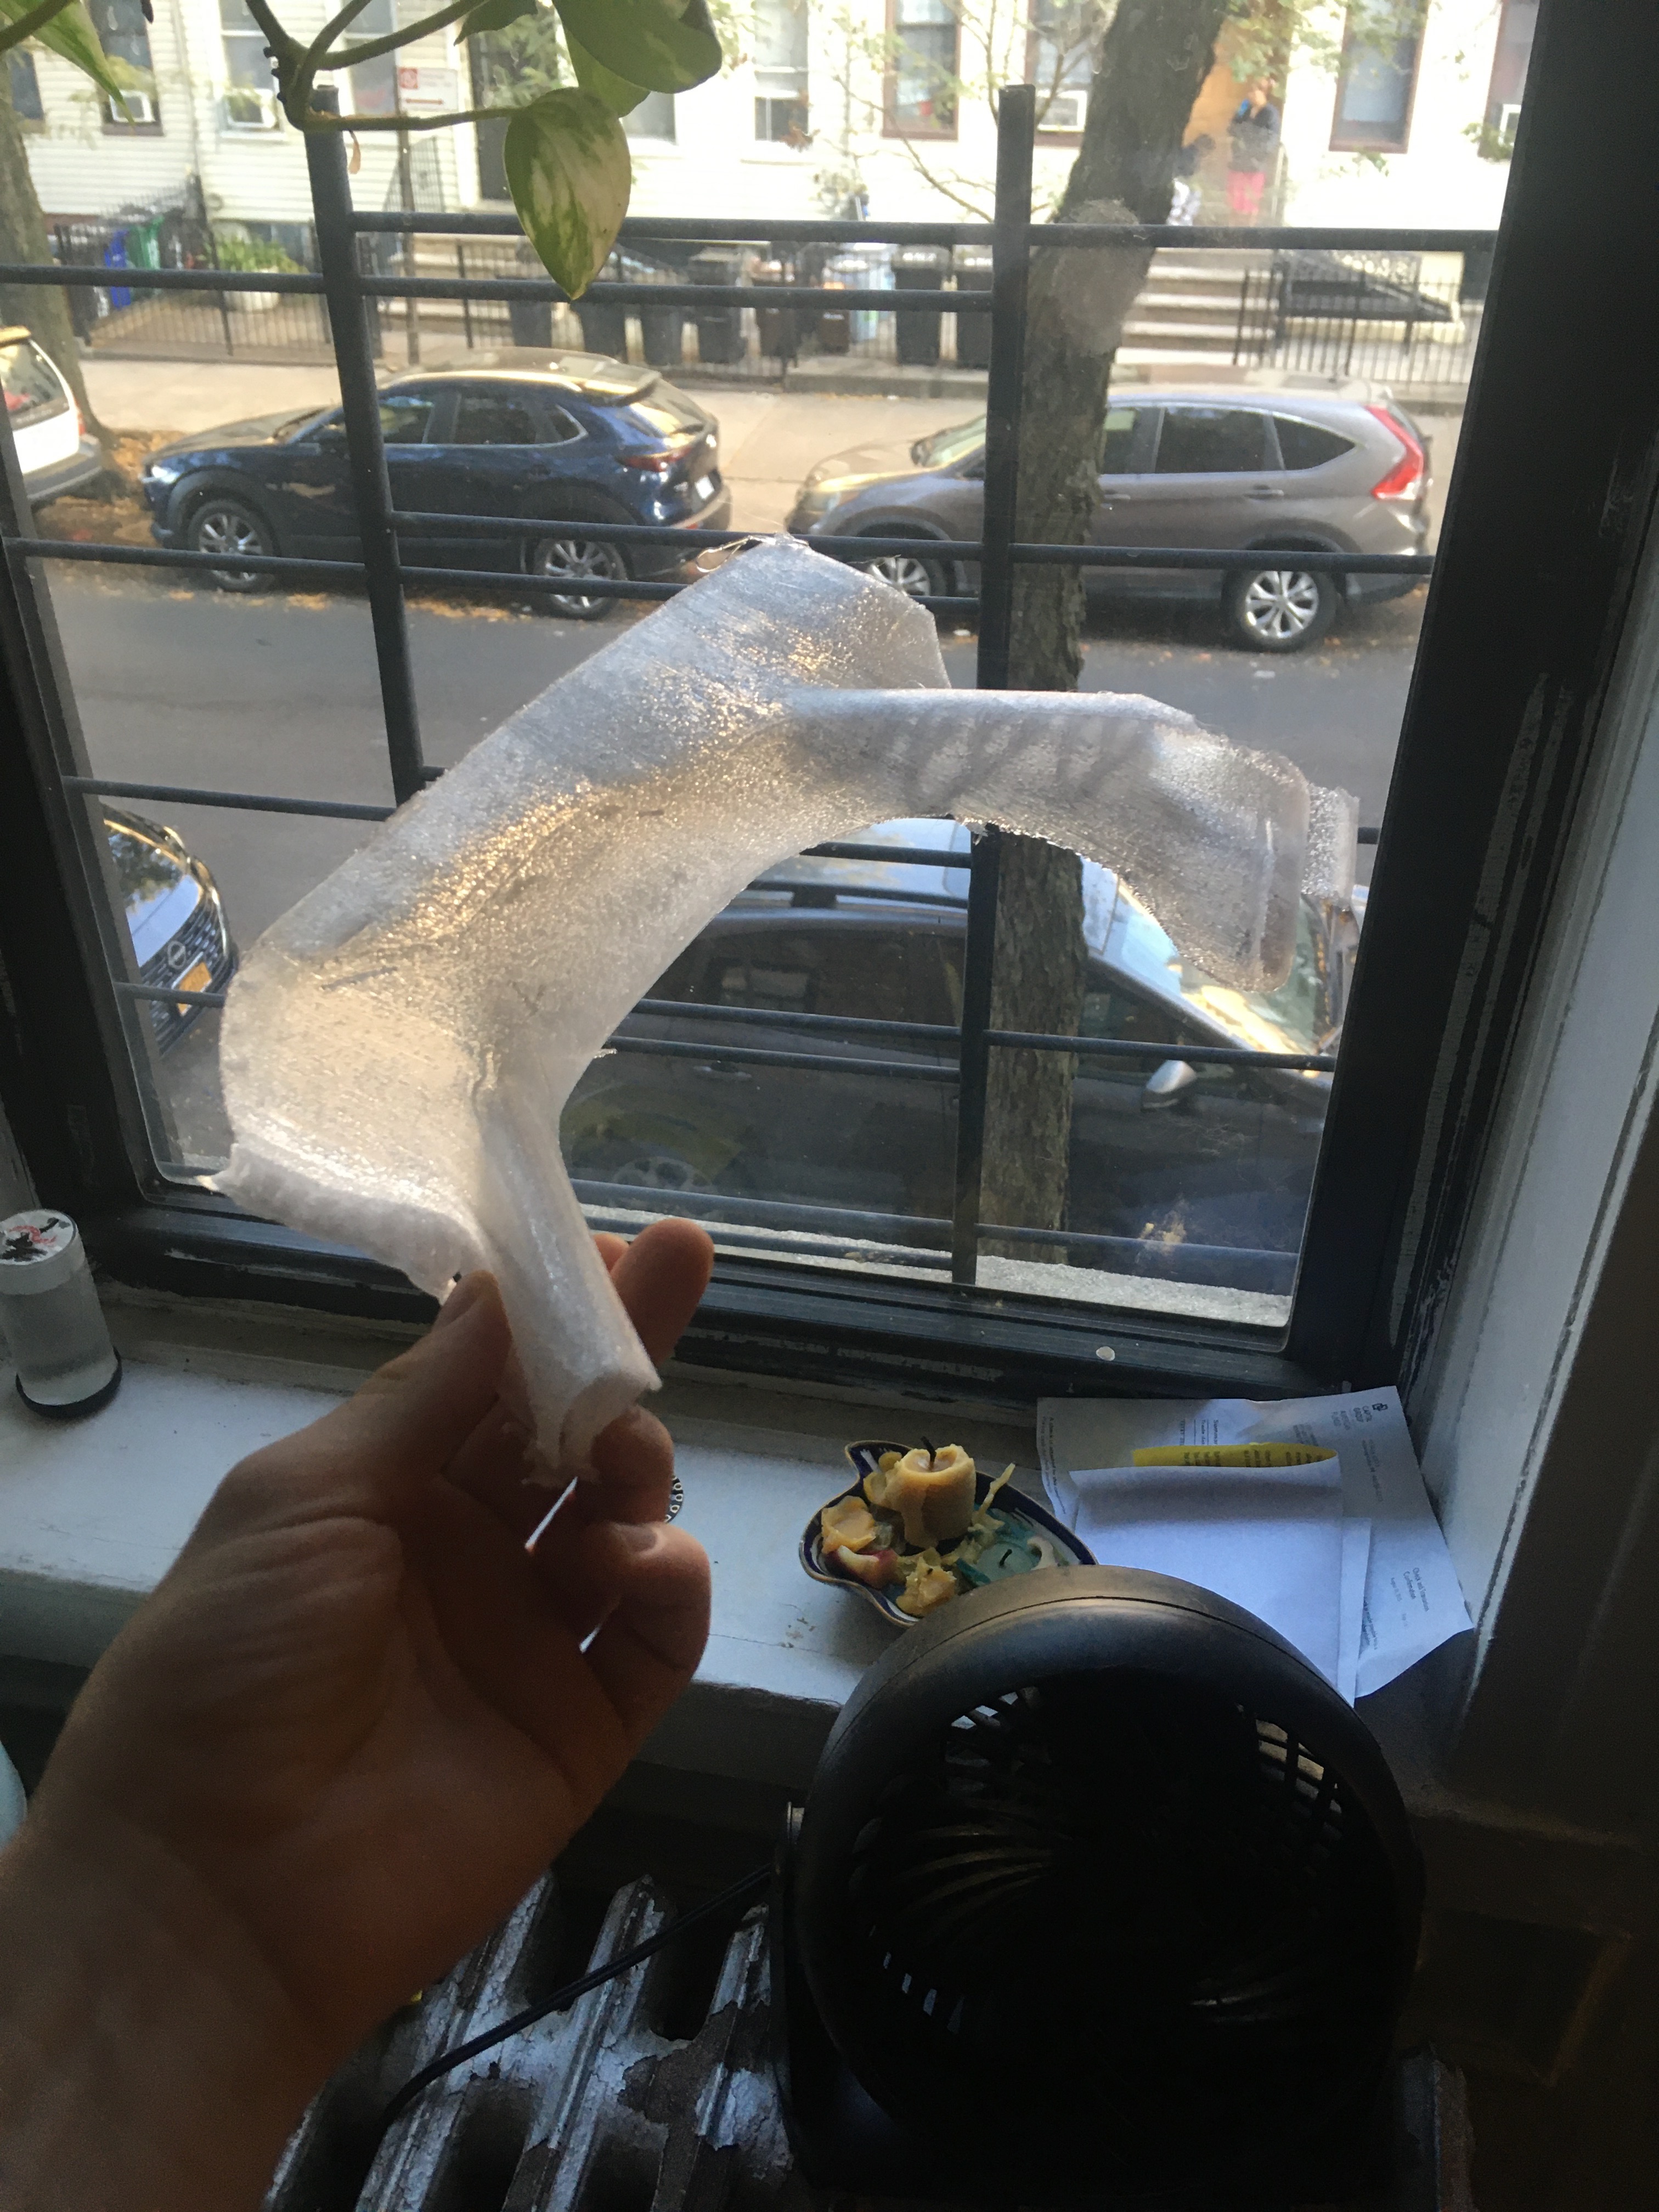
This set printed on the ITP Bamboo had trouble because it was printed back up at a high speed. Nevertheless, it served as a great test. These two halves have been modified a little to put an adjoining face between the two pieces. I had added this to make printing in that orientation, mating plane face down on the bed, easier. This design change persisted into further printed models which was significant because it made the fit worse on the drone. Holding it upside down like this in my hand I felt like I was holding an oversized bug. This is also a great shot of the ultrasonic sensors the drone uses to determine its height which had gotten me in trouble before. The shell had to be wrapped tight around the waist of it.
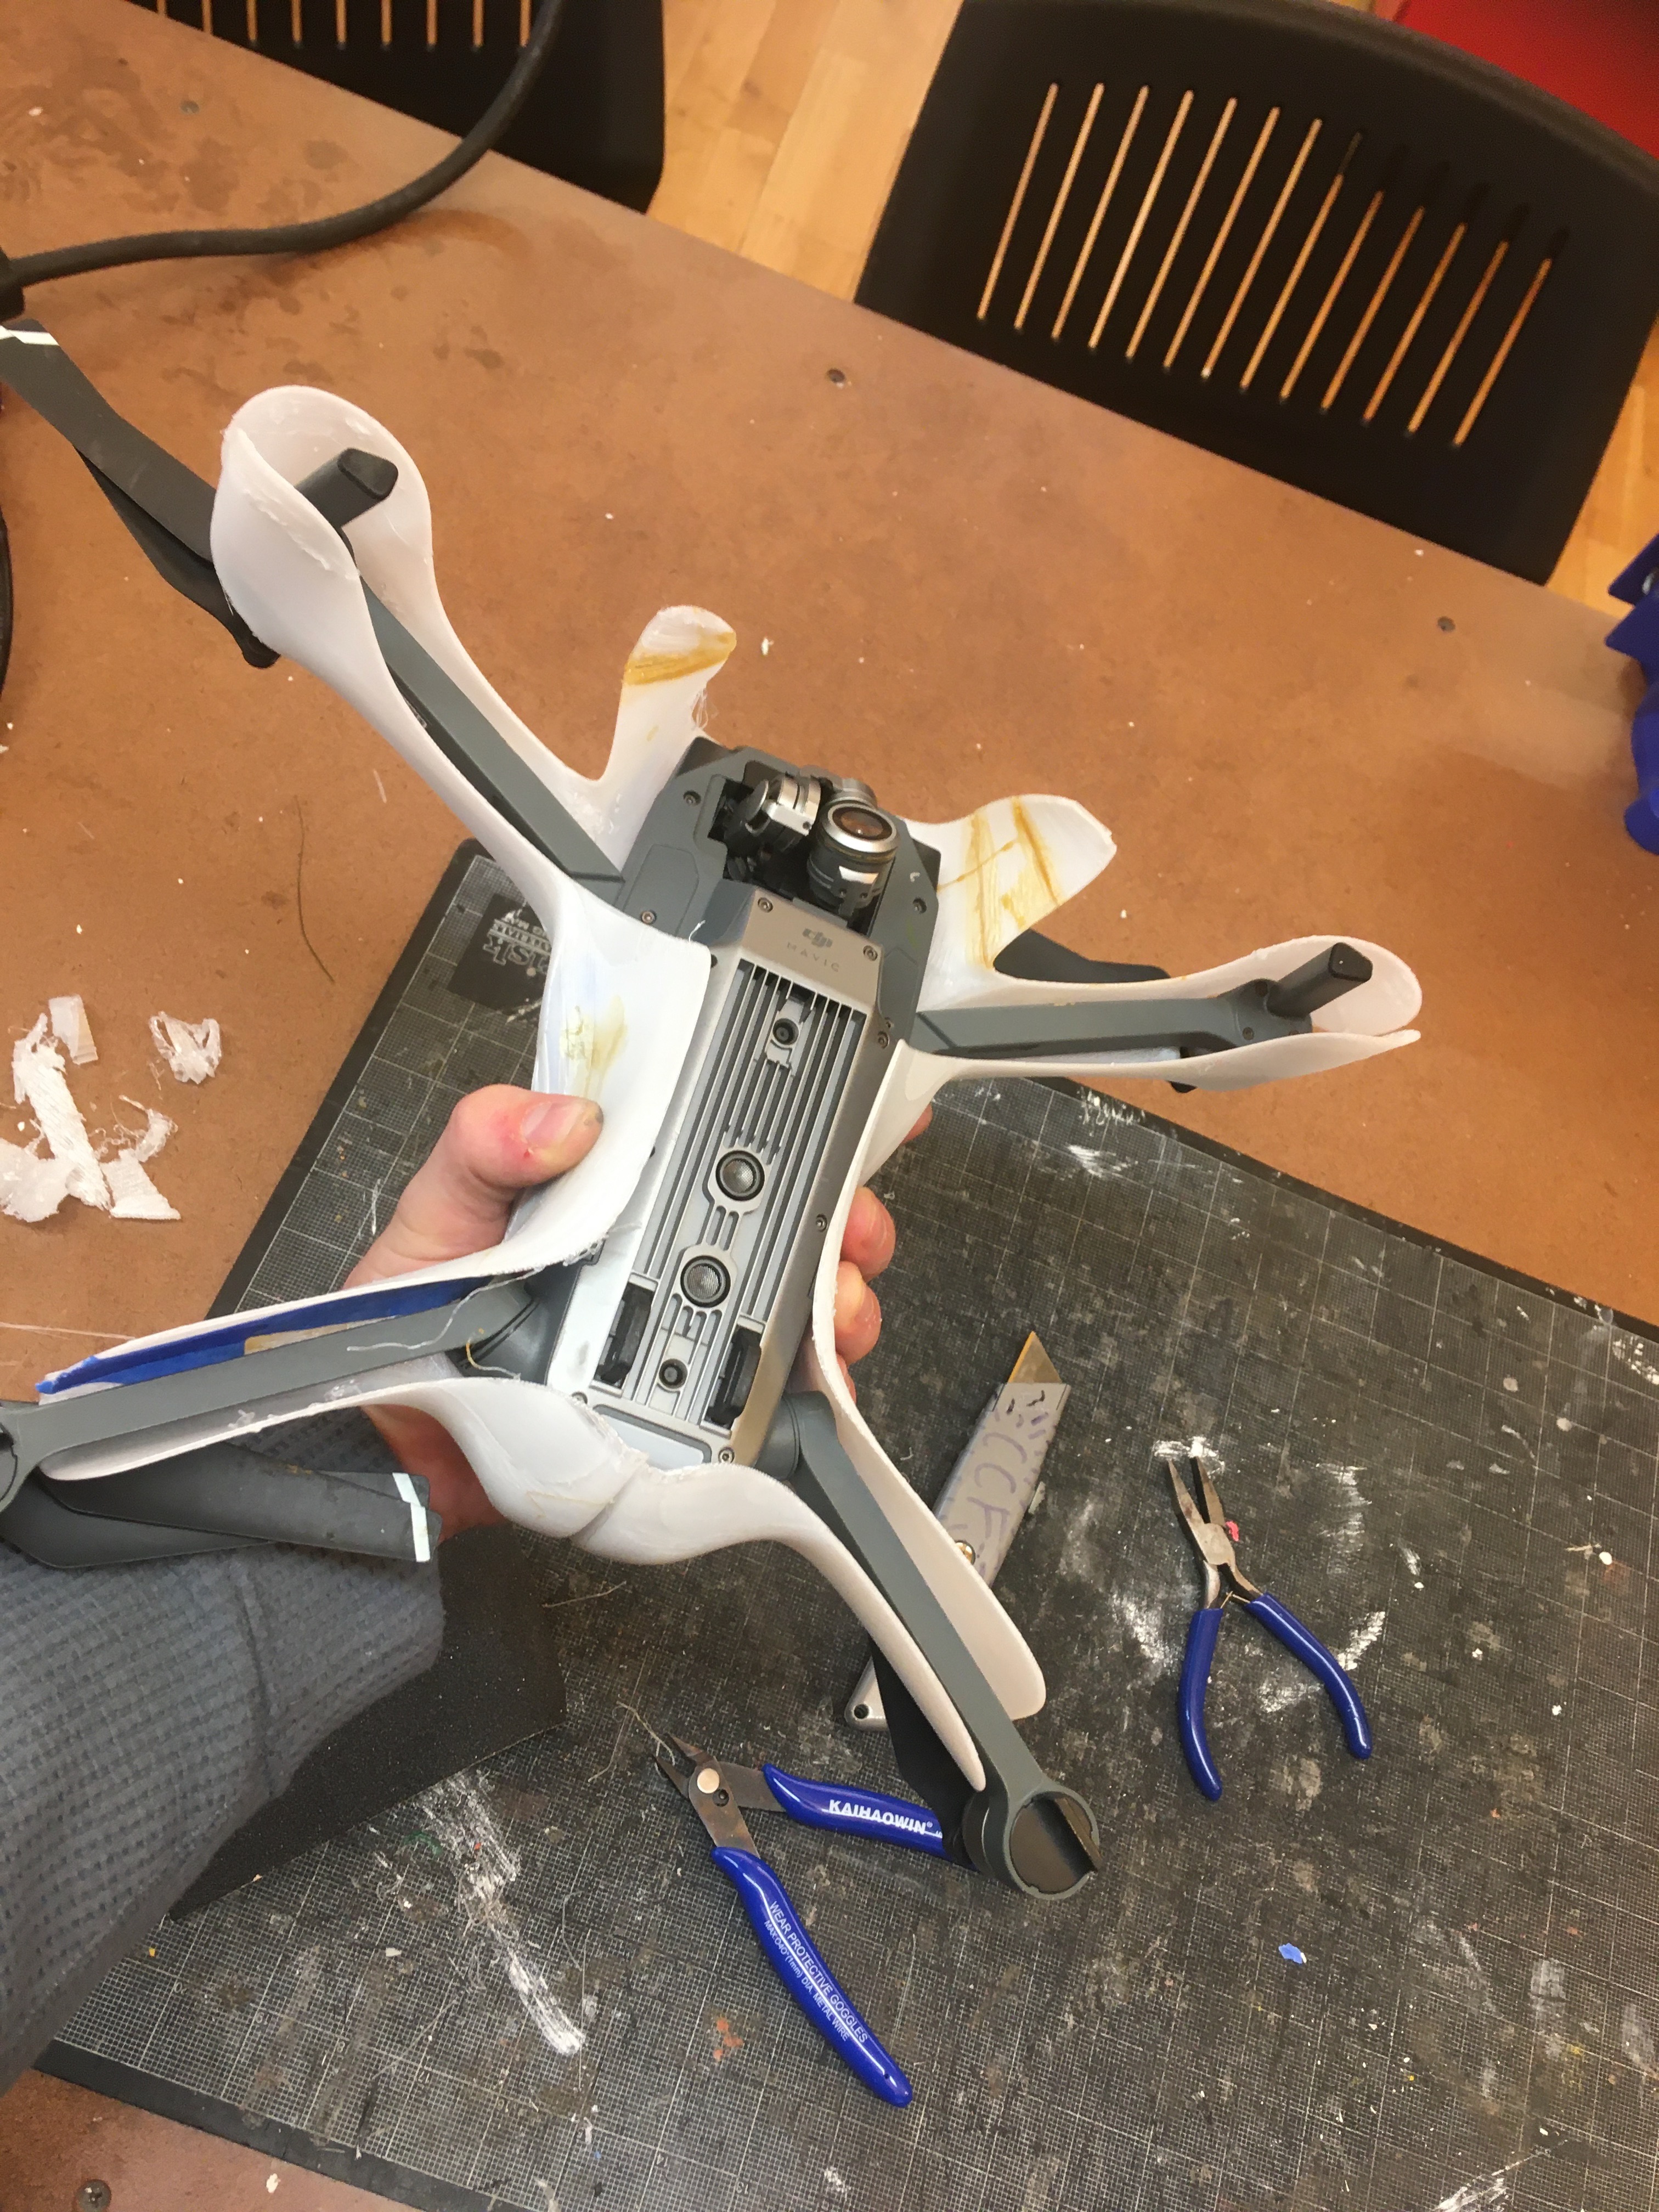
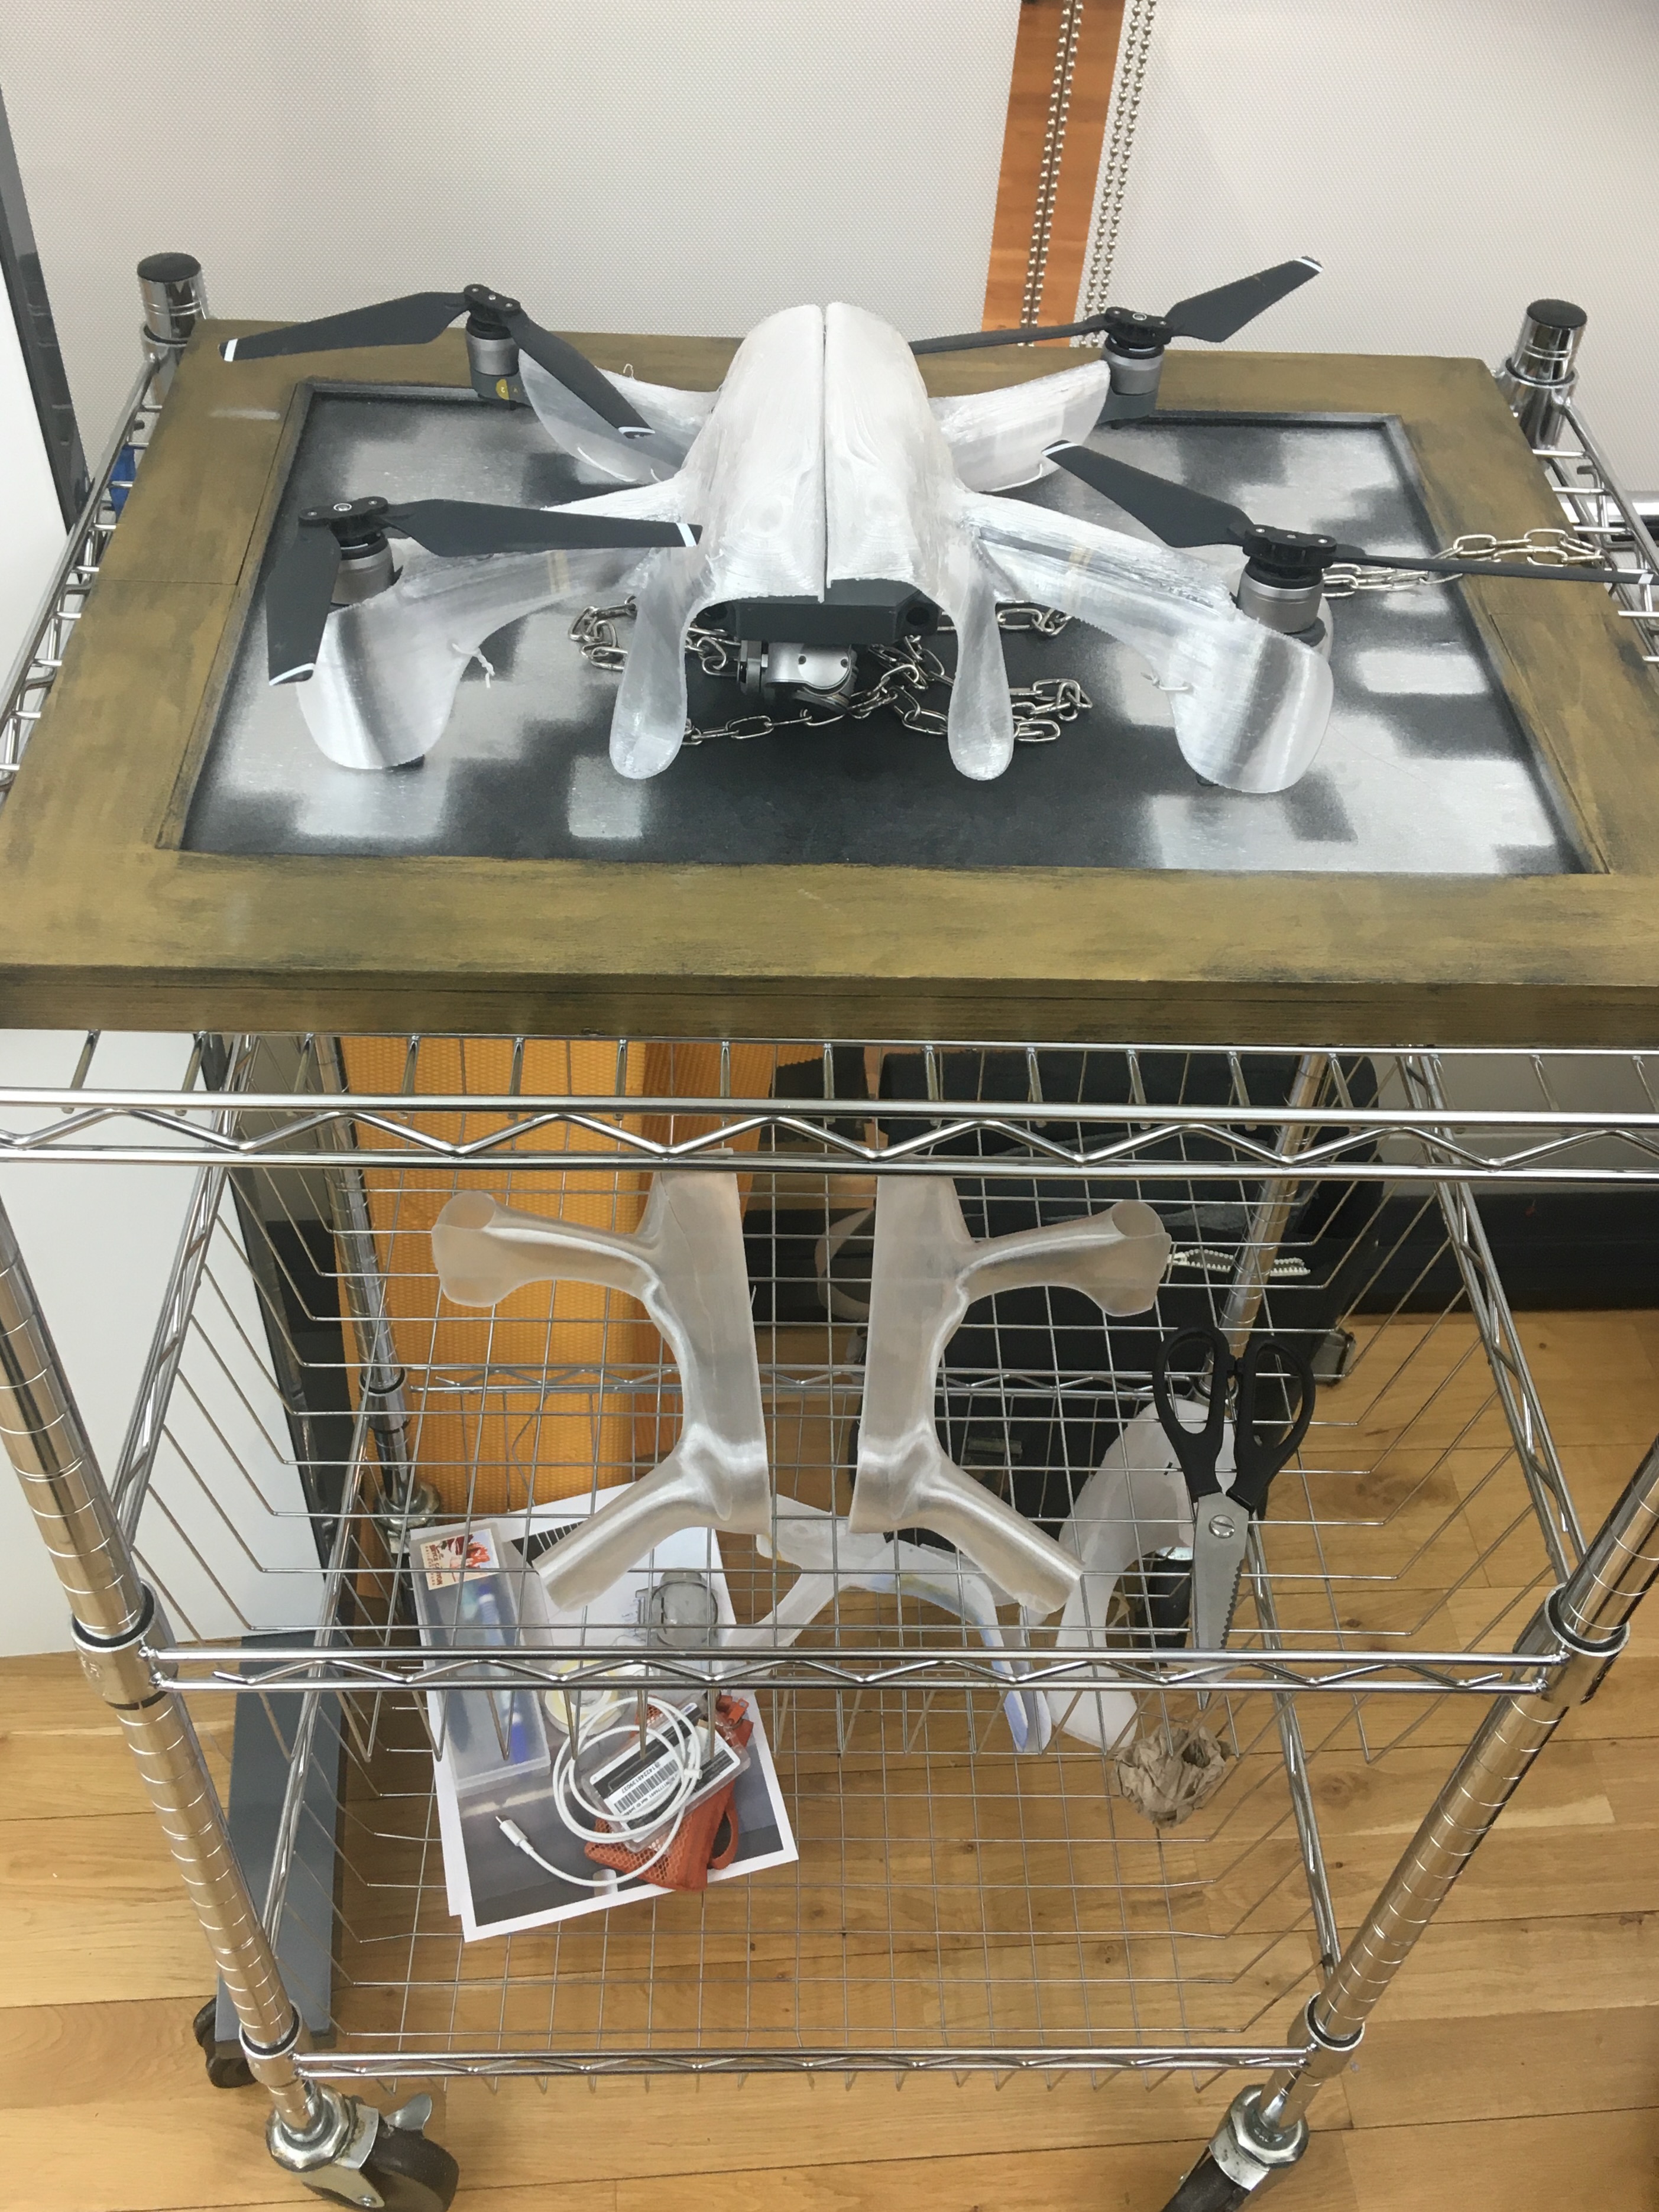
These two pretty good pieces came out off the large Ultimaker, we cut a hole in them to access the on/off button. The battery still needed a complete undressing to replace.
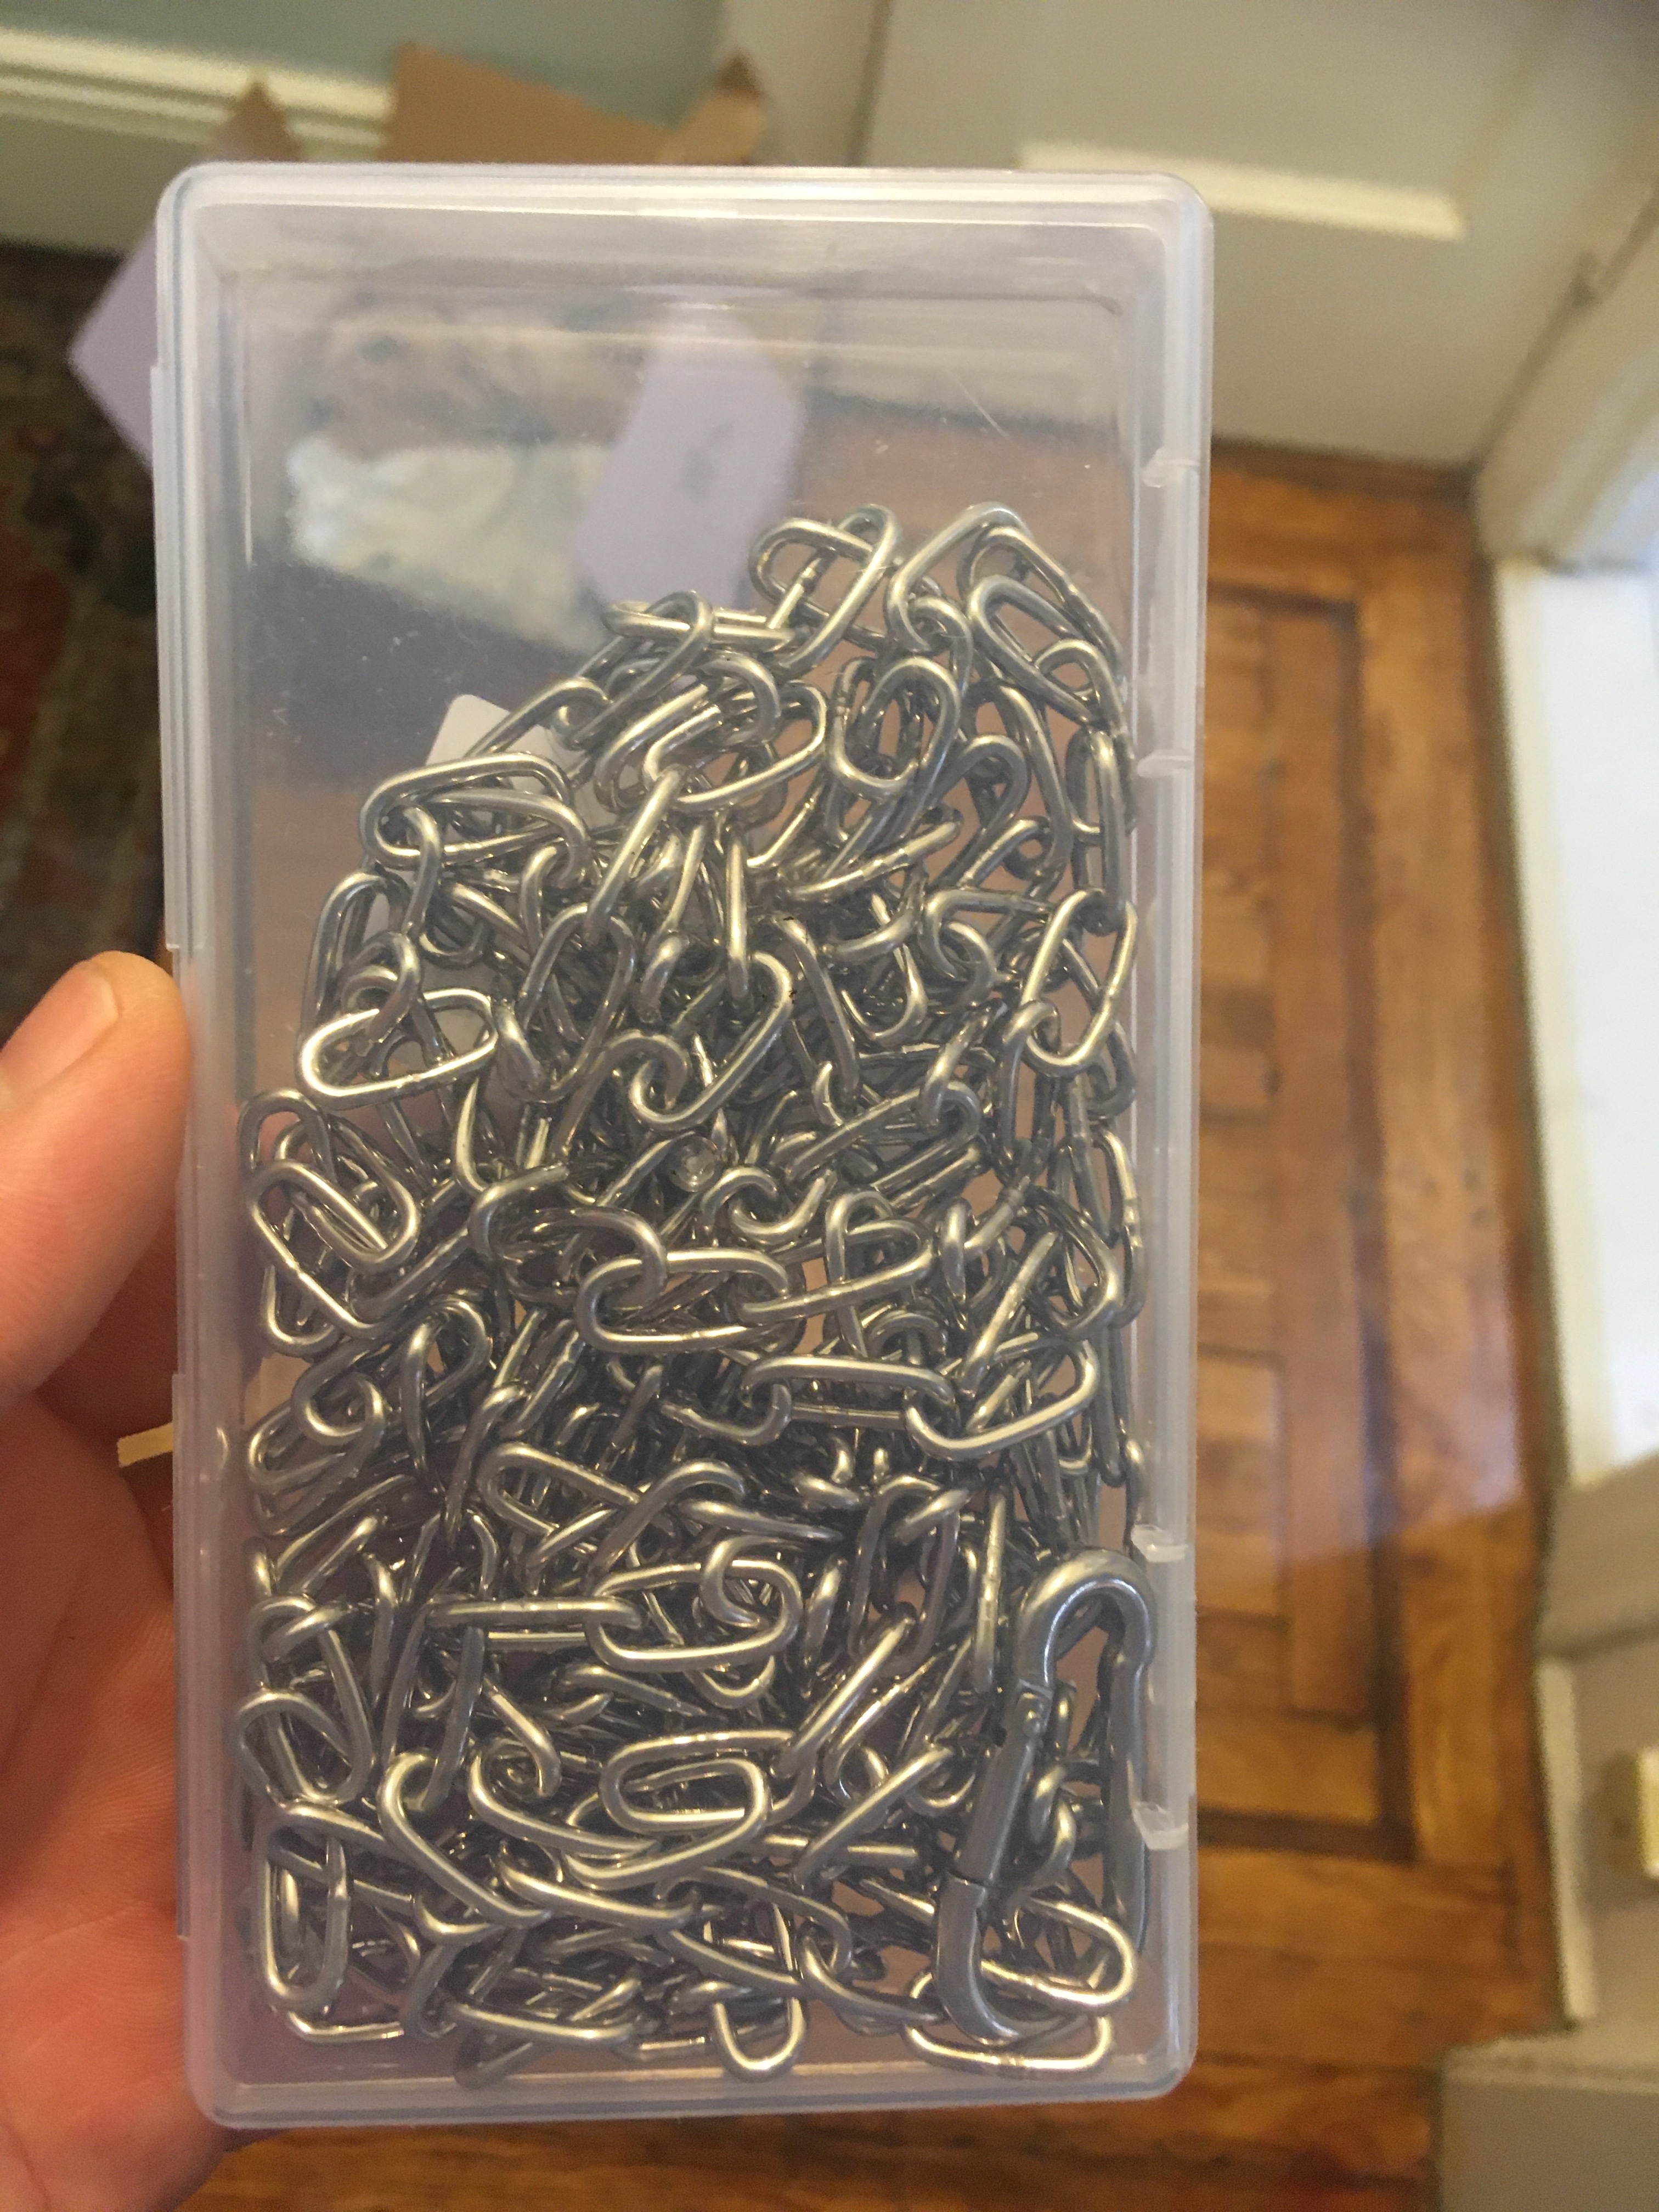
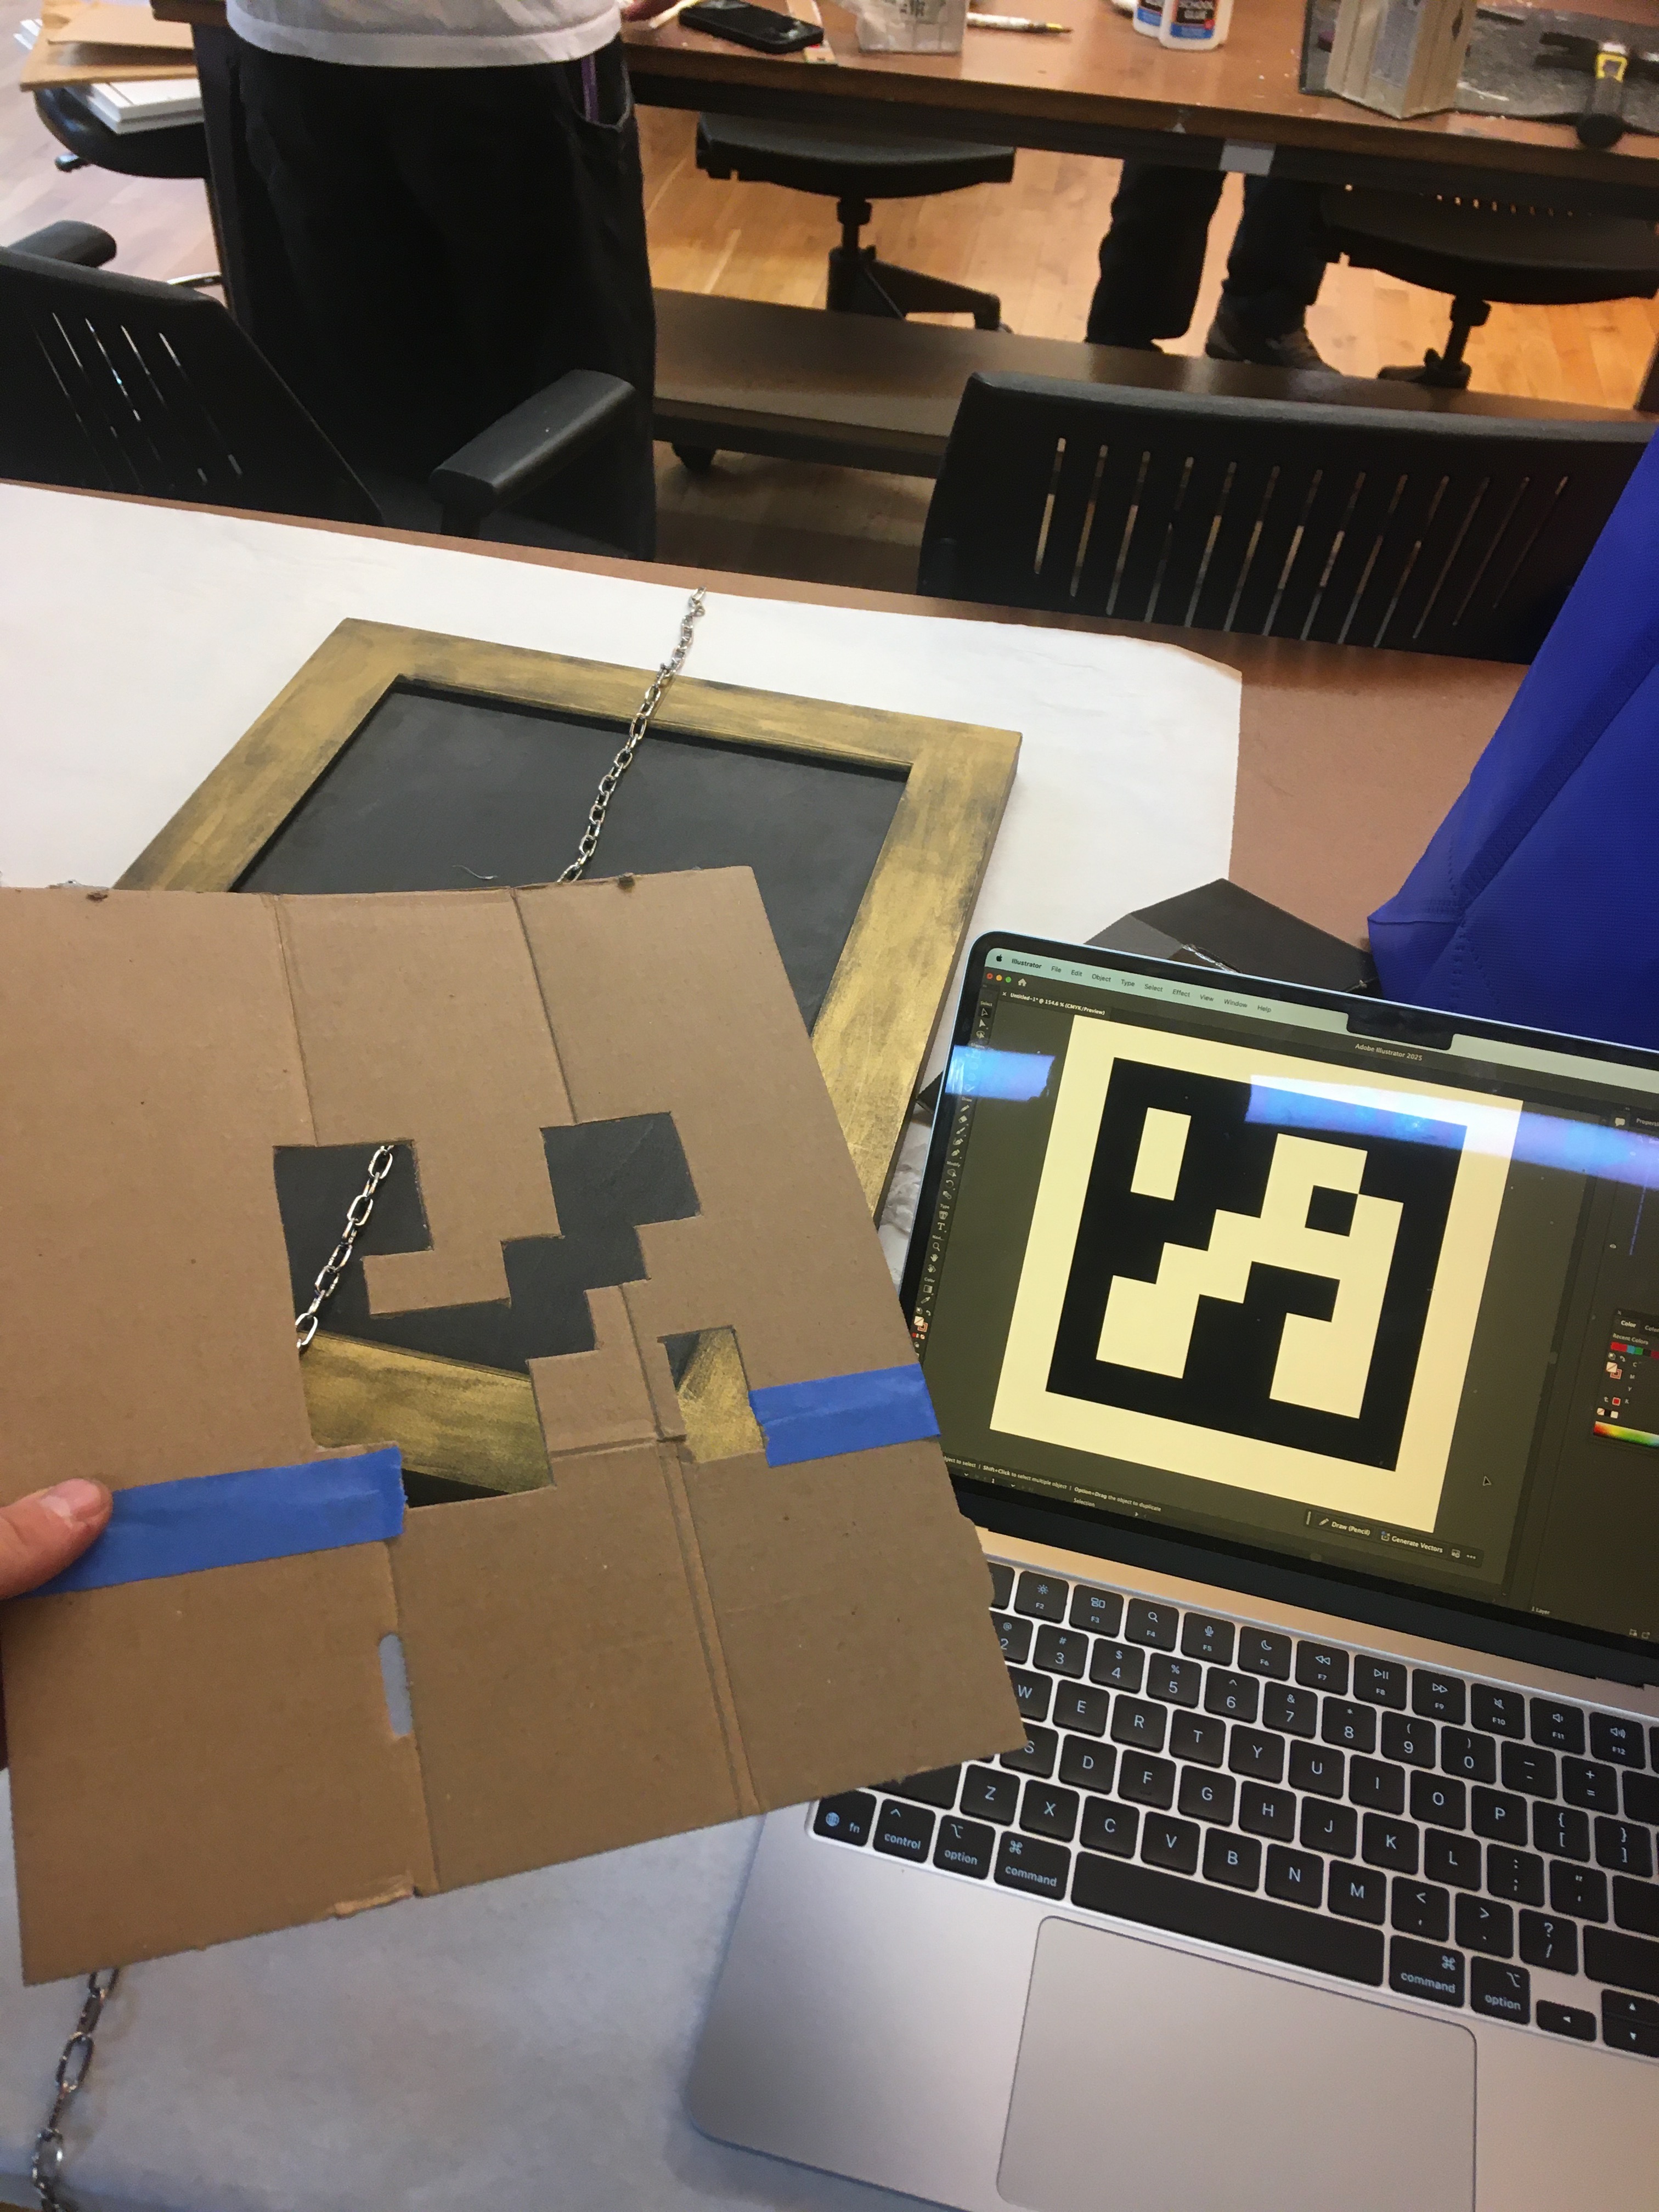
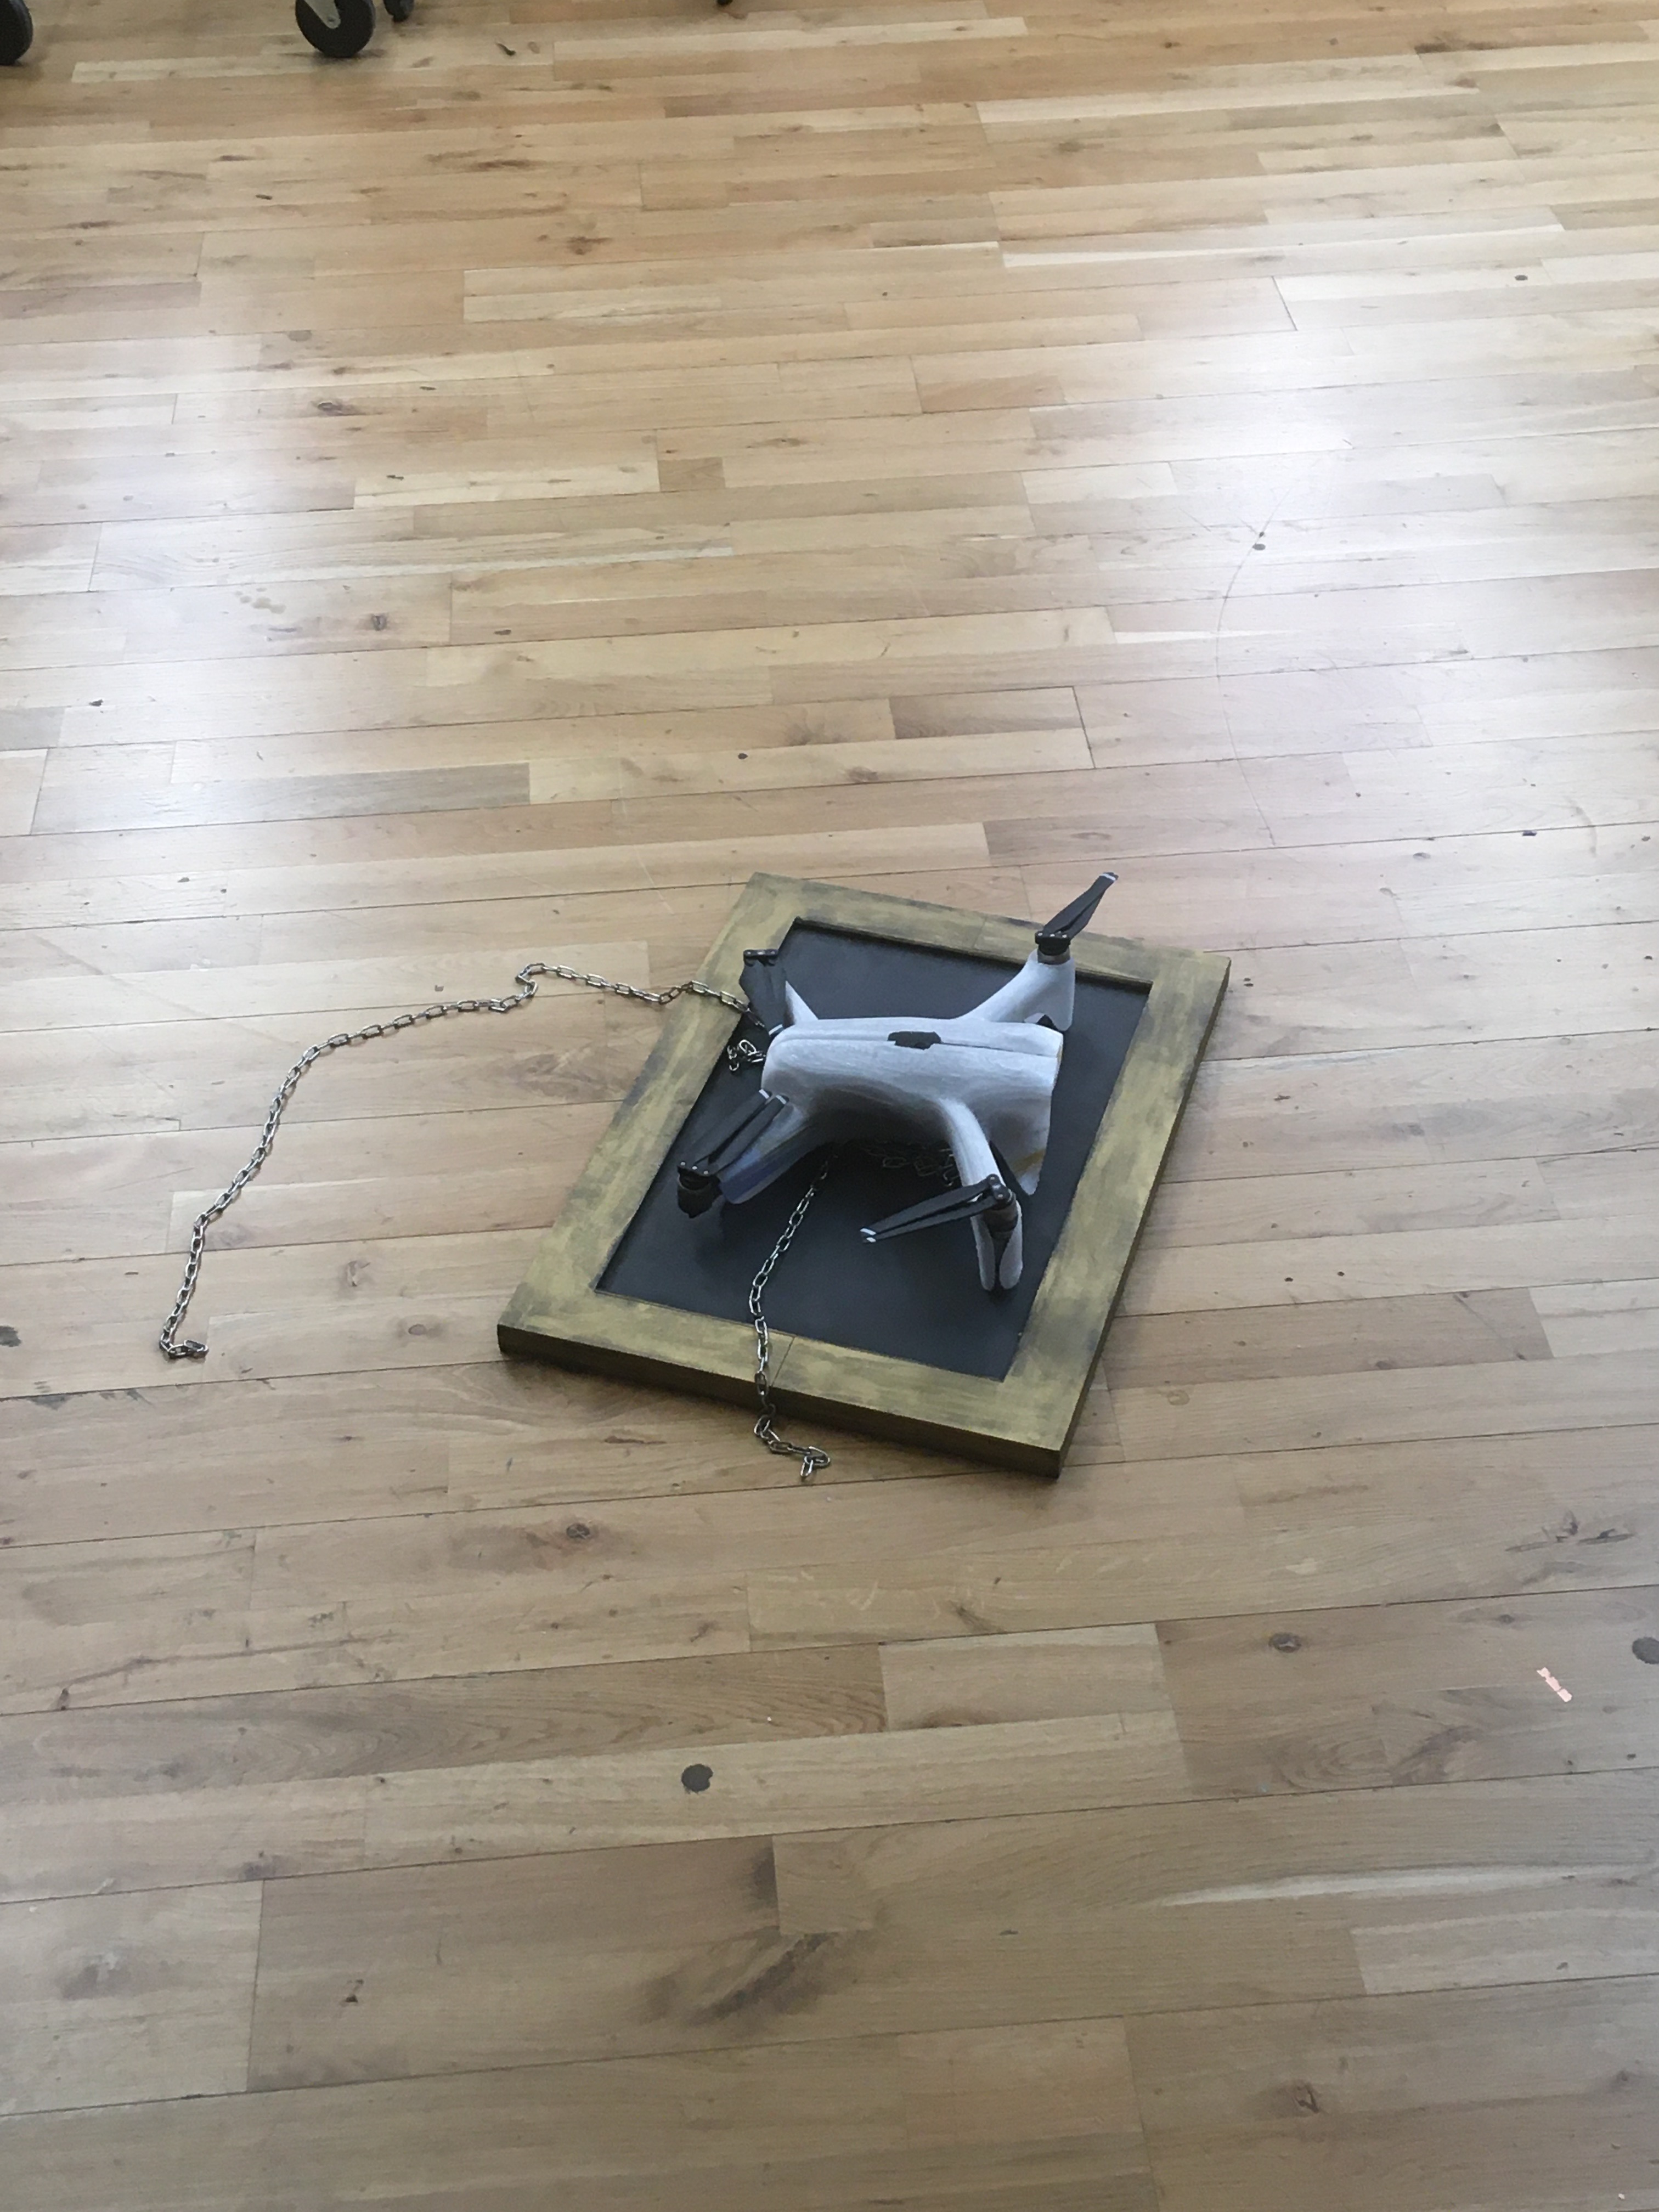
I also fabricated a base by pulling some wood from the junk shelf, I picked this piece because it was too heavy for the drone to lift. I cut the chain into a 4ft length and stapled it and the extras to the base. I wanted to make it seem more purpose made for the drone so I took an OpenCV recognition code for machine vision orientation and cut a stencil out. This was taken down to the basement and sprayed with the silver from Unicolor I had gotten for the shell. But first, it was time to test the OpenCV integration that Ray had been working on. The drone was recognizing people and able to flip from calm into a more active mode of movement. Ideally, it would follow people with its gaze and stay hovering in place, even looking with its single eye. We put the drone in the shell and secured both halves of the shell onto it with solid core wire as the binding agent. I put holes into the lapel of the shell with a hot nail and threaded the wire through it. The process was difficult and intimate. I was making a series of compounding engineering decisions which resulted in a more and more frustrating process. From pushing the limits of the 3D printer, to enclosing the battery, to manually finishing the assembly, progress on the physical side was getting slower and slower.
So then, we started testing the code.
When we launched this flight, the blade struck through the plastic shell. A little bit of plastic was sent flying.
In this video, the drone is able to lock onto a person's shape and lunge at them
The next day, our last print came off the bed of the big Ultimaker. I cleaned it up, poked holes in the bottom, and laced it up. It was during this process that I realized that the positions we had scanned the wings in were not their full extent. In this final cleanup process, I used a heat gun to press the shell down closer to the shape of the drone. Despite this final modification, I had mixed feelings on flying it in a room of my classmates. I had been hurt several times during the development process and did not want to shed any blood in the classroom today.
The following photos are how we presented the object and a pin-up of our process for critique. It was disappointing to not be able to fly it, but I felt unsafe flying it inside while staged on the desks and not the floor. I think the impact of the object would have been more functional if I had felt comfortable flying it. Ray felt comfortable, but I was not. Overall, at this point, the object showed the story of us dressing it, but nothing about its nature.
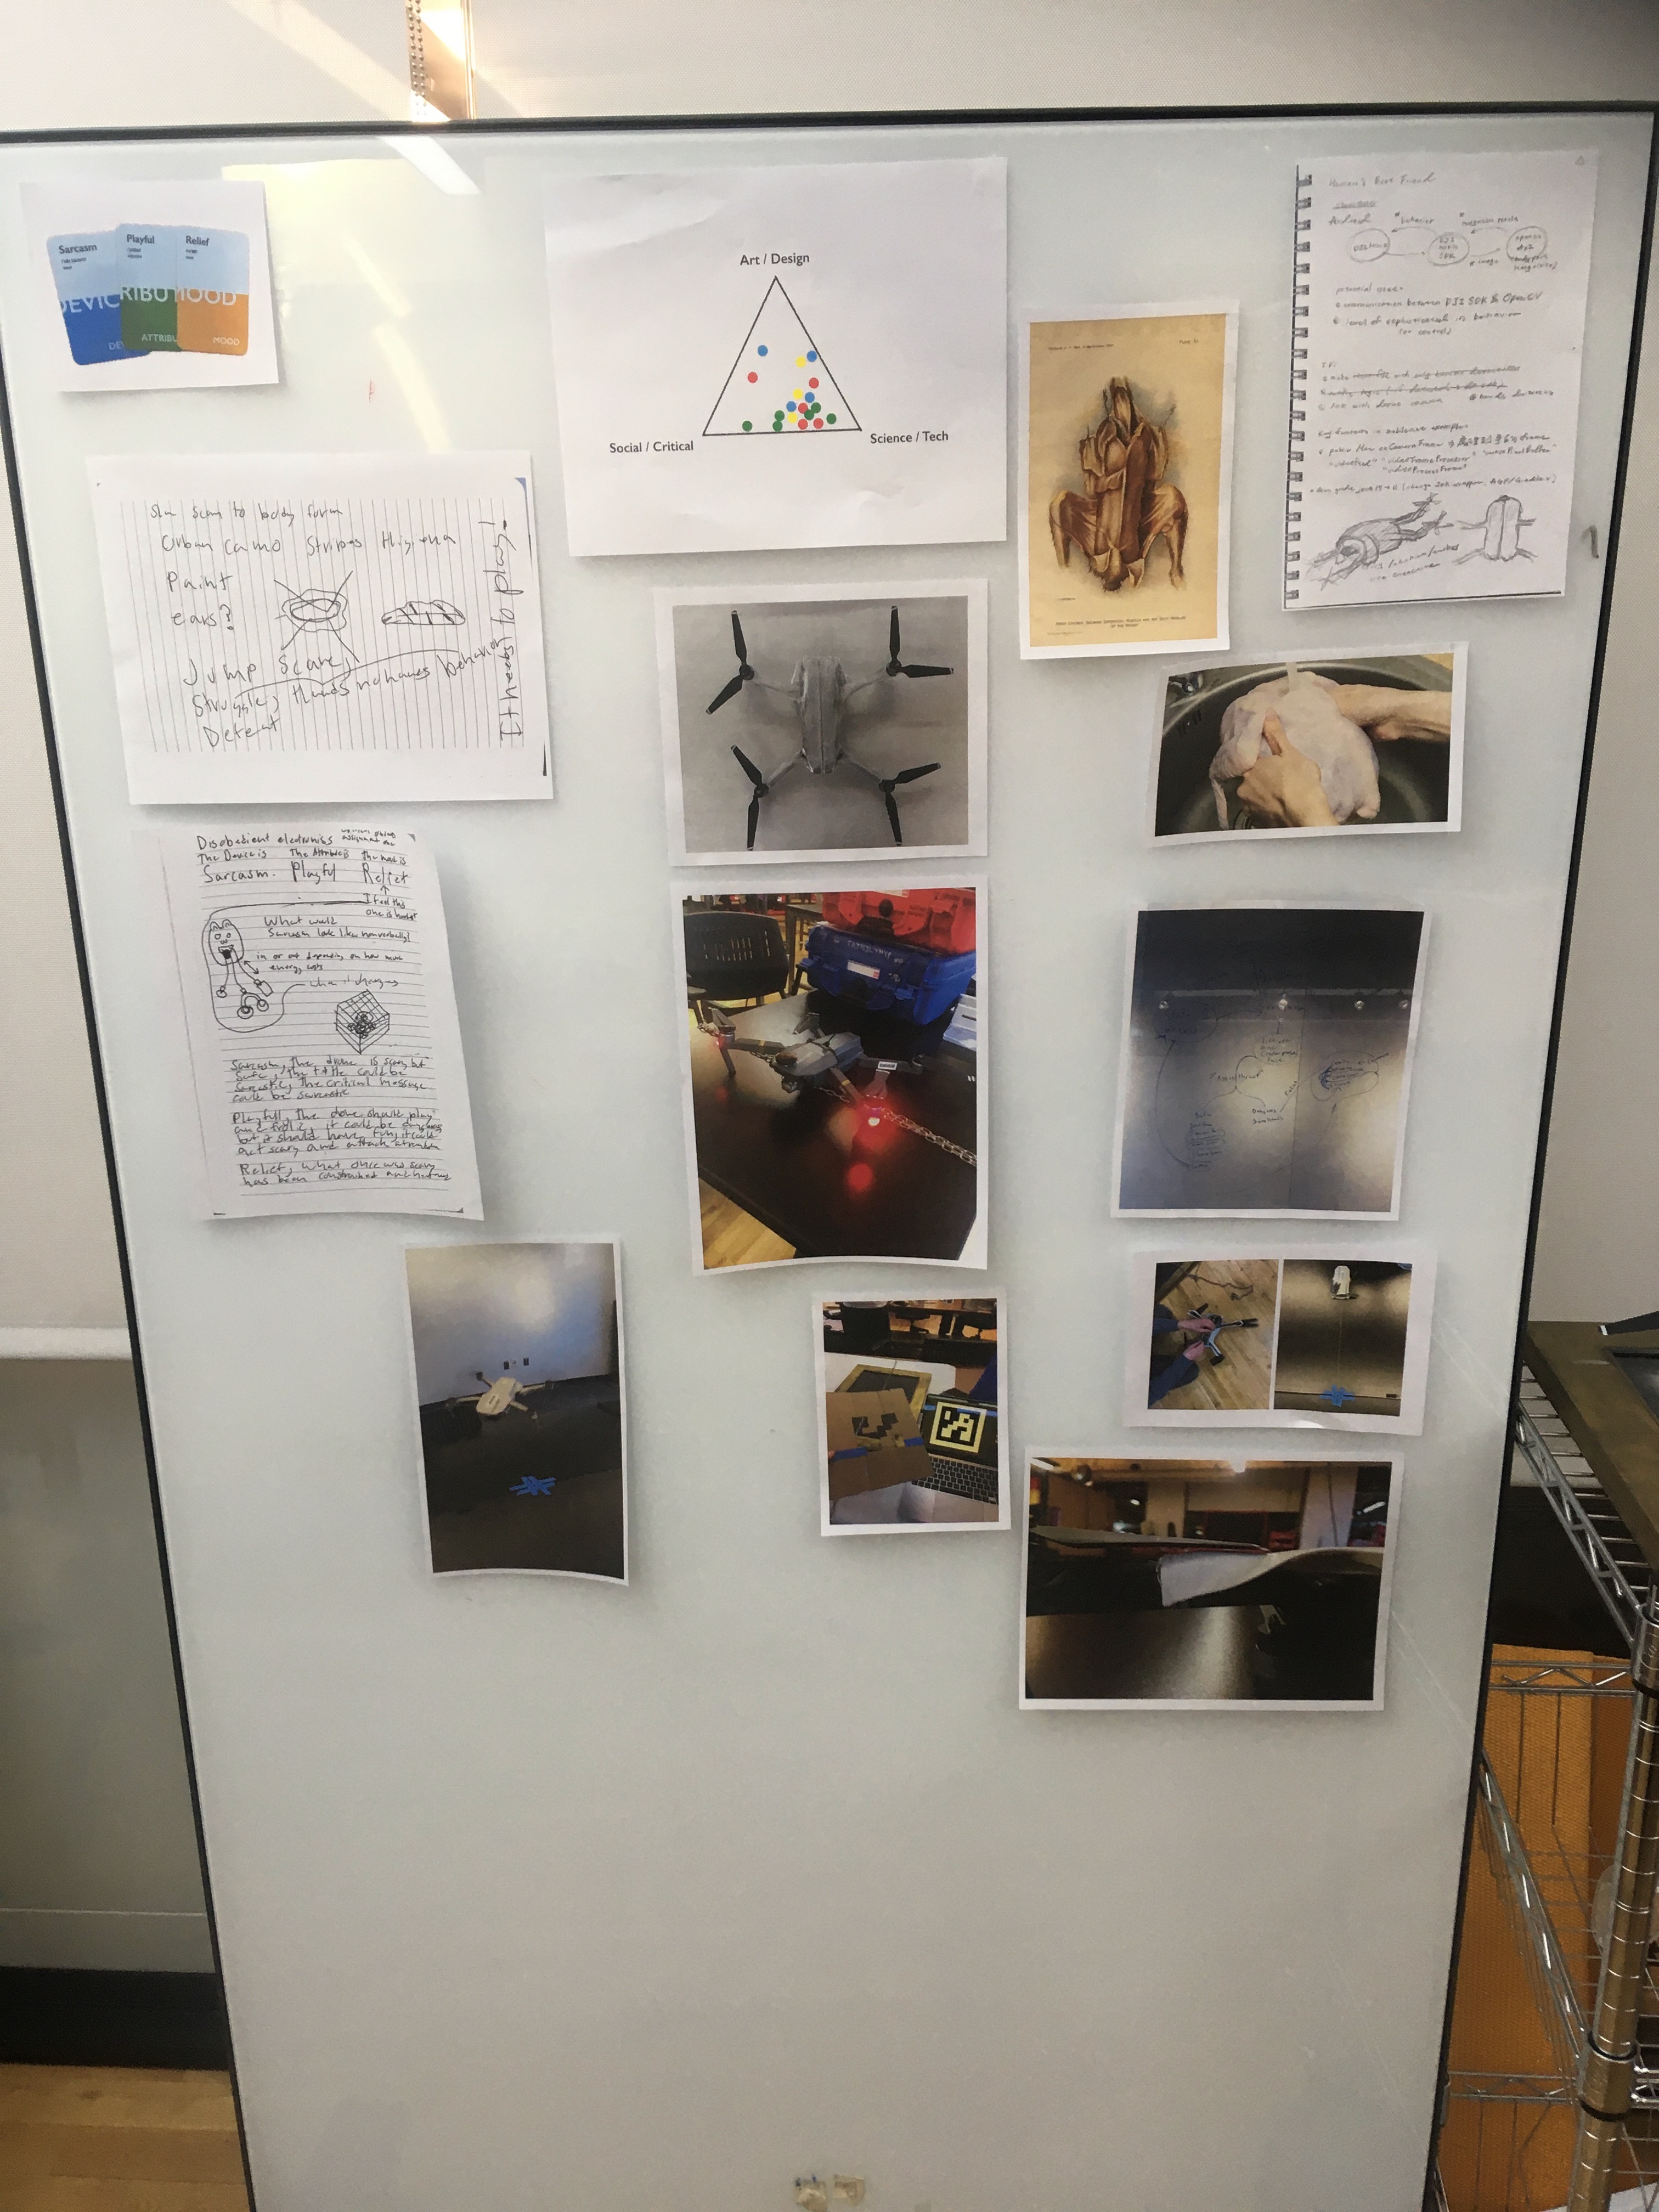
Critique Feedback
The feedback we received is as follows:
Team Cody & Ray
Project:
- Performance of a drone attacking humans with face detection, drone will be chained down and will subside eventually
- Human's best friend through breeding, behavior computation → animalistic
- Important to skinning the maverick drone to getting it animal-like look (ears)
- Challenge: controlling drone movement
- Video Description: drone hanging by a chain, moving towards detected human in different directions, making high sound and wind
Group Names: Ray, Cody
Notes:
- Drones are a very effective choice for humorous & scary
- Other avenues of the casing to reflect animal, skin-like feeling
- Commercial drones are also available, taking space in that intersection
- The believability as a cute pet or animal → up to question
- Object itself should reflect the related topic (what technology criticism) → Killing Machines, Drone warfare
- Unsure of how the drone ends up doing eventually → gives up
- Rely too heavily on drone performance and not the object → tweaks to the object itself could have added to connections; more on the electronic objects
- Playful - wants to have fun
Reflection and Next Steps
I highlighted the aspect of the critique about it relying too heavily on performance. We also received a critique that the project was not focused enough on a single topic and mood in office hours with Pedro. For the next iteration of this piece, we will be bringing it to a gallery space to perform, so we are going to continue to develop the project in light of this feedback.
Preliminary discussion of the changes has led us to secure it to the chain with a harness and skinning it with a mirror reflective vinyl with a pattern UV printed on it which crosses between dots and noise.
← Previous: Disobedient Electronics Proposal