Exploring Concepts from Soft Robotics — Professor Kari Love
Casting the Bibenda Actuator
This was my first time casting silicone. I assume, like so many materials, comfort with its usage will come with time and mistakes. For my part, I was rushing to complete the project the thursday before it was due, the evening in fact. I really could not afford to make any mistakes, so I followed the plan from Make: Soft Robotics Carefully.
The first mistake I made was in using too much pvc glue in joining my outer mold. When I have used it in the past, an overabundance was not a problem. Here now, as my silicon casting material would directly interact with the excess. I took time to let it dry, and tried to scrape as much out as possible. When I had to proceed, it was still wet.
I am in a way, taking this class to get more comfortable with sewing. Currently, my method fairly strictly involves improvisationally binding the fabrics, and then attempting some kind of knot. In this way, sewing up the top was easy, I ran the thread in and out to close it and pulled it tight. The bottom was harder because the threads of the fabric kept slipping down. I took two tries here, my first was cut too low, I had measured the 15mm gaps from the wrong side. In my second attempt, I cut the fabric correctly and put my thread through higher up the sleeve to grip more fabric. Conceptually, it helped me to understand the goal of the thread was just to keep the fabric from slipping down while cast.
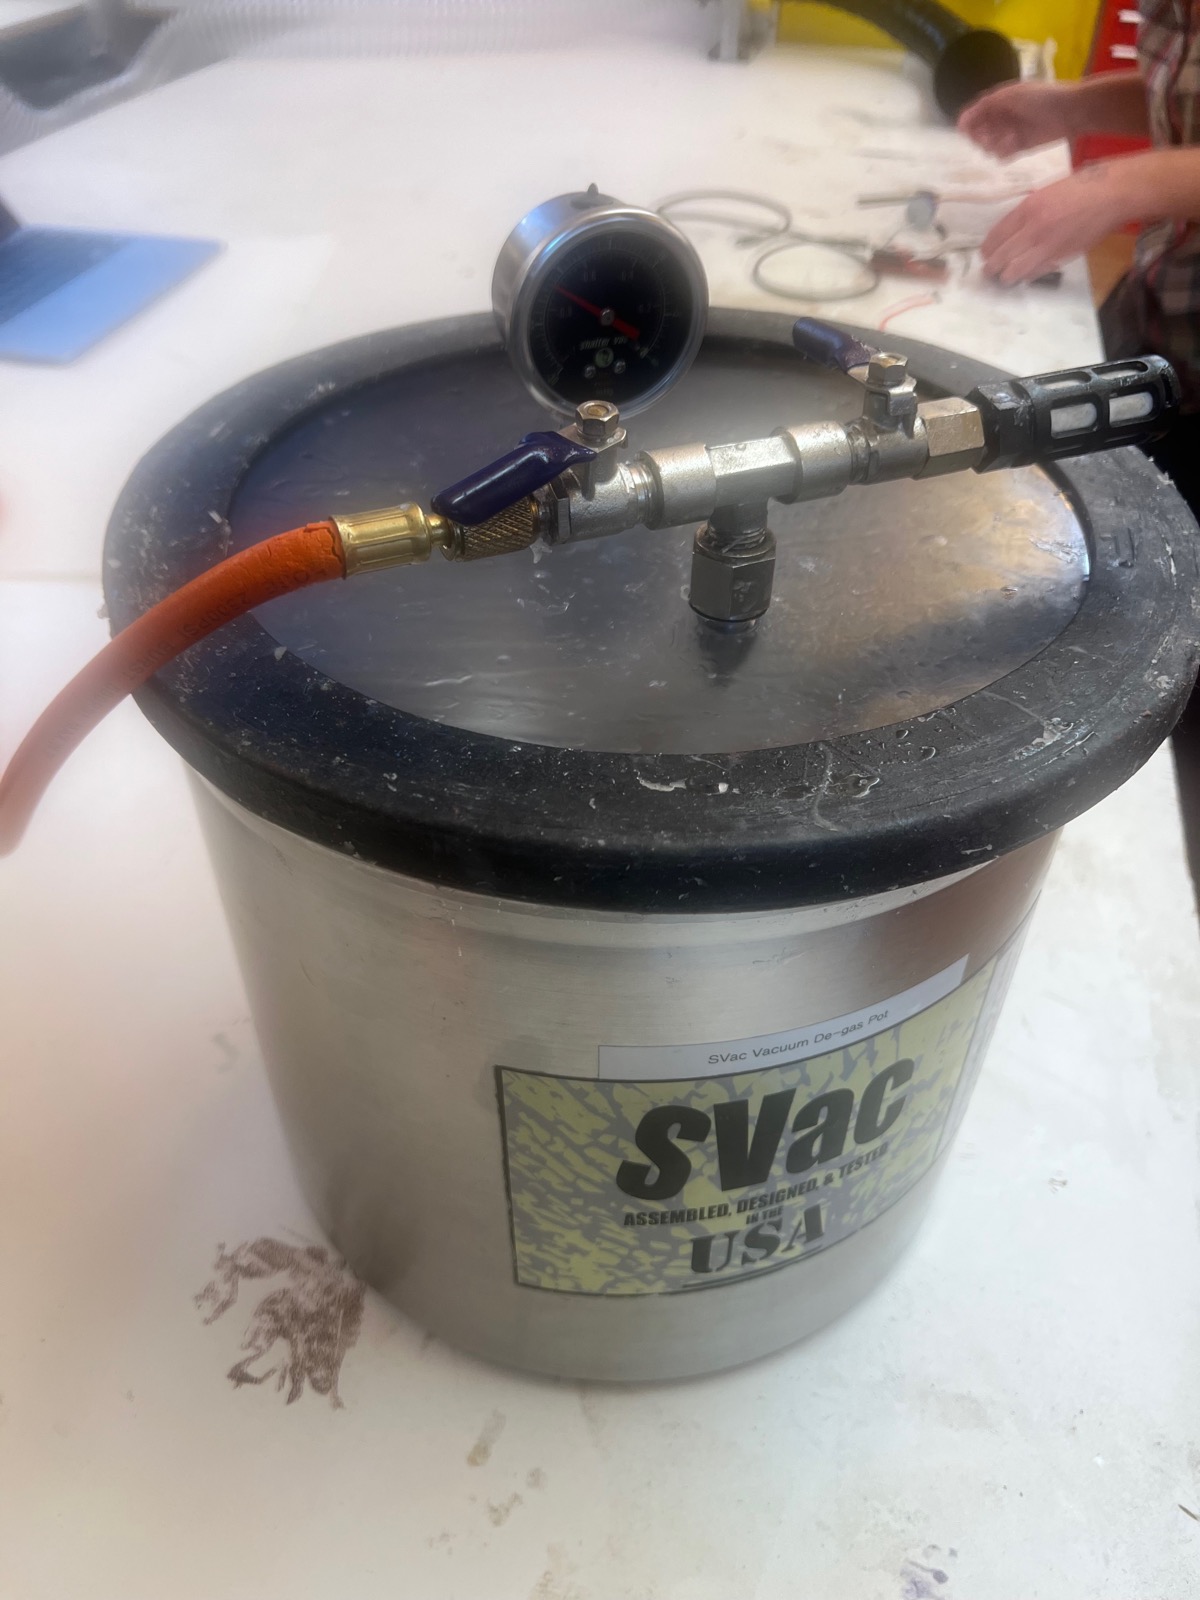
Mixing and pouring the silicon was easy. I felt confident in my high pour. However, after degassing, there had been an eruption of silicone over the side of my mold. I repoured several times, trying to fill it to the brim. Each time, degassing lead to bubbles forming.
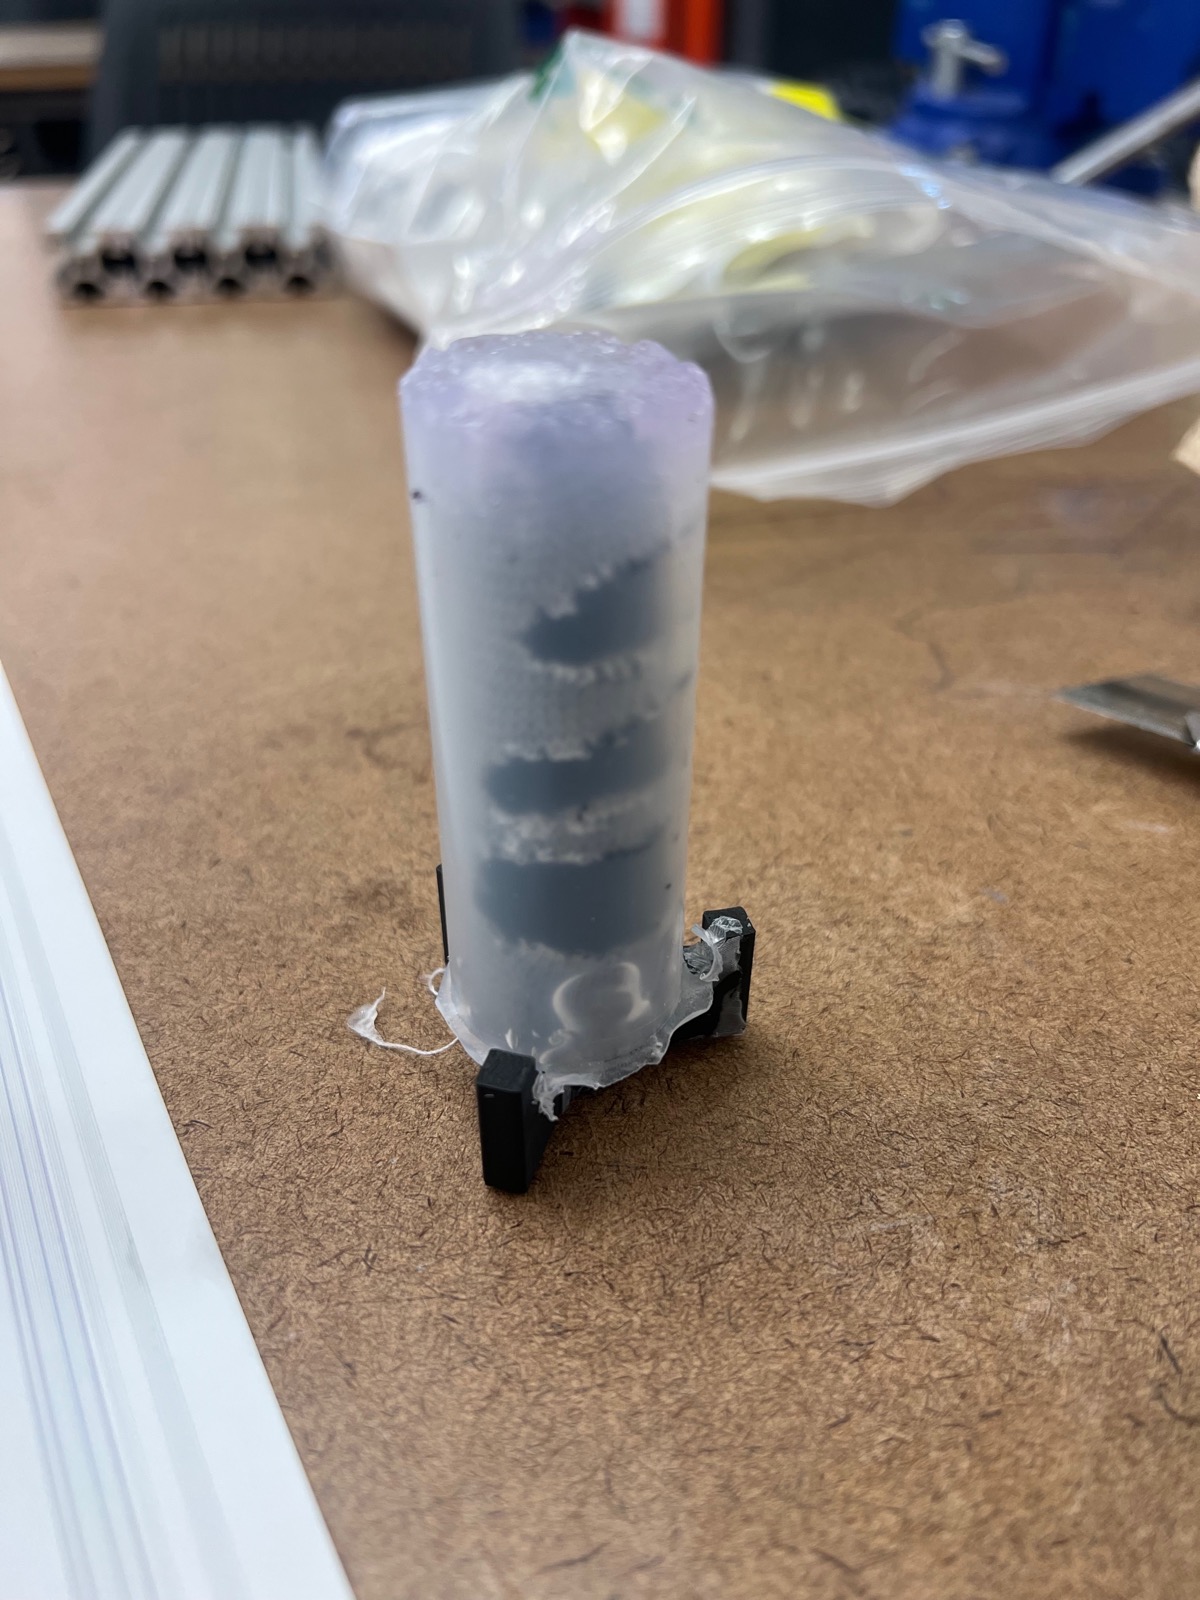
In the bottom of my freshly removed Bibenda, you can see an area where the silicone did not remain, after bubbling over amidst the vacuuming process. I was pleasantly surprised, however, of its remarkable clearness. All those rounds of degassing, while destructive, had fully removed the bubbles from my cast. I particularly prize clear plastic, so this was a pleasant surprise.
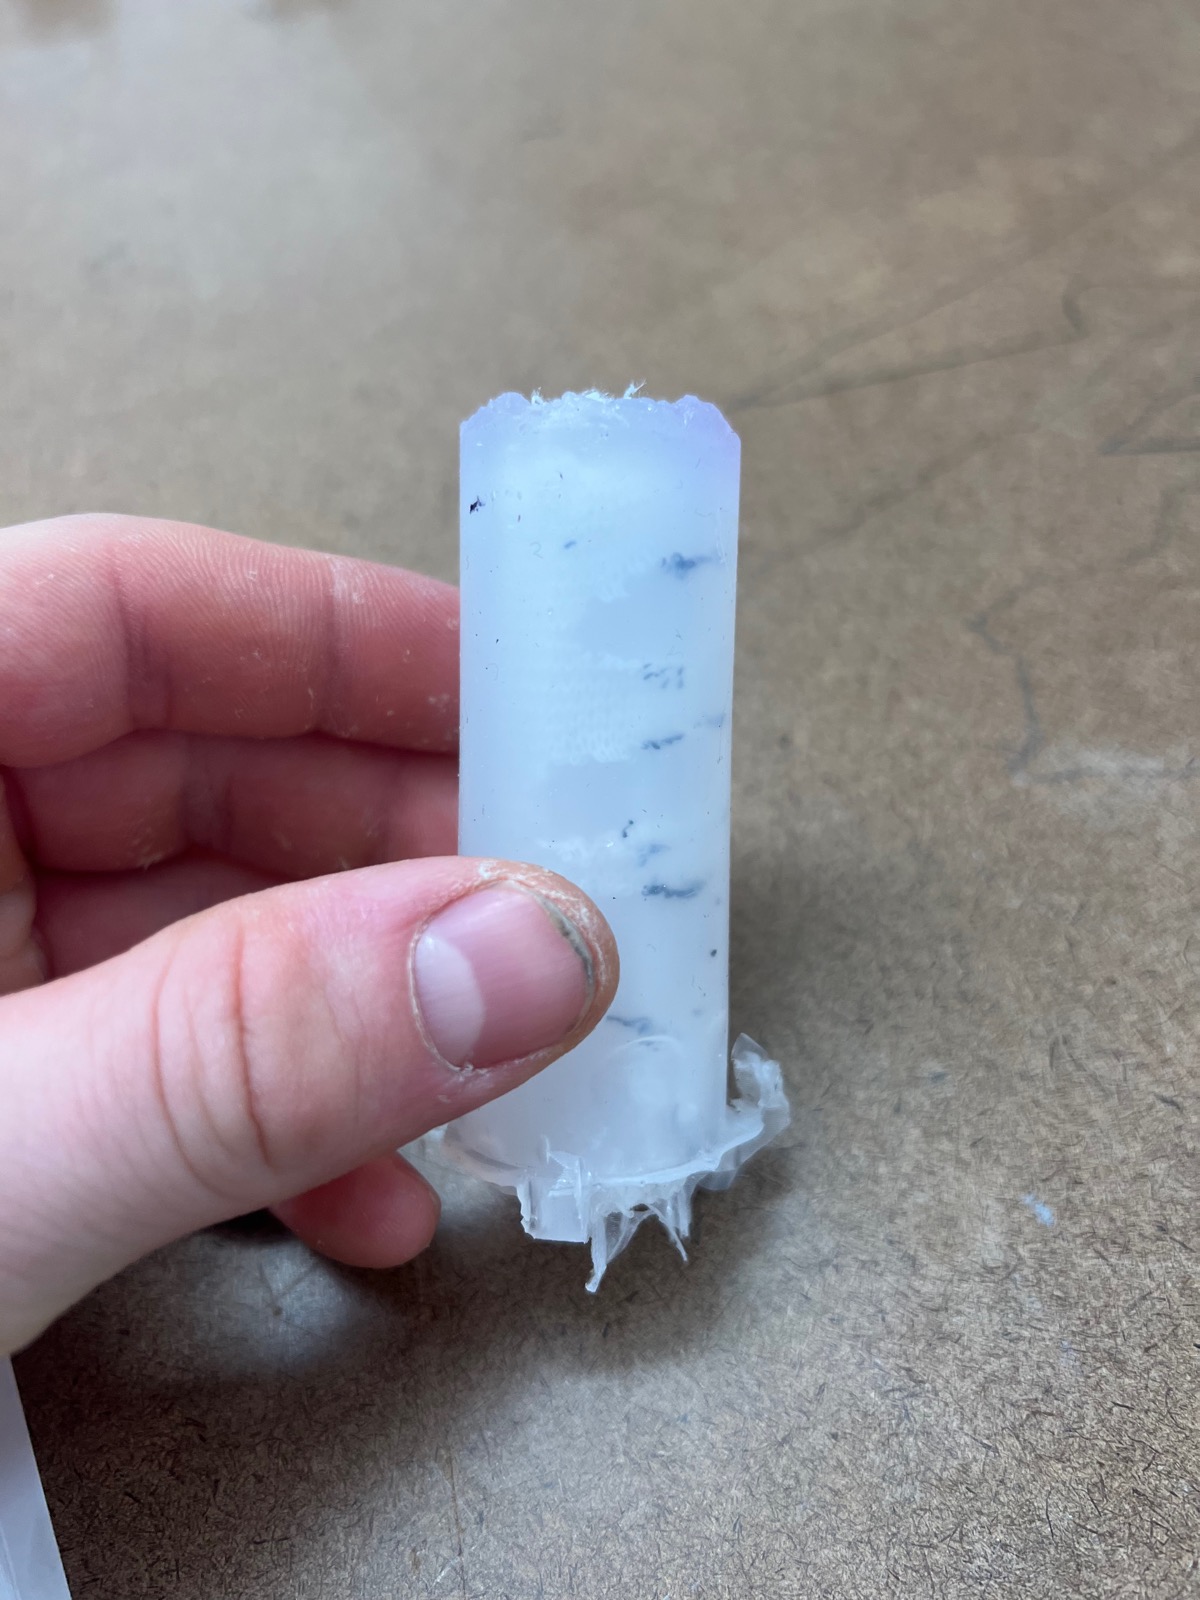
I removed the inner mold with ease, cutting off the overflow and binding strings with my knife. At this point, I realized, I think the bubbles were caused by air escaping my inner casting rod, it being covered by silicone slop, and so the air escaping through the sides. I can't be sure but I am pretty certain.
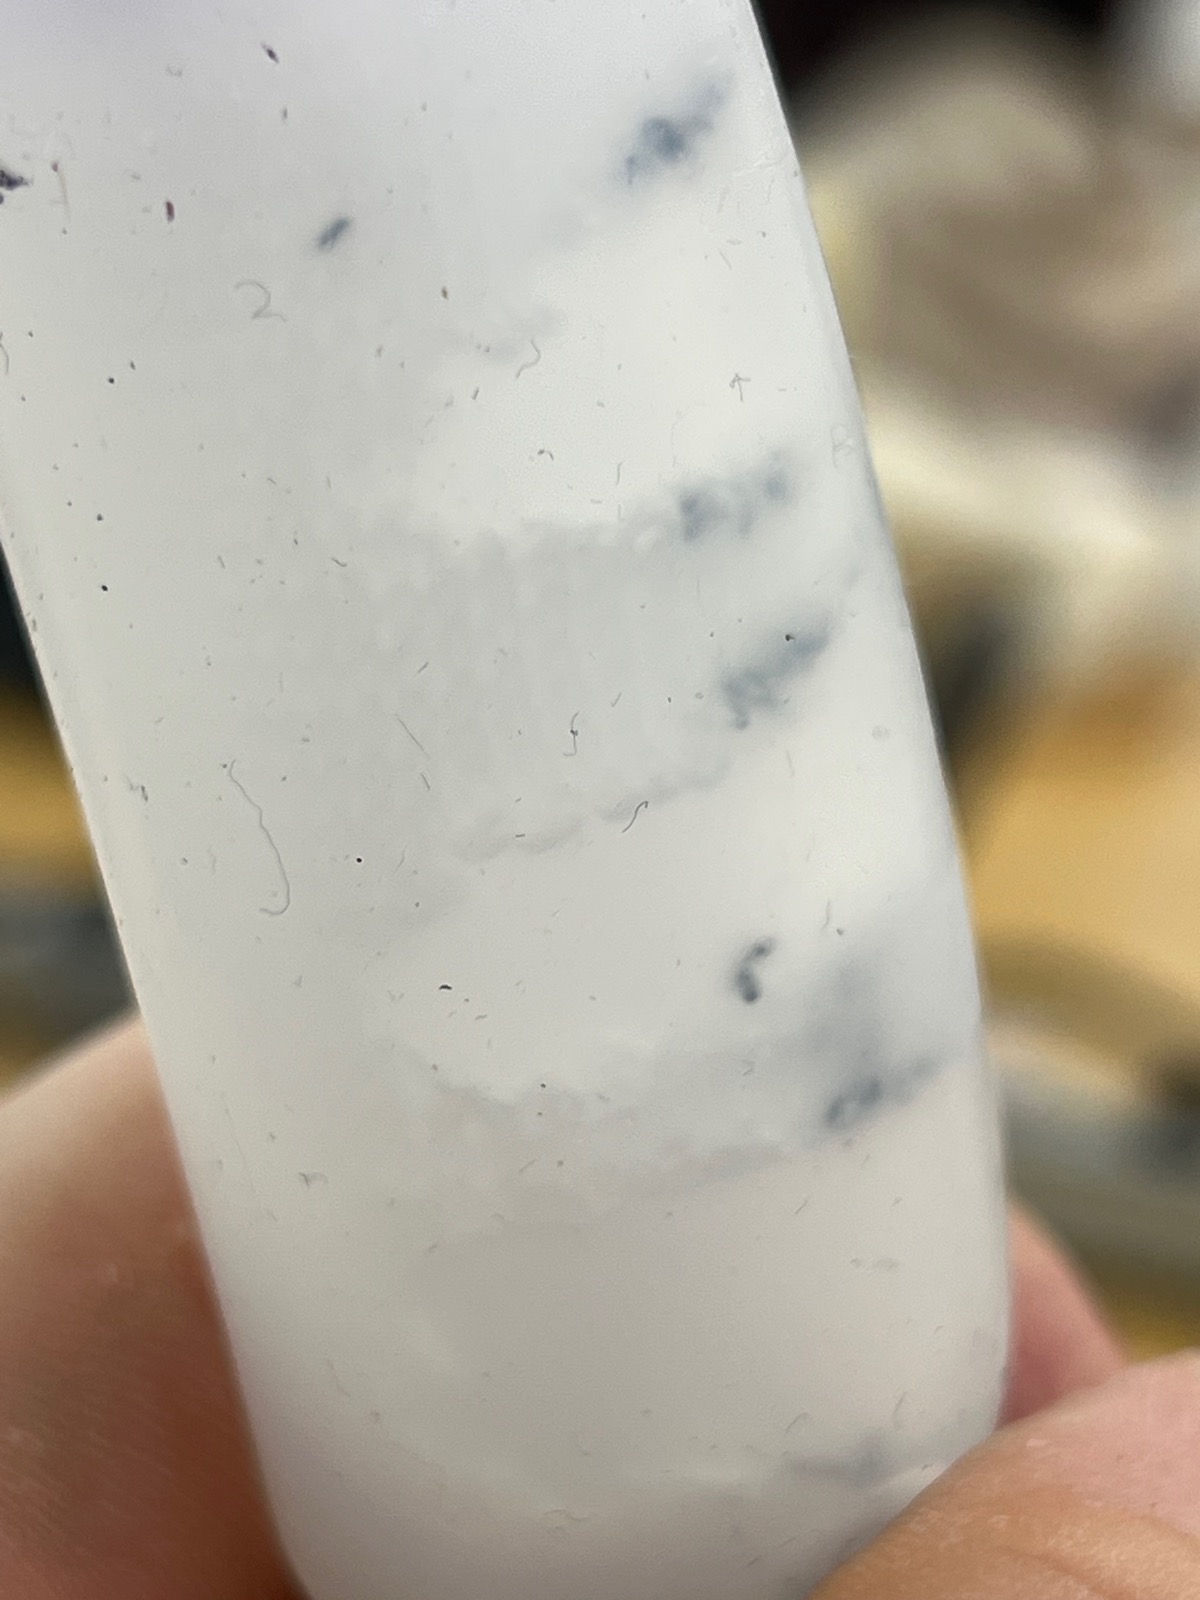
Not my favorite part about silicone, it collects dust like crazy.
My inflation bulb had not come yet so I attached it to a big air pusher I had ordered previously for my yet uncomplete mylar balloon. (watch this space new balloon soon). As it turns out, having a little missing from the bottom was not the end of the world. I was able to sure it up with a big zip tie. I am so pleased with the way it inflates. With direct actuation like this, it can feel like, whats the point? Why dont I just move this by hand? This feels completely different because the movement is so alien.
In this close up, you can see the individual threads of the inner wrapping contract. Because sulfur is an inhibitor and latex contains sulfur so we need to use a non stretchy fabric for that dynamic layer, its softness comes from the weave of fibers. You can see these fibers take up more or less space depending on how stretched it is. One thing I noticed though, repeat cycling caused the threads to delaminate from their silicone backing, causing bubbles to form. As I continued to cycle the actuator, the threads inside sheared away from the silicone more and more and more. Eventually, it fully delaminated and stretched straight across the inside of the bubble. Despite this, it continued to function to create something of the original bending form as the single sided bubble pushed against the comparison.